- Joined
- Jan 10, 2016
- Messages
- 54
- Points
- 14
Just added an aux connection to my 2013 Panda Pop using the instructions above - brilliant step by step instructions and pics - thanks! :worship:


I want to buy this.Fitting the Media Adapter is very straight forward, getting the radio out is the hardest part, but you also need to swap over a couple of leads in one of the connectors to make it compatible with the 2012 model Panda.
As the new Panda Radio only has two holes for the release keys (instead of the usual 4) you'll need to bend the keys straight-ish.

The keys only need to be inserted about an inch to release the lugs but you don't have much purchase on anything to pull the radio out so it is a bit fiddly
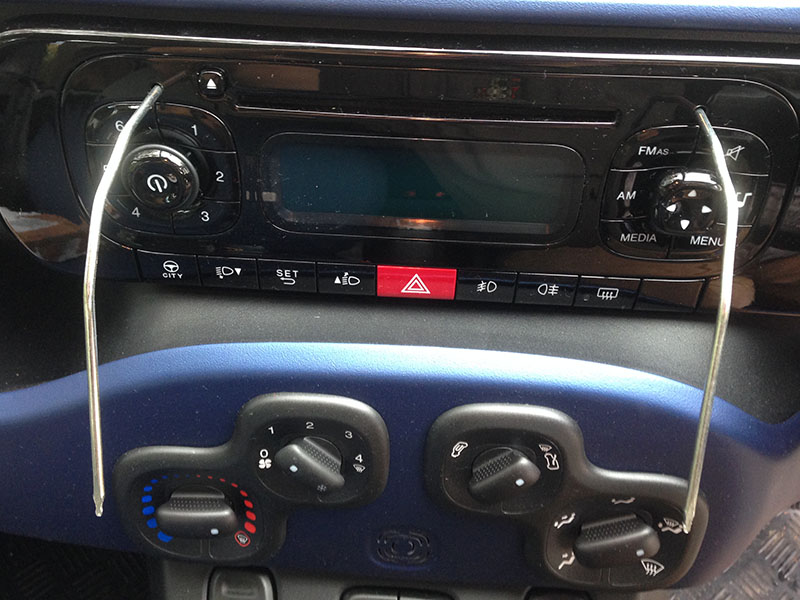
After a bit of wiggling and no small amount of cursing the radio comes out of the slot
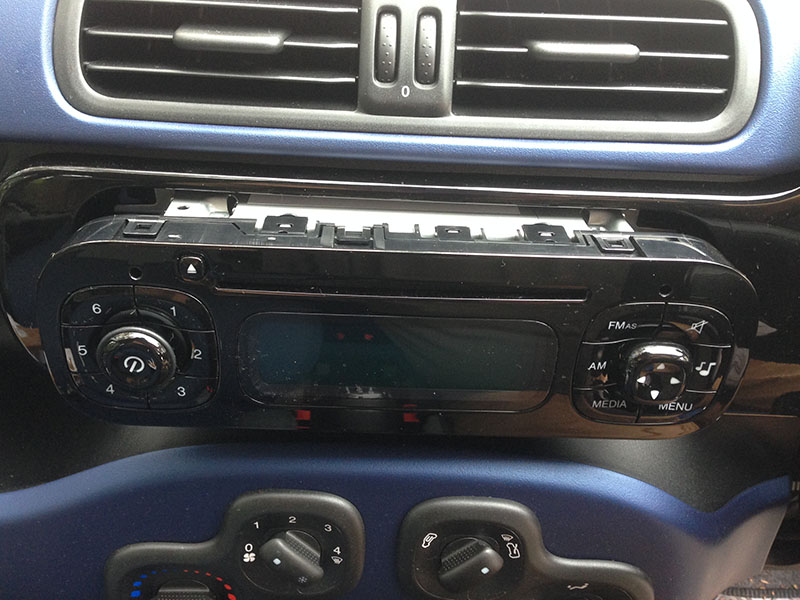
It will come out just far enough to rest on the gear stick
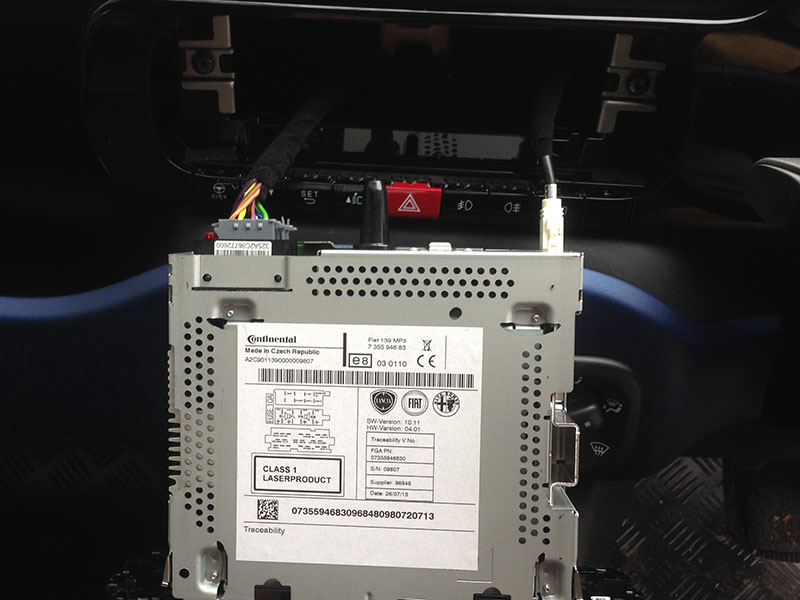
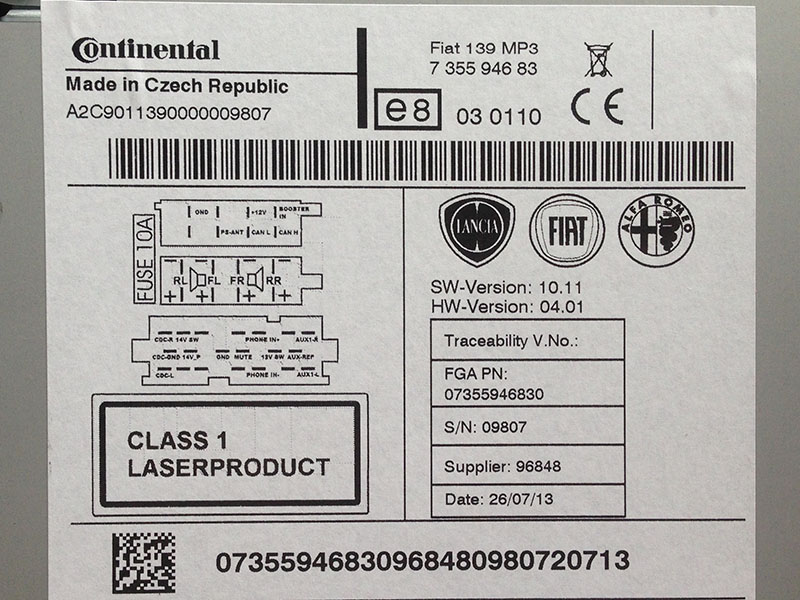
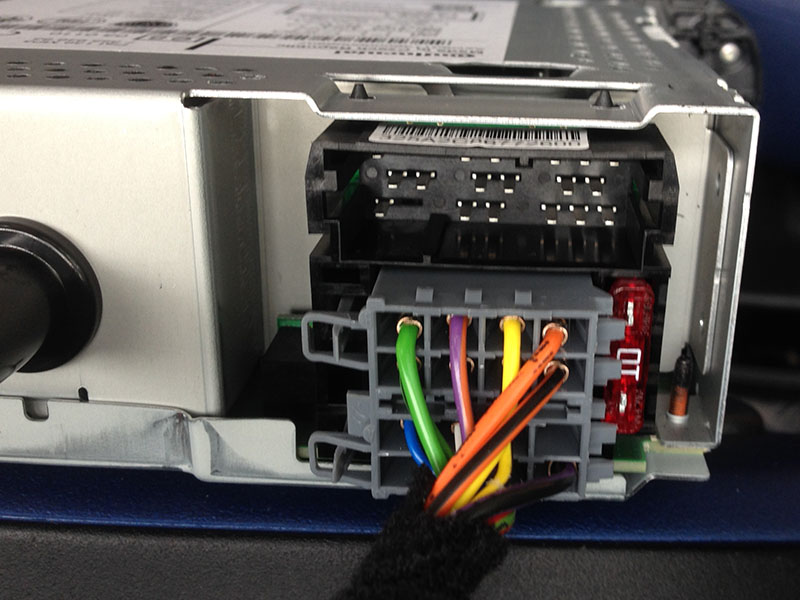
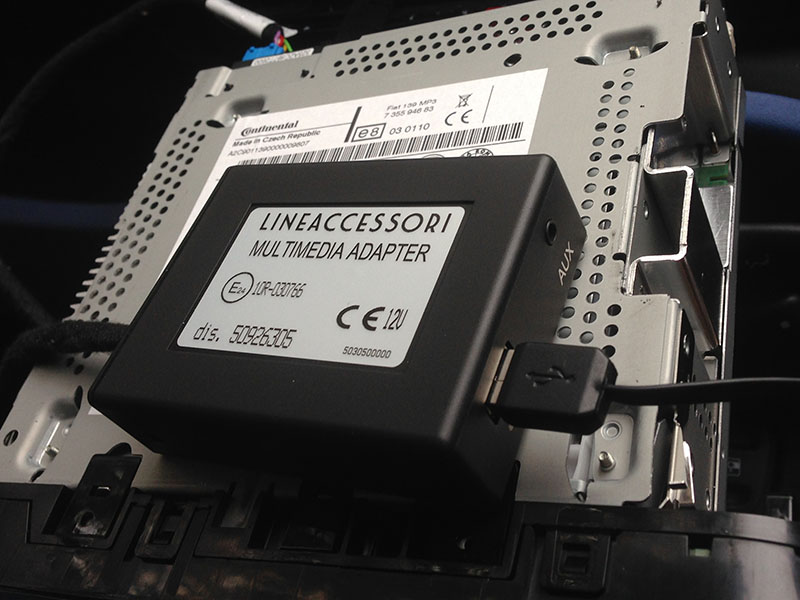
For those that are interested in these things, this is the label on the 2013 model Panda CD player
The adapter connector fits in the top right slot of this socket on the back of the radio
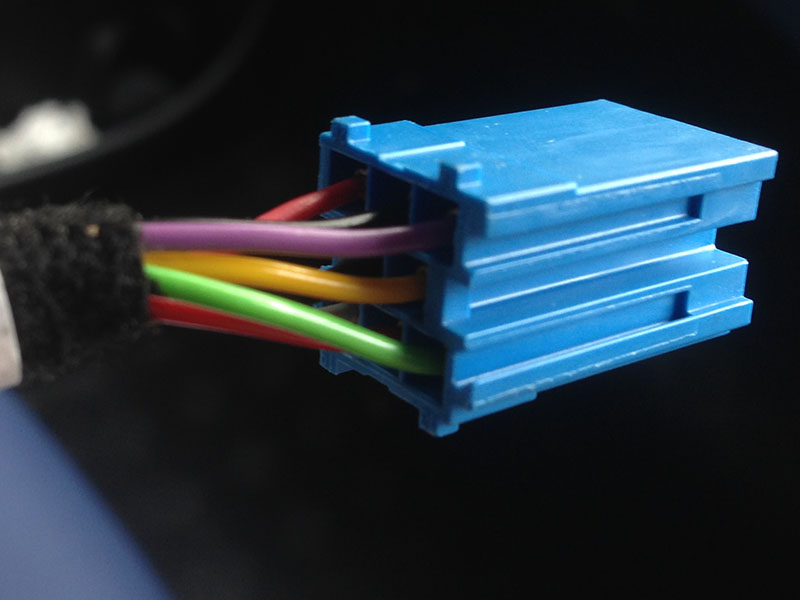
It comes out of the box with the VIOLET and GREEN wires in this position. These need to be swapped over to be compatible with the Panda radio. ON ONE END ONLY, do not swap them over on both ends of the wiring
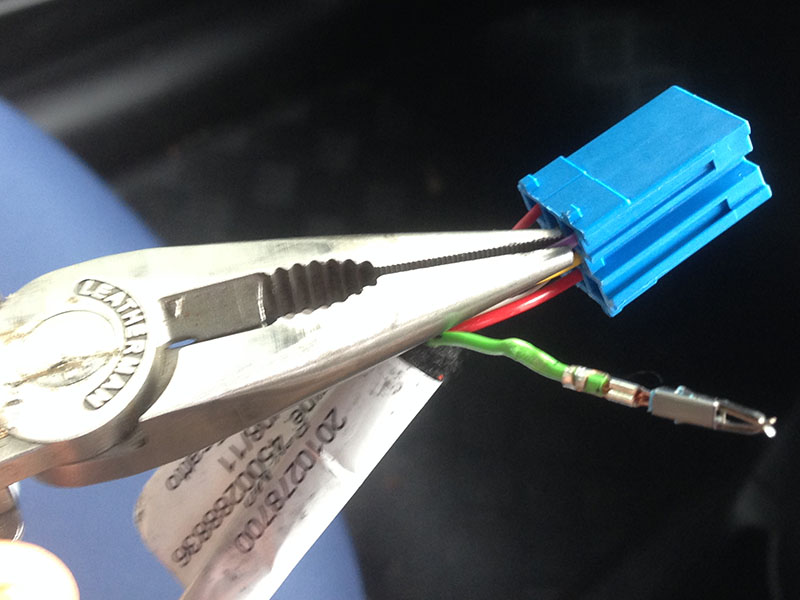
With a pair of pliers just pull them out and swap them over. They are in VERY tightly. Do not yank them out but grip firmly and pull with steady force, they'll come out eventually. When you swap them over make sure they go back the correct way around, they must align with the pins on the back of the radio. Look at the other connectors to see which way round they go
It just clicks into place
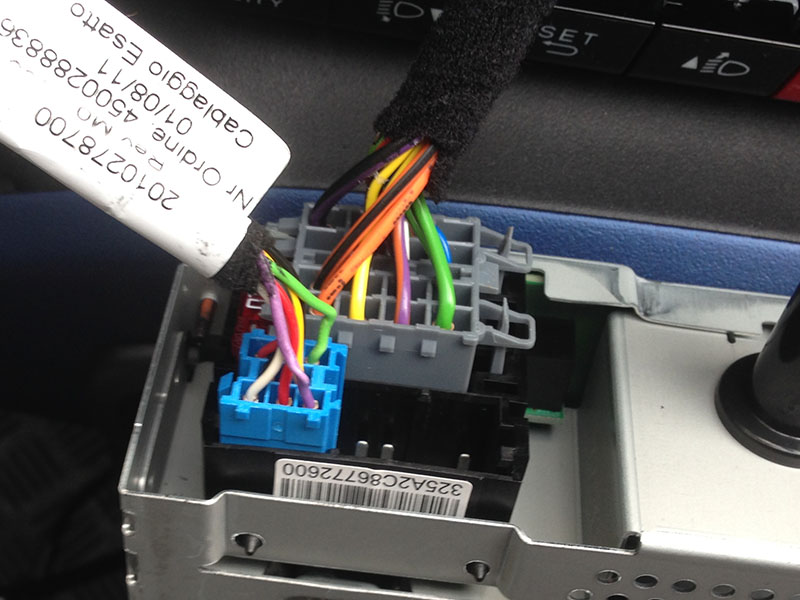
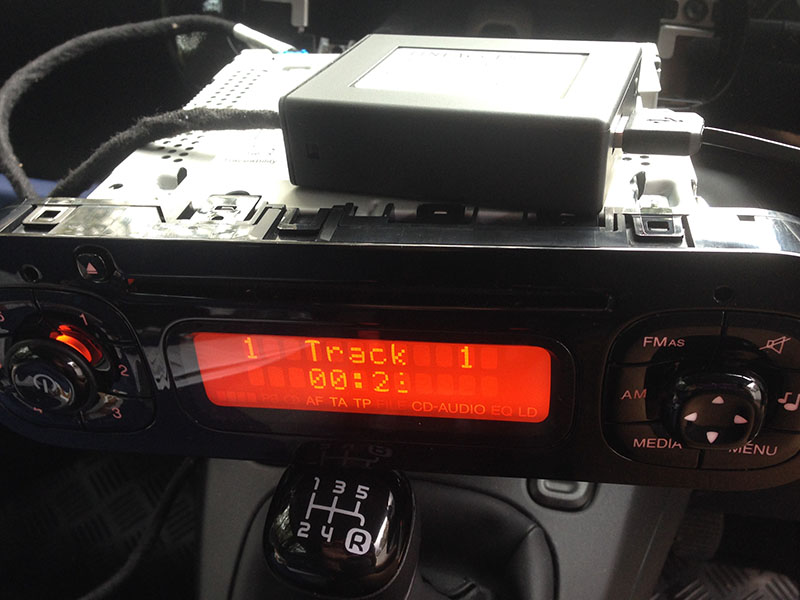
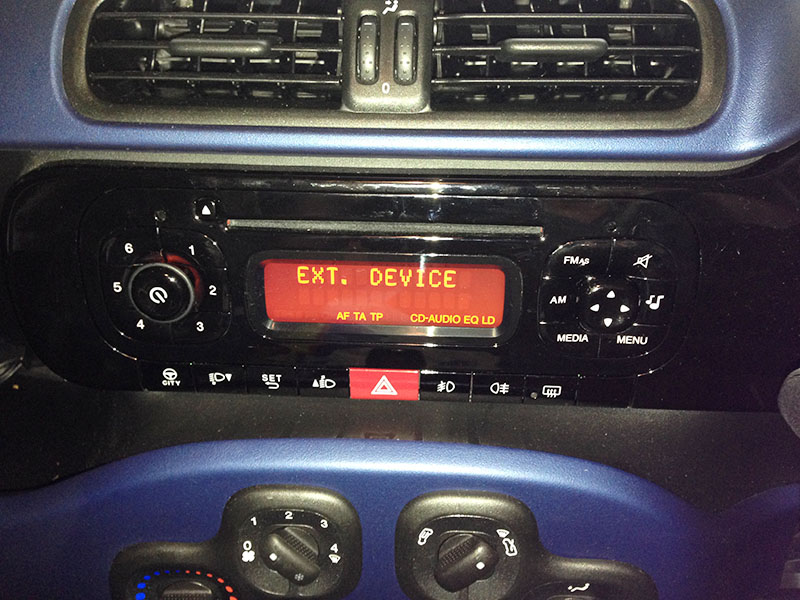
I chose to test it before fitting it all back in place. It worked straight away. Just press the MEDIA button to see 'External Source'
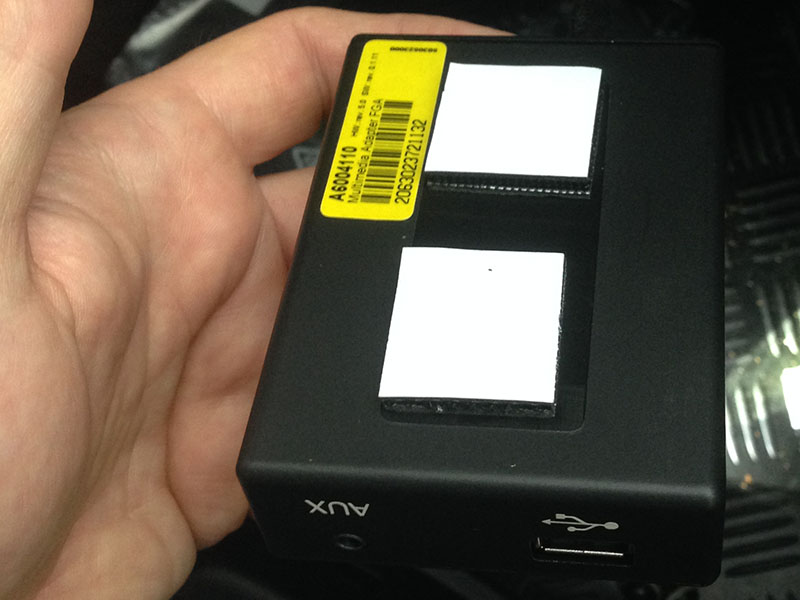
The iPhone plugs into the USB socket using any compatible lead. It also charges the phone at the same time (not tested it with an iPad yet). Or you can plug it into the AUX socket with a standard phono lead.
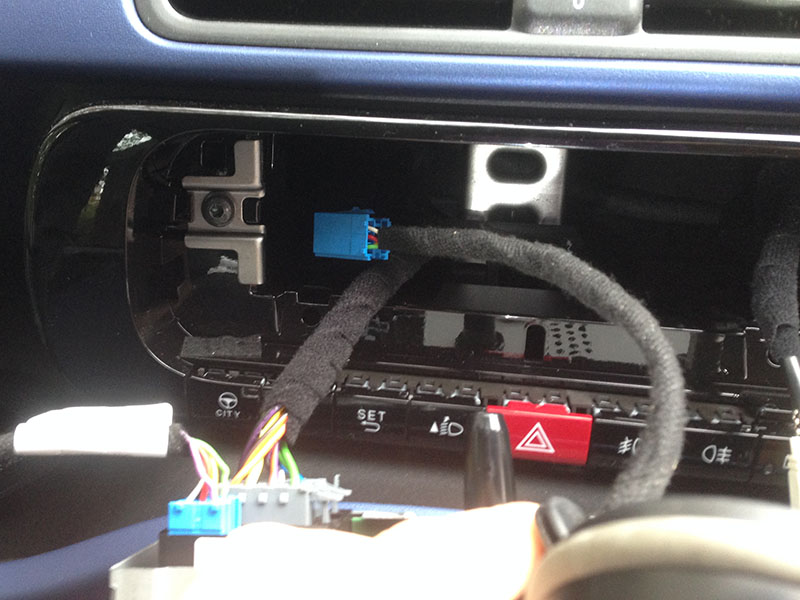
Next job is to thread the wire down the back of the dashboard. There is plenty of room to get your hands in and fish it out from underneath the dashboard and route it to wherever you're going to place the adapter
the adapter comes with sticky velcro tabs so allowing you to place it anywhere convenient. The instruction manual details a method for placing is INSIDE the glovebox but I figured that would be inconvenient and the glovebox lid wouldn't fit very snuggly once closed
I chose to stick mine on the side of the centre console under the dash (see below) it is not as neat and hidden as I'd like but it makes it easier to plug things in and means I wont be trapping the USB cable in the glovebox lid.
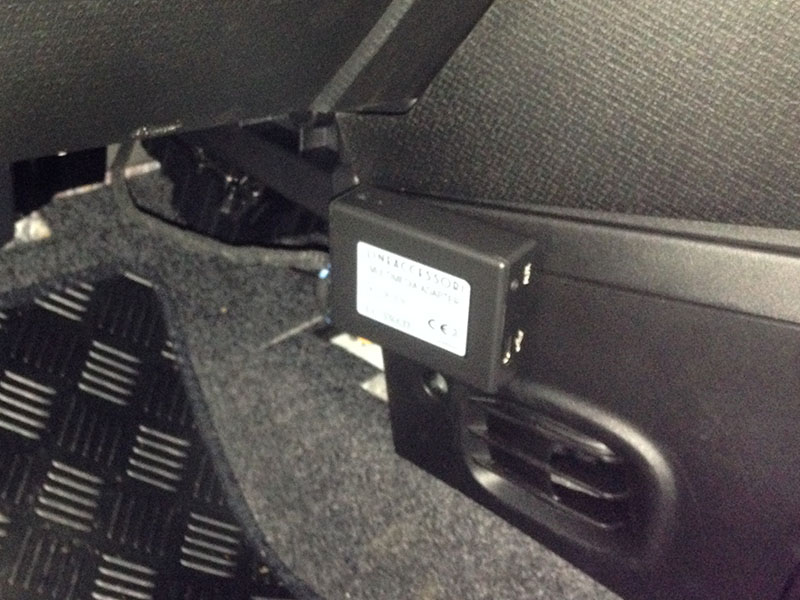
The all important end result! You now have an EXTERNAL SOURCE for music on the move. Rock On!!
In the attachments below is a PDF of the fitting manual if you need it.
.
My local fiat dealer can order it for 135 euros.Hi.
The thread is quite old and when I looked for the device it was unlisted, so may be out of production.
If someone does find it please put a link up.
I suspect the newer touchscreen unit will ‘assume’ CarPlay or Android Auto will be used and no longer have an Aux in connection on the unit itself. But don’t know…Thread bump. Could this potentially be made to work / wired into the new touchscreen unit in the Panda which obviously doesn't have an aux in?
Just buy a set of pin extraction tools. They look like miniature feeler gauges. ( there are other ones with tubes for other styles of connectors.)Good work Simon.
I think I should put a warning here however.
Removing the pins is a really tricky task. I managed to break the pin for the green wire and couldn't get it out of the ISO housing. As a result I had to order a new ISO housing and a whole load of new pins.
Several days later when I received the new ISO housing and pins - I spent all night trying to remove the wires from the old ISO housing in to the new one. Again, some pins jammed in and as a result I had to rewire half the wires with new pins for the new housing.
This morning I went to fit it - and DISASTER.
I spent about an hour trying to find away of feeding the ISO cable from behind the dashboard to down below. How can anyone claim this easy?! Anyway, whilst doing this, the radio (that was resting on the gearknob) fell off - grazing the surrounding coloured plastic and snapped off the ariel lead connection. As well as this, whilst I was trying to feed the lead, some of the pins and disconnected from the wires in the ISO housing.
So after spending £90 on the USB device, £5 for a new USO housing and pins, several hours of trying to re-wire and install it in the car I have now got a non-functioning radio, damaged plastic work around the radio and cut fingers.
My advice to anyone doing this - just get a new head unit.
Or if you follow this route - make sure to do the following
Be really, REALLY careful when changing the two pins around. Spend an evening on it if you have to, applying as little pressure as possible over a very long time.
Do NOT rest the headunit on the gearknob. Take out all the cables and put it somewhere stable.