doblopoblo
New member
- Joined
- May 9, 2007
- Messages
- 7
- Points
- 3
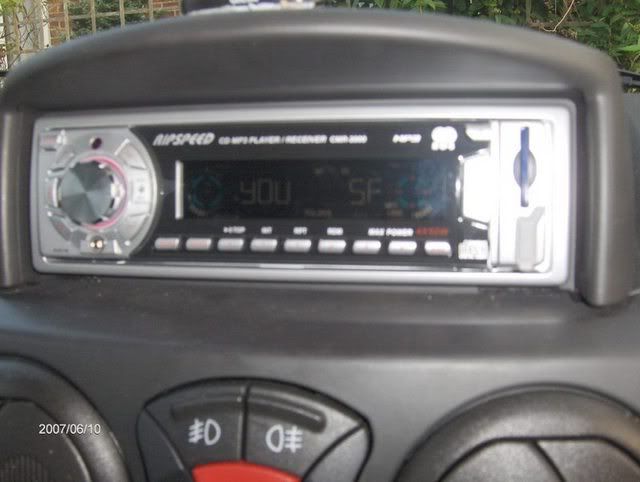
Hi everyone. Just thought I'd share my experience of fitting a new cd tuner to my Doblo Cargo. I found a previous thread ("Replacing the radio") and it looked pretty difficult. I too had the problem that my new head wouldn''t slide all the way in due to the lack of space at the back and the wiring block getting in the way. I thought about going through the whole process of taking the dash apart and respect to Niall who managed to do it but it was getting late in the day and I thought that bit at the front must surely come off another way. Well...
... I found another way as follows:
1. Remove the old radio.
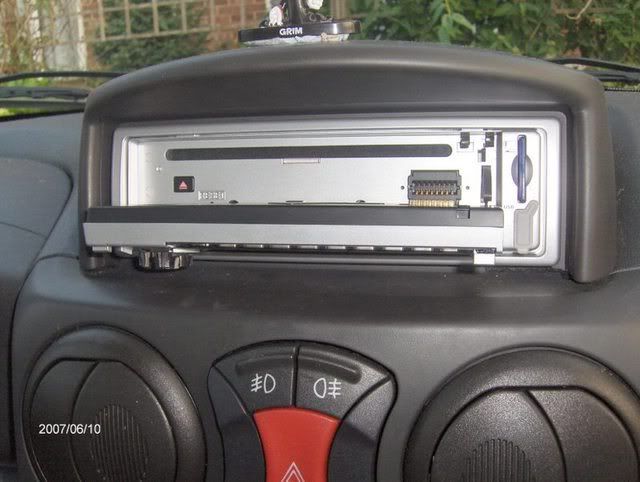
2. Remove the two cross head screws at the back of the binnacle (pod thing that contains the radio).
3. With a flat blade screwdriver prise the front of the binnacl up at one side and here's the fun bit...!
4. with a hacksaw blade, saw at about 45 degrees through the bottom corner of the front until it becomes detached. Do the same for the other side and the whole top lifts off.
I hope I don't get struck off for suggesting this method... The cut is not visible once it's all put back together again and makes the fitting a doddle because after you've got all the wires out of the way and the head unit in the right place you simply place the lid back on. Now you're wondering how it's fiixed, well, bodge number 2: a tube of black silicone sealant readily available from lots of places (try Screwfix if you can't find it locally). If you need to take the thing apart again, you simply cut through the sealant with a Stanley, remove the old stuff, do what you need to do and seal it up again.
BTW the head unit I got was a Pioneer 3900MP, which looks great and even sounds good with the built in 100mm paper dual cone speakers in the dash. I've fitted a 18mm MDF bulkhead (removed the metal cage 1st) and housed a pair of Pioneer 6x9 speakers in it about half way up at the sides. Haven't got round to wiring them up yet but will give an update once done. I'm also going to replace the little dash speakers with some Pioneer coaxial speakers as I find the originals are distorting badly at any sort of volume. The Pioneer unit went in really easily, the only thing that needed changing was to swap the red and yellow connectors. Pioneer make provision for this by putting a shielded bullet connector in each wire for just such a requirement. This little change means that the unit remembers stations and where you were on a CD when you switched off the ignition.
One question I have for Doblo Cargo owners that have no door speakers is where do the wires go for the rear speakers? Does anyone know?
Cheers, DP
... I found another way as follows:
1. Remove the old radio.
2. Remove the two cross head screws at the back of the binnacle (pod thing that contains the radio).
3. With a flat blade screwdriver prise the front of the binnacl up at one side and here's the fun bit...!
4. with a hacksaw blade, saw at about 45 degrees through the bottom corner of the front until it becomes detached. Do the same for the other side and the whole top lifts off.
I hope I don't get struck off for suggesting this method... The cut is not visible once it's all put back together again and makes the fitting a doddle because after you've got all the wires out of the way and the head unit in the right place you simply place the lid back on. Now you're wondering how it's fiixed, well, bodge number 2: a tube of black silicone sealant readily available from lots of places (try Screwfix if you can't find it locally). If you need to take the thing apart again, you simply cut through the sealant with a Stanley, remove the old stuff, do what you need to do and seal it up again.
BTW the head unit I got was a Pioneer 3900MP, which looks great and even sounds good with the built in 100mm paper dual cone speakers in the dash. I've fitted a 18mm MDF bulkhead (removed the metal cage 1st) and housed a pair of Pioneer 6x9 speakers in it about half way up at the sides. Haven't got round to wiring them up yet but will give an update once done. I'm also going to replace the little dash speakers with some Pioneer coaxial speakers as I find the originals are distorting badly at any sort of volume. The Pioneer unit went in really easily, the only thing that needed changing was to swap the red and yellow connectors. Pioneer make provision for this by putting a shielded bullet connector in each wire for just such a requirement. This little change means that the unit remembers stations and where you were on a CD when you switched off the ignition.
One question I have for Doblo Cargo owners that have no door speakers is where do the wires go for the rear speakers? Does anyone know?
Cheers, DP
")