General Rear Light Removal

Currently reading:
General Rear Light Removal

alistairr

Member
Joined
May 6, 2012
Messages
14
Points
57
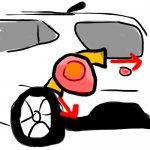
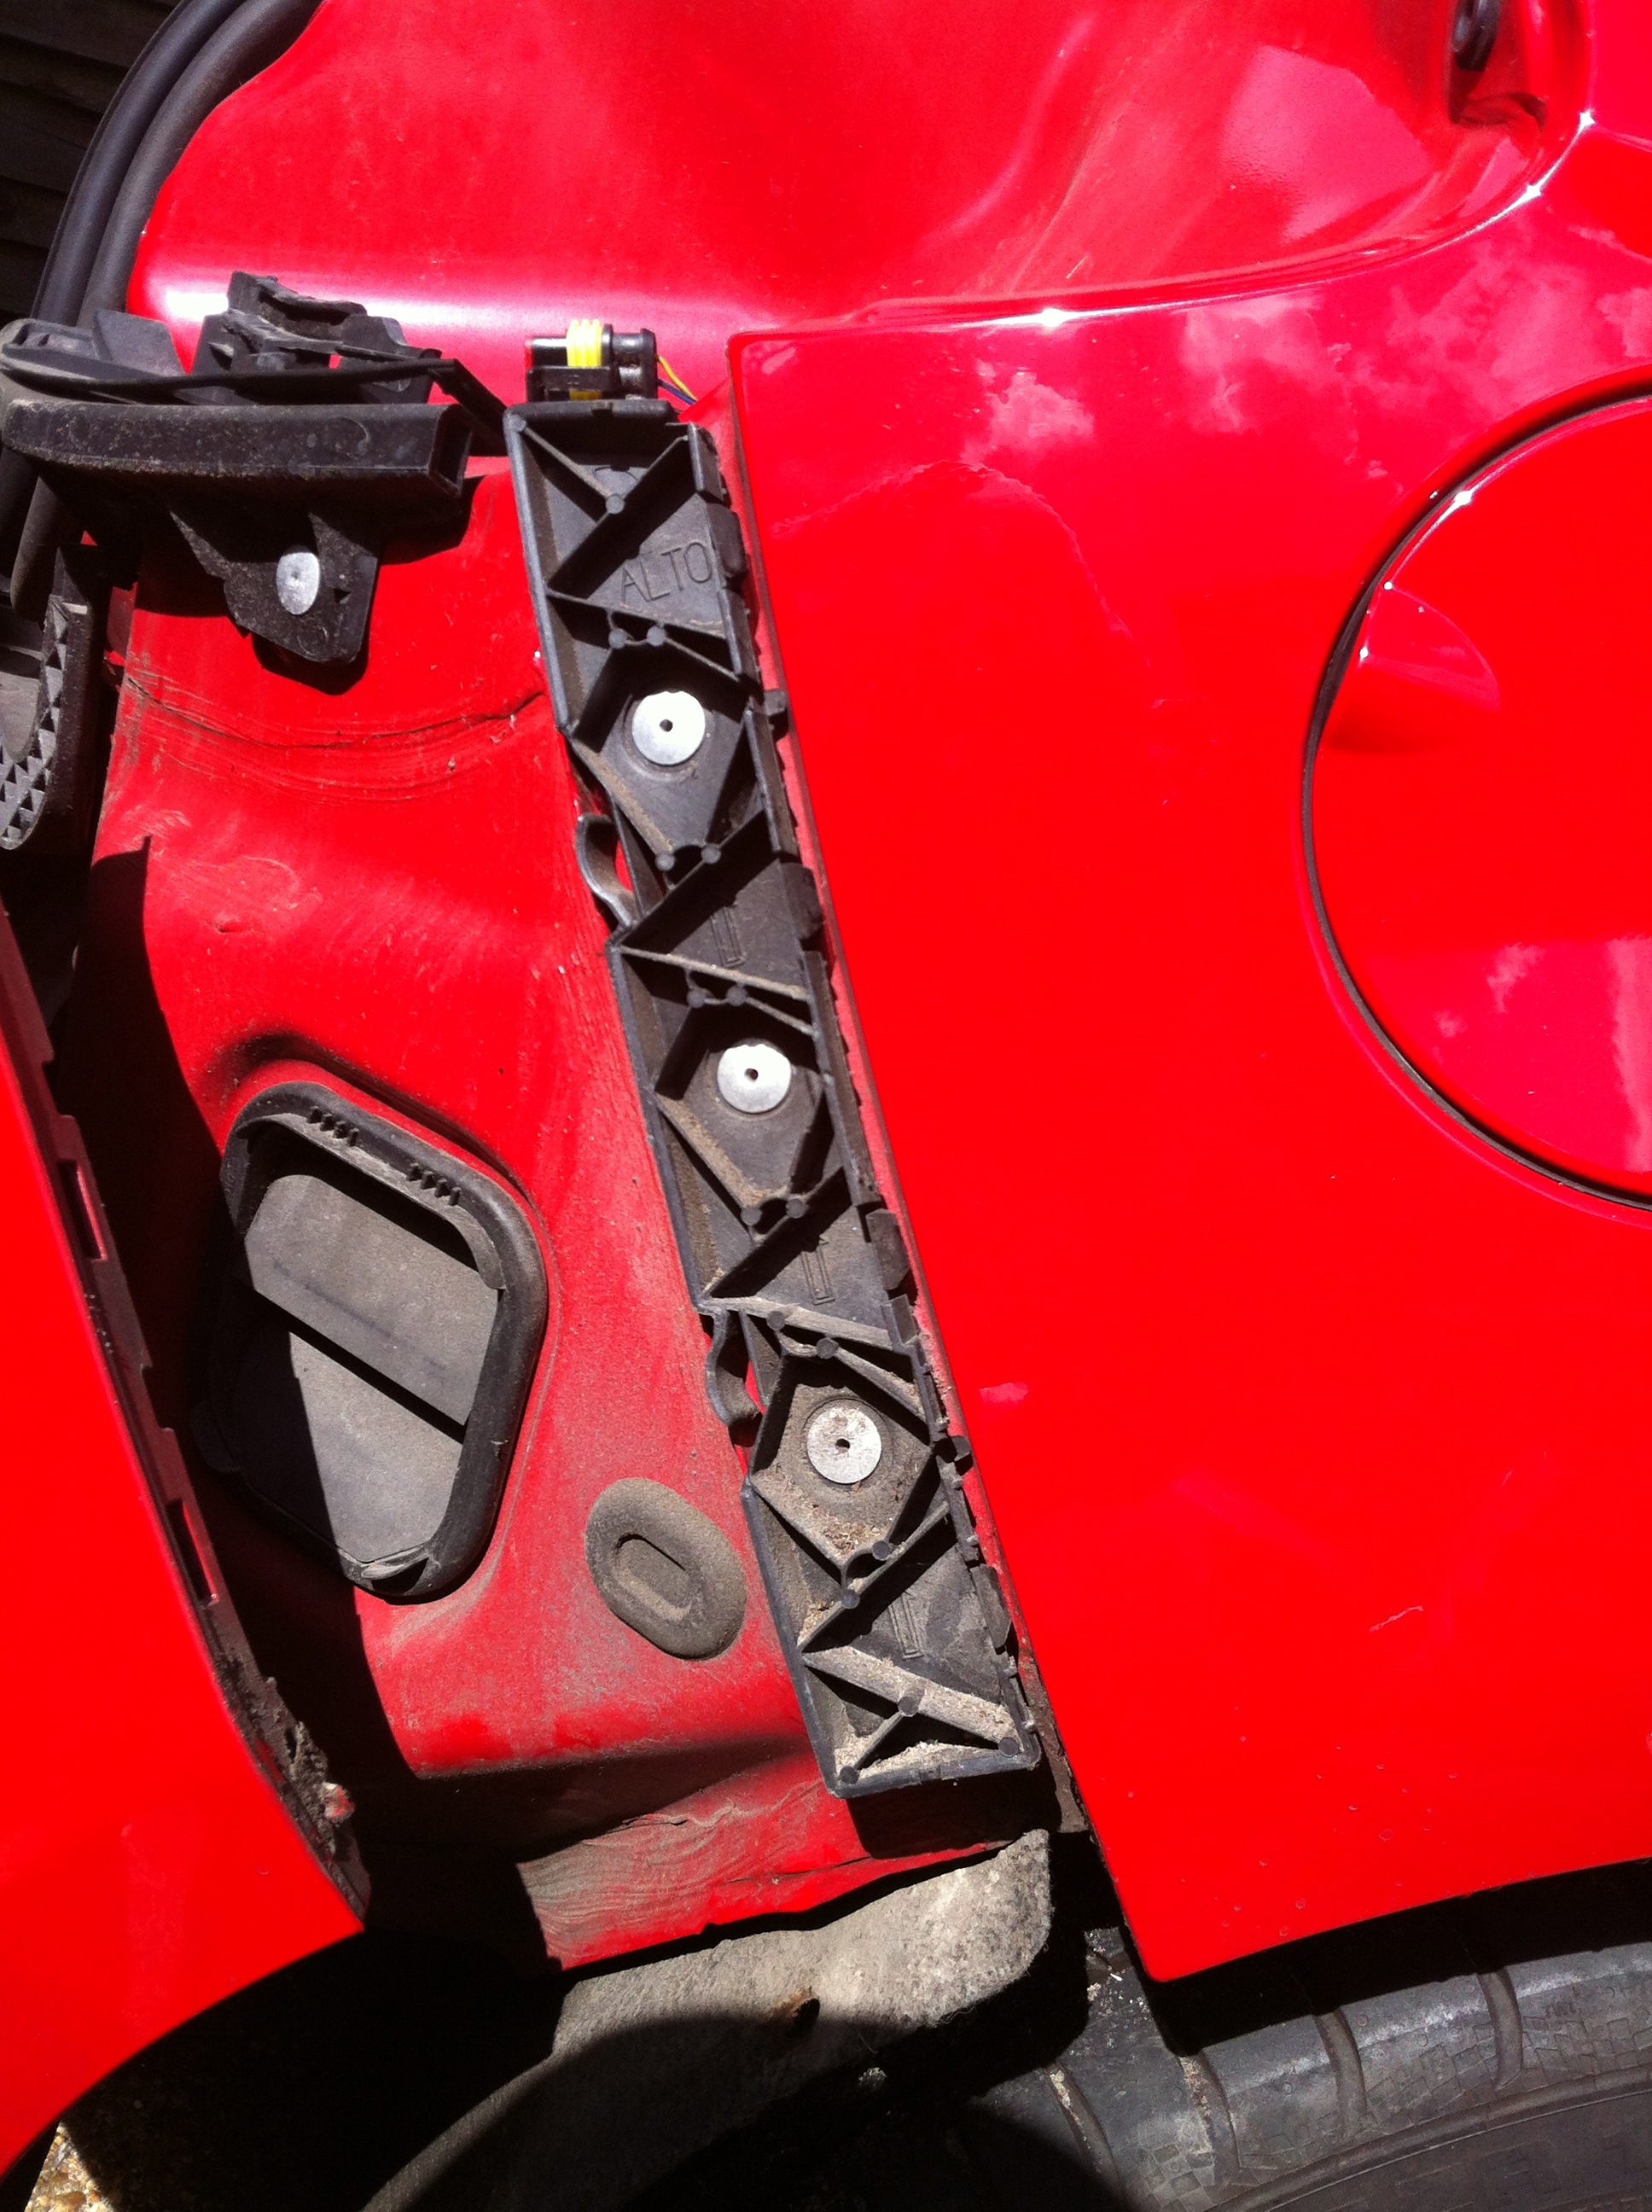
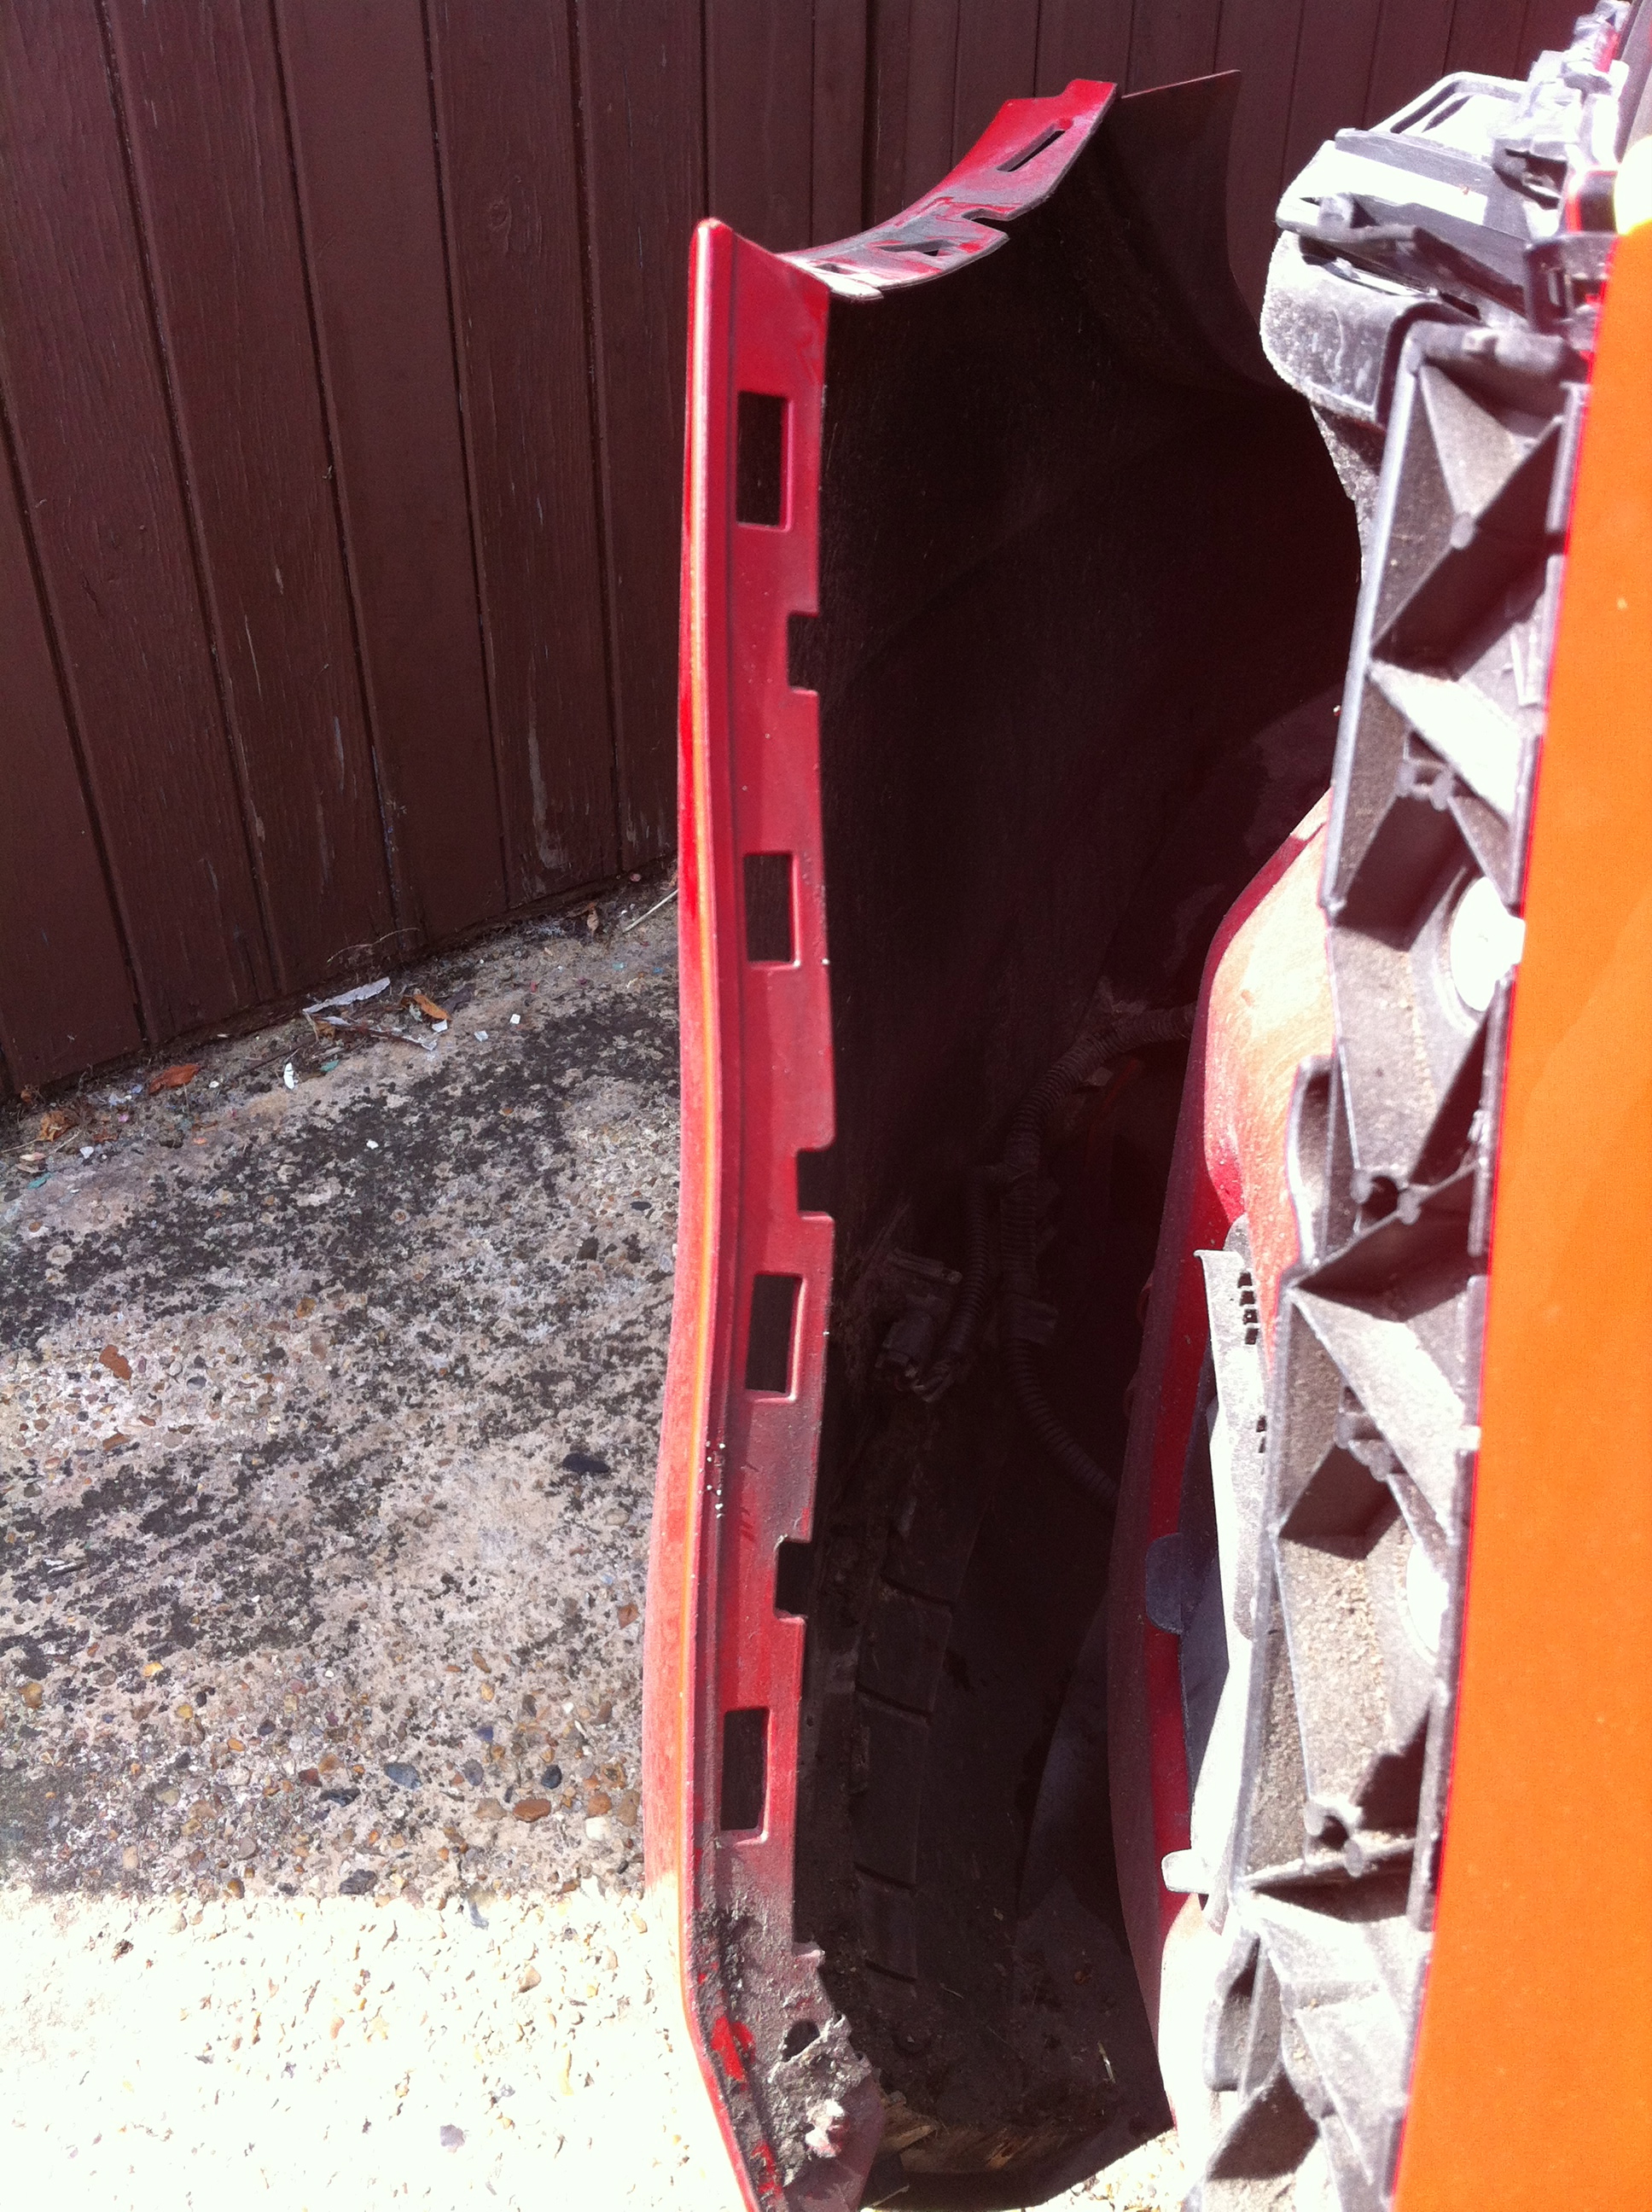
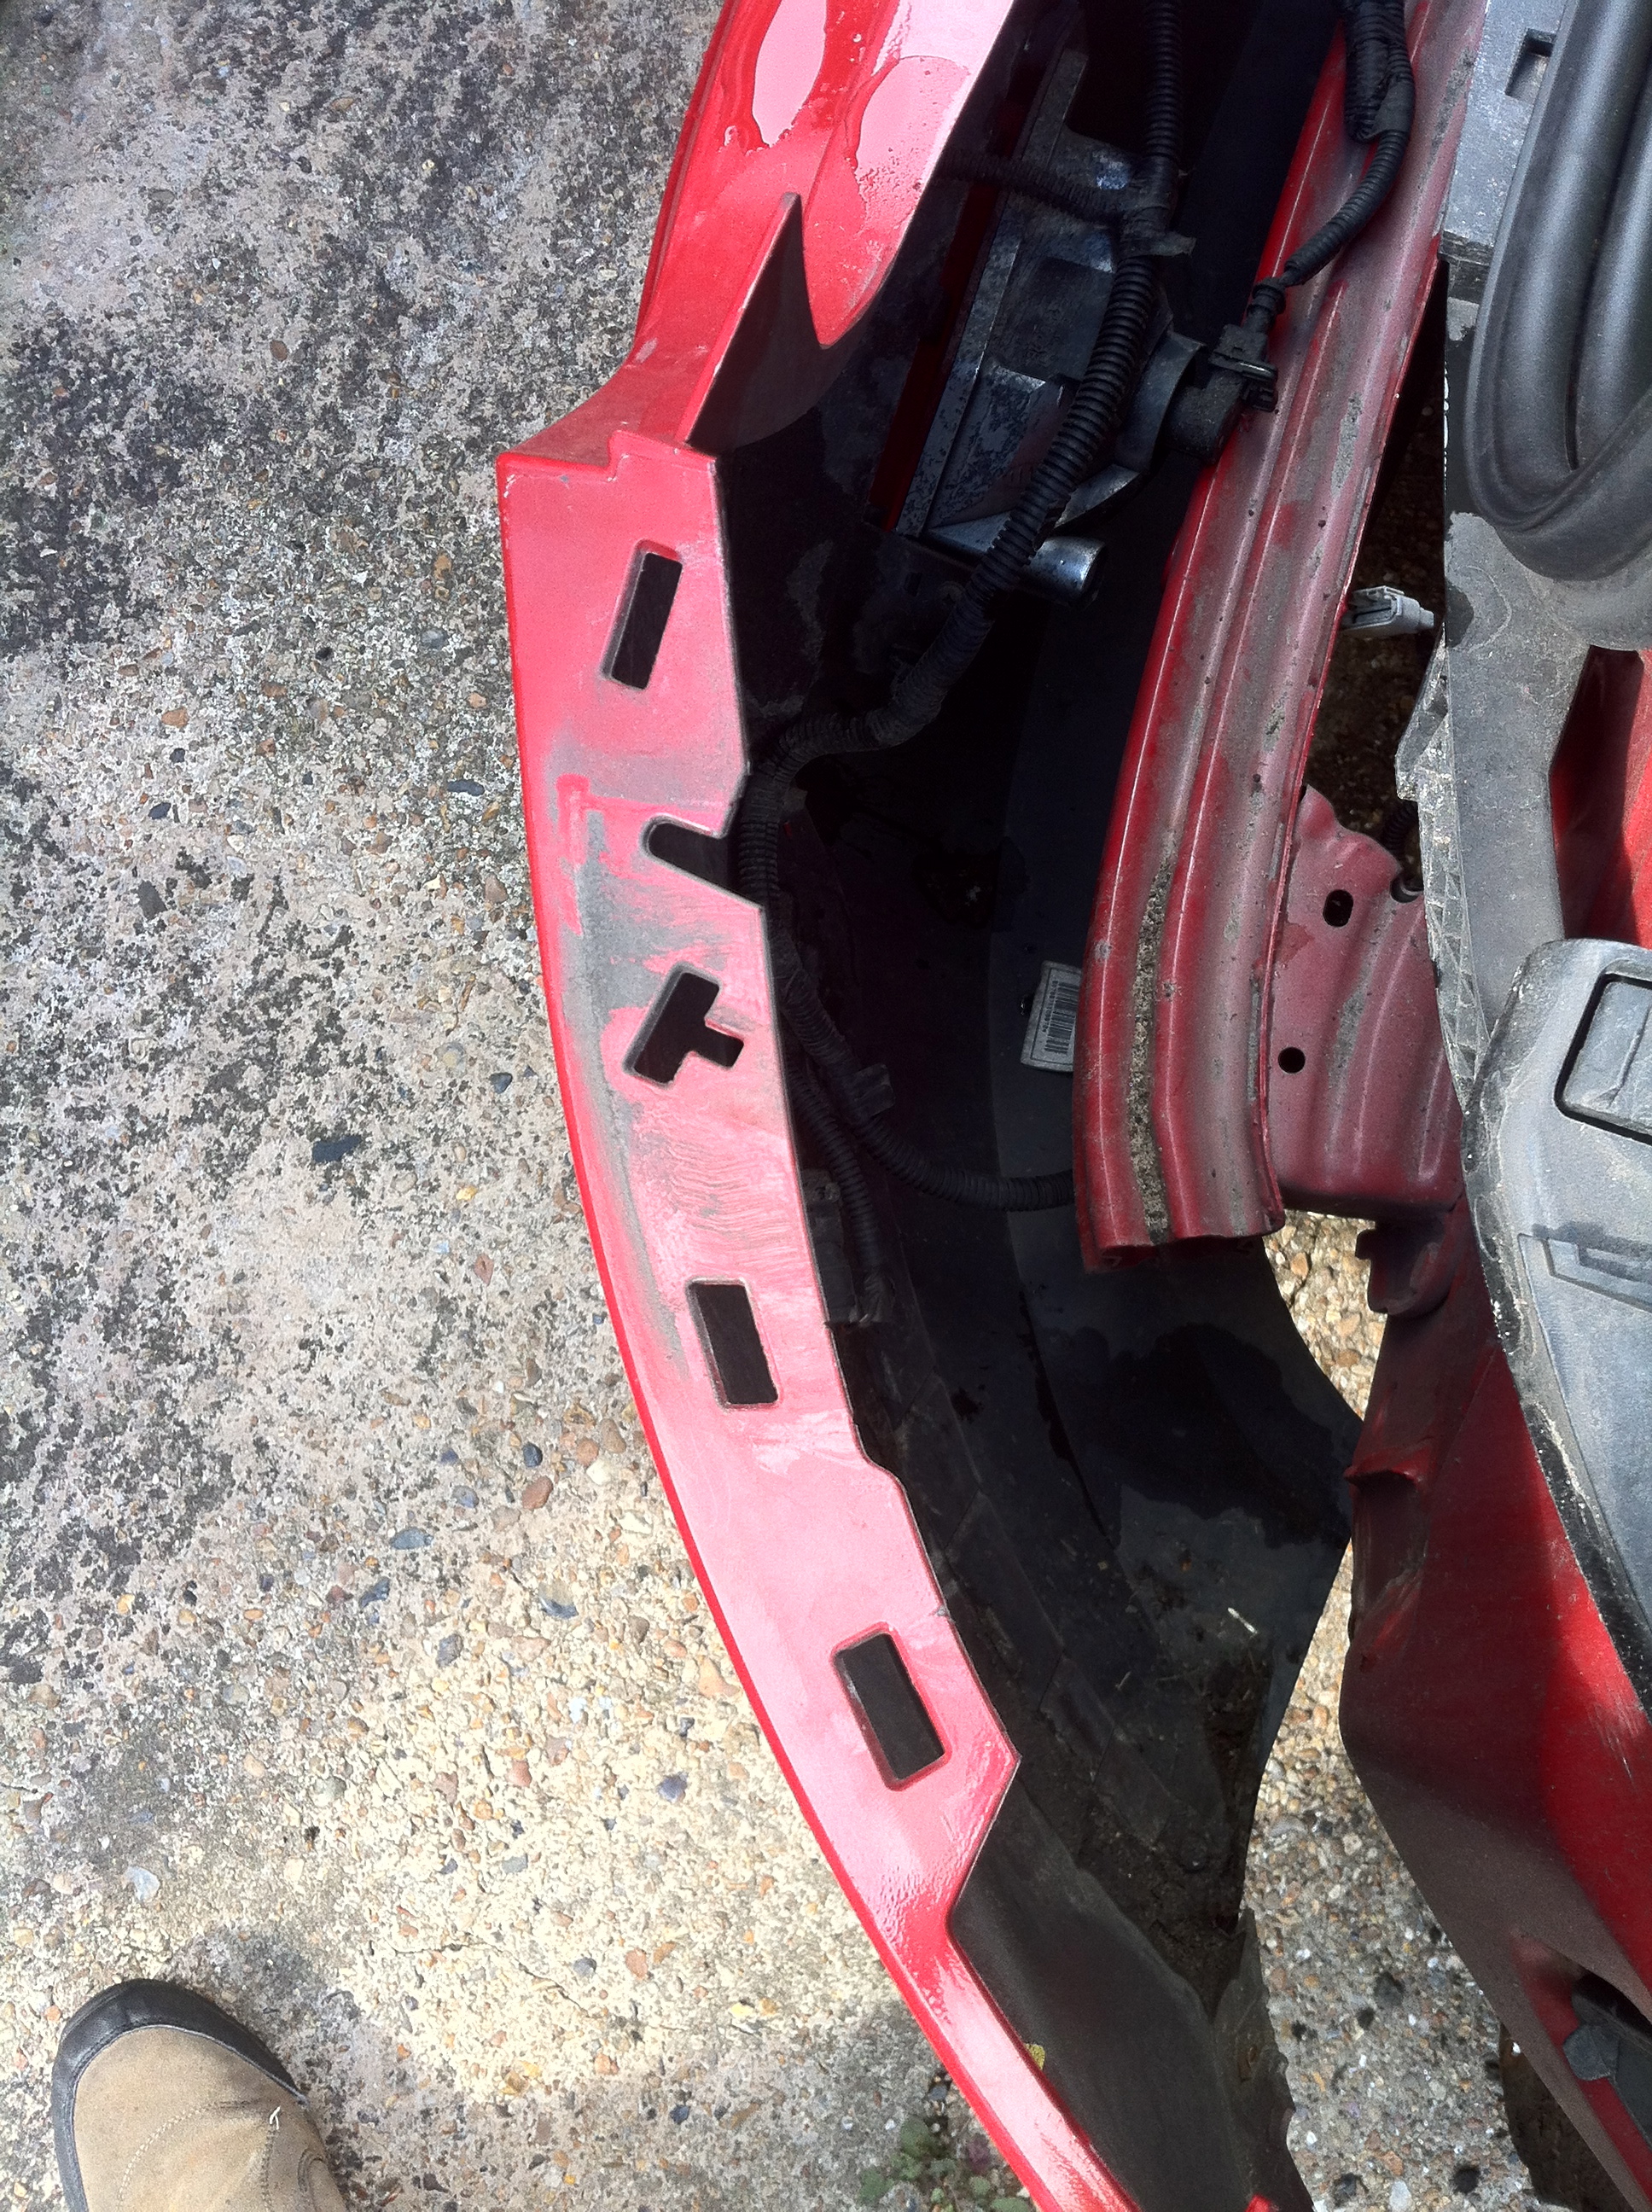
Is there a trick for removing the real lights? My 150 Multijet Dynamic's lights don't want to budge. I've removed the two bolts and the whole assembly moves slightly sideways freely but I can't get it to slide out as the handbook suggests it should. I understand there are clips inside the housing so I presume they're holding it, but they seem very tight and I can get no movement towards the rear of the car. There's nothing to get a good grip of and there's nothing to lever against without risking damage to the plastic or the paintwork. Are they usually so tight, and does anyone have any helpful hints?

Thanks.

Alistair
 
I also couldn't move them out the normal way because they're glued to the car with a bit of silicone.

The trick I found is to slide something thin and strong like a microfiber towel between the light cluster and the car and then pull it toward you.
 
You can use a socket set to remove the screws/bolts, which I found much easier to do.

As for removing the light, its as Tad says, put something to protect the paint. Then force it!

Just as an aside I broke a clip of both of the rear lights, but they go back on fine, inline and with no water ingress issues without said clip....

(then someone kindly ran into the back of it and got new lights :D)

No I actually pull the rag on both sides so that it pulls the light cluster out, I don't know how to describe it better... check the quick sketch I made. :D
 

Attachments

  • paint.jpg
    paint.jpg
    37.9 KB · Views: 52
Many thanks for the responses. I didn't even try using a screwdriver on the bolts, and had no trouble removing them with a socket. I like Tad-Bravo's suggestion to use a cloth to pull on, and the sketch is brilliant, once I worked out the perspective!

I'm removing the lights as the first step in fitting a towbar. I have to remove the rear bumper and also expose and connect to the rear light wiring, but I fell at the first hurdle! I gather from comments on this forum that removing the rear bumper isn't difficult once you find the bolts and clips that hold it on, and then I'll remove various covers inside the boot until I find the best place to connect the wiring to the bypass relay that will drive the trailer lights.

Happy days.

Alistair
 
I struggled removing mine the other week but got there in the end by using the method described above. Before you stick them back in just put some silicone grease (or alternative) on the two plastic nippled that push into the rubber grommets to hold it in. Will make it much easier to remove next time around (y)
 
Good advice Freebo. Thanks. A sprained finger has prevented any more attempts (can't hold tools) but I'll hopefully get back to it soon. If you've found any photos of the bumper fastenings, Most Easterly, I'd be grateful for them.

Thanks again.

Alistair
 
Good advice Freebo. Thanks. A sprained finger has prevented any more attempts (can't hold tools) but I'll hopefully get back to it soon. If you've found any photos of the bumper fastenings, Most Easterly, I'd be grateful for them.

Thanks again.

Alistair

Me bad, will post them when home from work tonight :eek:
 
Here are the funny clips at the side of the car which hold the bumper corners in place.
IMG_3024.jpg
IMG_3022.JPG

IMG_3026.jpg
IMG_3029.jpg


One the bumper is removed you'll be faced with the rear crash member
IMG_3030.JPG


Make sure you remove the under seal around the nuts in the rear wheel arches properly before trying to undo them, or you'll round the nuts as I did with the last one, which resulting the the angle grinder having to make an appearance.

Once the crash member is removed there is some exposed unprotected metal which it is worth treating before fitting the towbar. Here hat it looked like after I'd protected these areas.
IMG_3033.JPG
IMG_3034.JPG


And the fitted towbar before replacing the bumper :)
IMG_3035.JPG
 
The photos are brilliant! Many thanks. I had a practice run on the tail lights using Tad Bravo's cloth method and it worked well. I've greased the plastic nipples that fit into the rubber grommets and refitted the lights until I get to work on the towbar in a few days time so hopefully the lights will be easier next time.

The array of clips looks a bit off-putting - I presume that once the screws are undone there's enough flex in the bumper to release it from the clips. Other than the ones in the tail light enclosures that are easy to get at to push down and release the bumper, I can't see how to get at the others. Hopefully it'll all come clear when I get into it.

After the towbar is fitted and the bumper back on, I have to attack the electrics. I presume the wiring looms are tucked behind the carpet lining the sides of the boot and will be exposed once I pull that back, after I find how it's secured.

Happy days!

Thanks again.

Alistair
 
Tad: Thanks mate, you've just saved me a heck of a lot of time (and money by not having to take the car to a garage) in replacing the brake light bulb on my wife's car. The use of a microfibre cloth is a fantastic idea, thanks again.
 
Back
Top