

BigMikePotatoes
New member
- Joined
- Aug 23, 2006
- Messages
- 24
- Points
- 7
I thought i'd share my experience of Colour coding my car here, as i could not part with my money to get it done properly i did it myself, and got a great result!
Here Goes -
Step One - firstly i cleaned all the surface down with a dust free cloth, lol, i used a old t shirt, one that didnt leave any fabric.
Step Two - I rubbed the plastic surface down with 1200 dry n wet paper (avalible at most car shops) to get the shine off the plastic and to hep the paint grip to it. Warning do not use sandpaper, this will scratch the surface and will show up even when painted.
Step Three - Clean down the surface again with my old t shirt and some water, then let to dry completely.
Step Four - Using a suitable plastic primer spray the item, but be patient! build it up every 15-20mins with very light coats, starting with just a mist coat, i did about 3 coats until it was fully covered, when it starts to 'Shine' stop, because its thick enough.
Step Five - Once Primered leave set for one hour. Then start on the top coat (the actual paint to match the car), again build up slowly, i did 3 coats of this as well. this goes on thicker then primer so be careful! maybe just 2 coats, see how it looks
Step Six - Once the final top coat is on, let set again for one hour, then start with a suitable Laquar, for my car i used 2K Clear. The Pros say this should be ablied thick ive been told, but dont be to harsh, slowly build up the coats, on each coat when it looks wet and shinny stop, and let dry for 20-25mins, then do another coat. I only did 2-3 coats on mine, and it matched the cars shinny nes lol. but more way be needed, if your not sure put it next to the car and match it up - when dry! because it might look different wet.
Final Step - Let the item dry for 24hrs before touching or re fixing to the car.
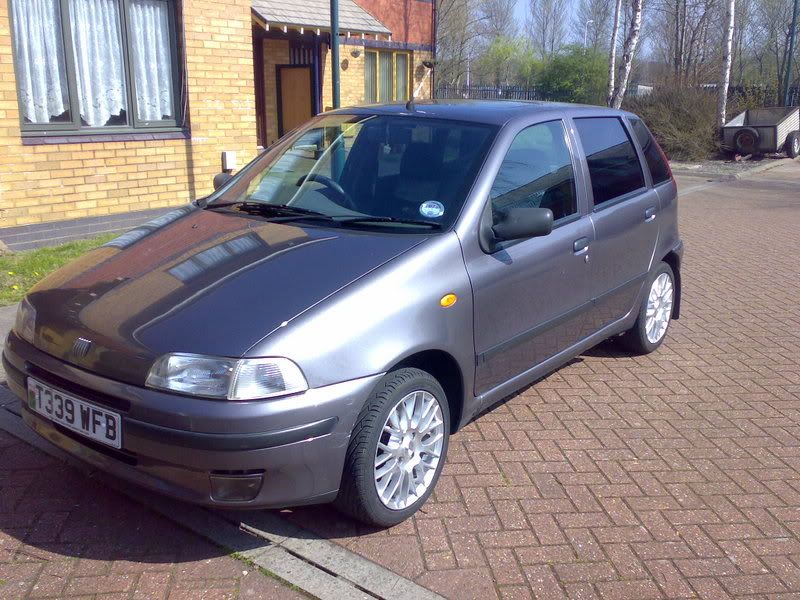
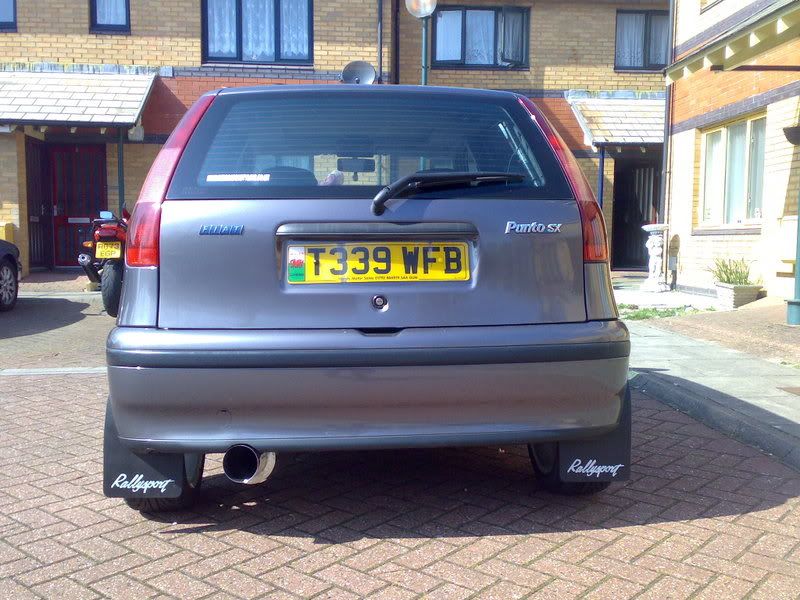
I sprayed my mirrors, door handles and the incloser for the rear number plate on my MK1 Punto, and they all came out great, masking up is required when doing items on the car, and on bits you don't want to paint, e.g. the mirror on the wing mirror, dont risk it and say 'ill avoid it' because its the hard way u will find out!
Here are some pics.
Before -
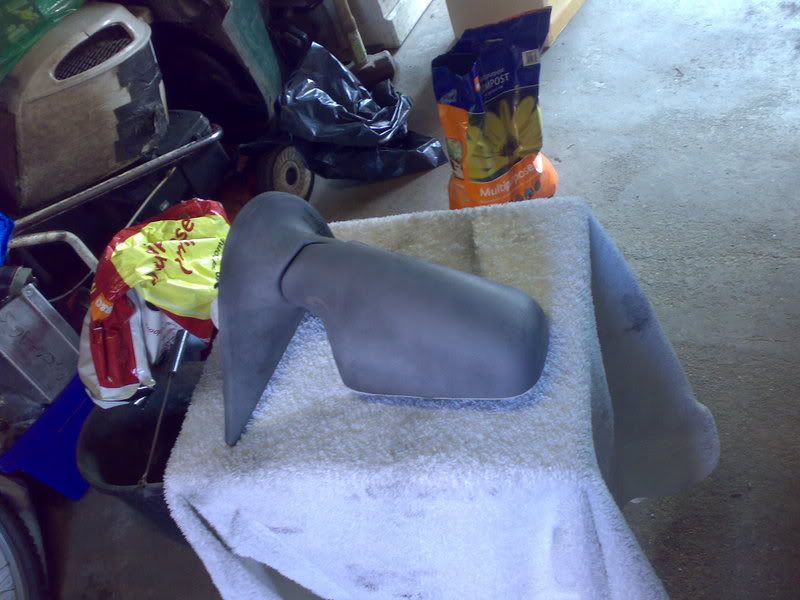
Primering the Mirror -
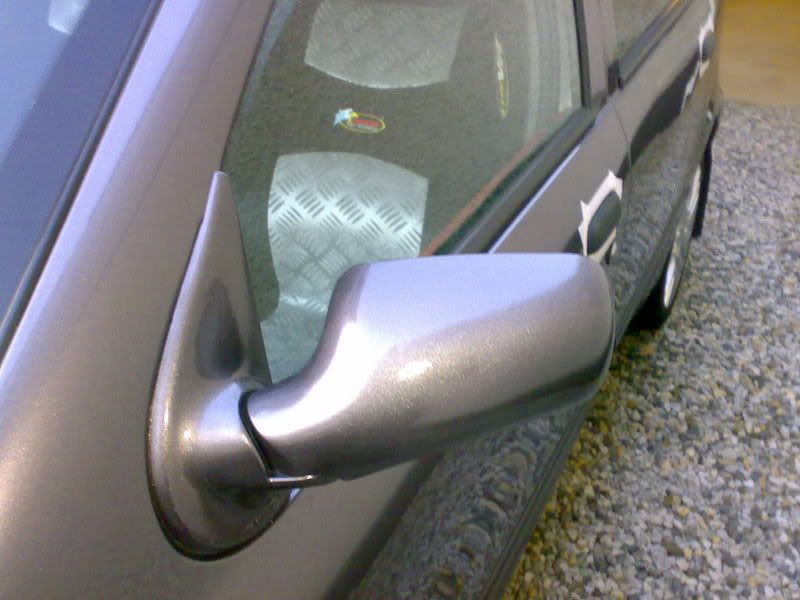
After Finishing mirrors -
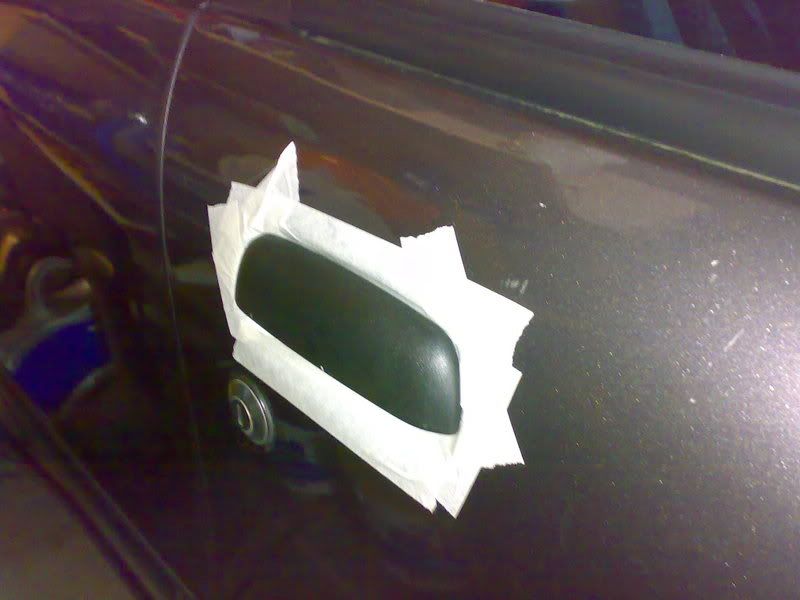
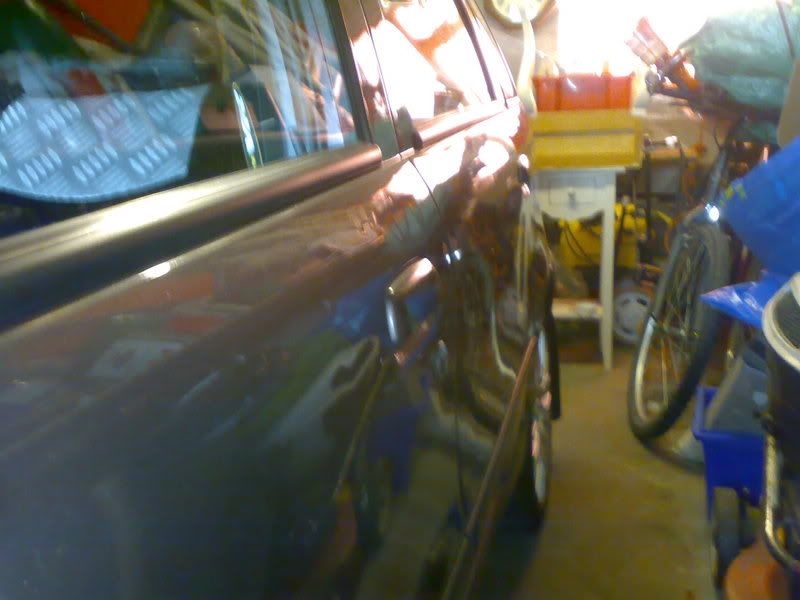
Masking Handles (alot more masking required btw)
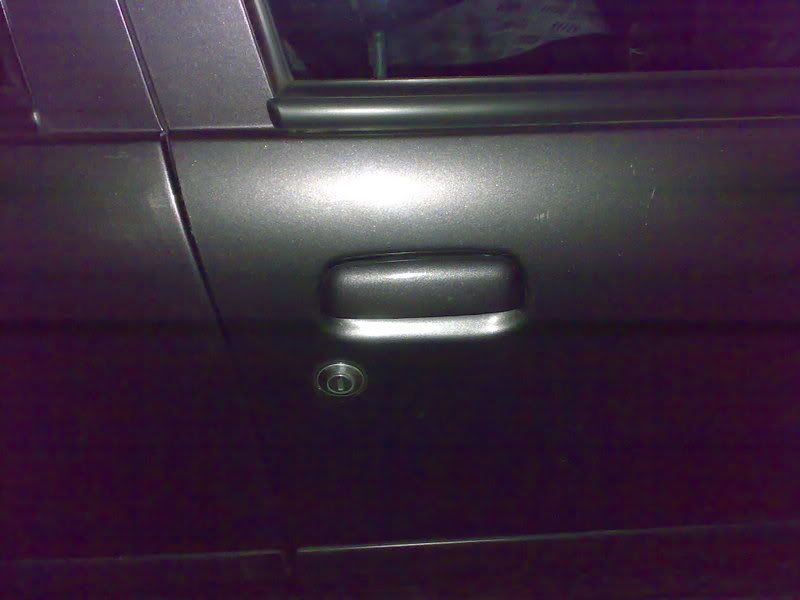
After Spraying -
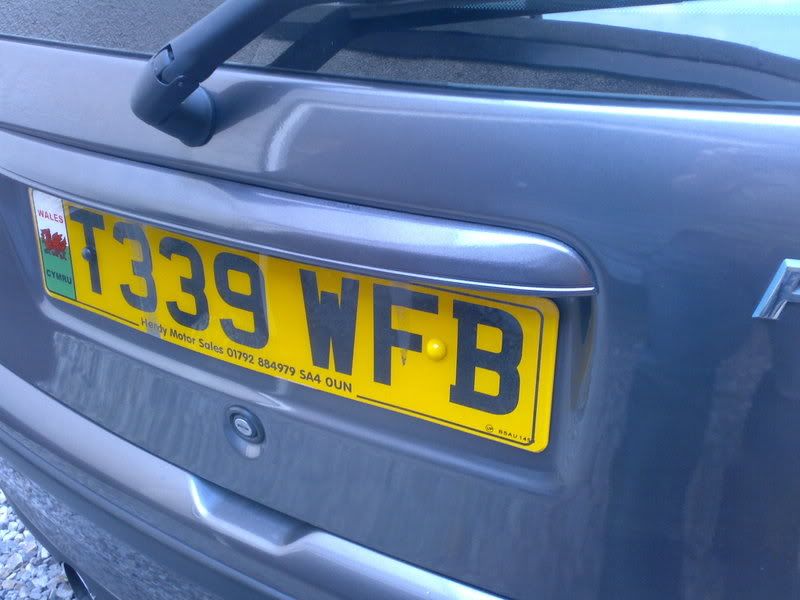
Boot Lit Cover -
Before -
After -
Whole thing cost me £9 for the paint to be fixed (colour 662A is u wondering) £3.99 for Laquer, £3.99 for primer finally 30p for a sheet of 1200 wet n dry paper
Im happy with the outcome, looks as it was done really well") advice
advice
welcome
Here Goes -
Step One - firstly i cleaned all the surface down with a dust free cloth, lol, i used a old t shirt, one that didnt leave any fabric.
Step Two - I rubbed the plastic surface down with 1200 dry n wet paper (avalible at most car shops) to get the shine off the plastic and to hep the paint grip to it. Warning do not use sandpaper, this will scratch the surface and will show up even when painted.
Step Three - Clean down the surface again with my old t shirt and some water, then let to dry completely.
Step Four - Using a suitable plastic primer spray the item, but be patient! build it up every 15-20mins with very light coats, starting with just a mist coat, i did about 3 coats until it was fully covered, when it starts to 'Shine' stop, because its thick enough.
Step Five - Once Primered leave set for one hour. Then start on the top coat (the actual paint to match the car), again build up slowly, i did 3 coats of this as well. this goes on thicker then primer so be careful! maybe just 2 coats, see how it looks
Step Six - Once the final top coat is on, let set again for one hour, then start with a suitable Laquar, for my car i used 2K Clear. The Pros say this should be ablied thick ive been told, but dont be to harsh, slowly build up the coats, on each coat when it looks wet and shinny stop, and let dry for 20-25mins, then do another coat. I only did 2-3 coats on mine, and it matched the cars shinny nes lol. but more way be needed, if your not sure put it next to the car and match it up - when dry! because it might look different wet.
Final Step - Let the item dry for 24hrs before touching or re fixing to the car.
I sprayed my mirrors, door handles and the incloser for the rear number plate on my MK1 Punto, and they all came out great, masking up is required when doing items on the car, and on bits you don't want to paint, e.g. the mirror on the wing mirror, dont risk it and say 'ill avoid it' because its the hard way u will find out!
Here are some pics.
Before -
Primering the Mirror -
After Finishing mirrors -
Masking Handles (alot more masking required btw)
After Spraying -
Boot Lit Cover -
Before -
After -
Whole thing cost me £9 for the paint to be fixed (colour 662A is u wondering) £3.99 for Laquer, £3.99 for primer finally 30p for a sheet of 1200 wet n dry paper
Im happy with the outcome, looks as it was done really well
advice welcome