I've had a reply from 123 (
www.123ignition-conversions.com).
The price to convert my existing distributor to their 123Tune+ is €565 (approx. £500) including a new uprated coil. Approx 10 days turnaround.
It is a little pricy but when you look at what you are getting it's not too bad.
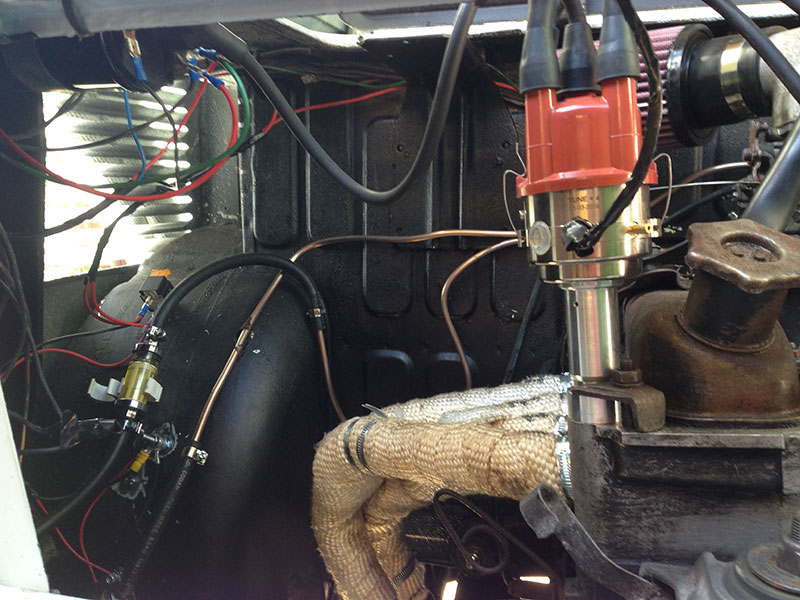
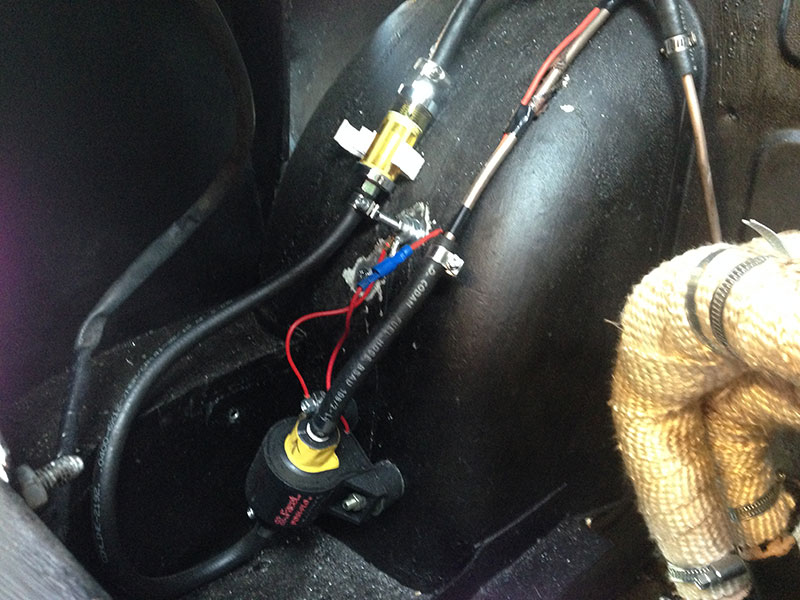
Firstly it just fits in the same hole that the original distributer fitted in and there are no extra boxes or wizardry to fit.
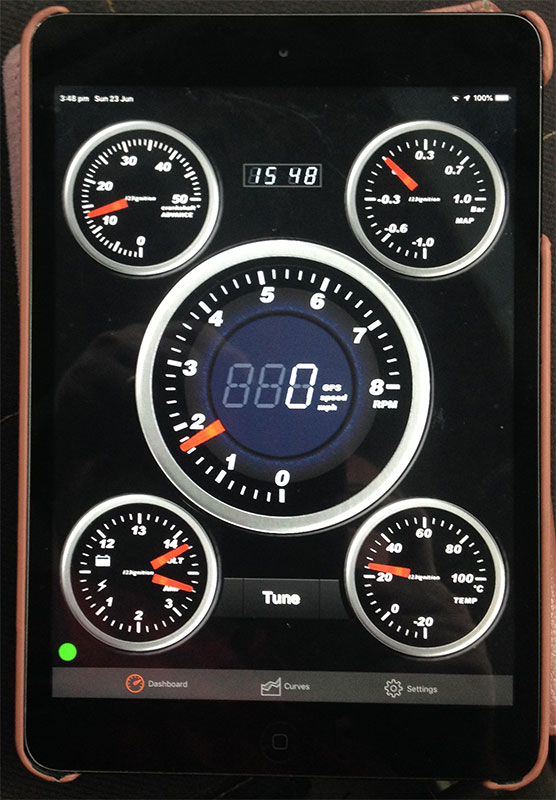
The real selling point (to me) is that you set the timing using your iPhone/iPad using bluetooth - much easier. It also has a built engine immobiliser (PIN code), something else I was going to buy but won't need to.
The App also has a dashboard that shows engine revs, temperature, battery charge etc.
I'll let you know how I get on.


")