17717052334_1044bd2216_b.jpg

900 Bluebell the 900e Amigo

Introduction

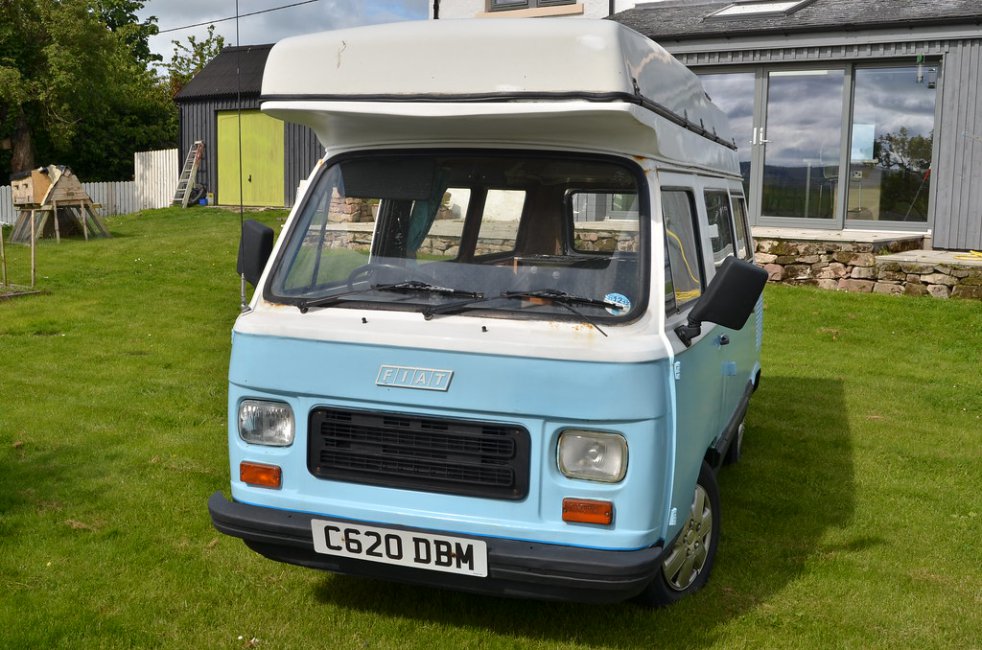
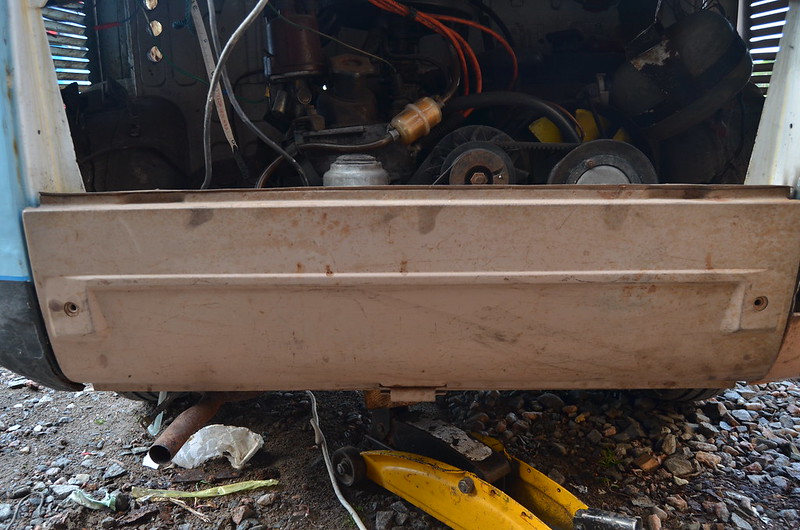
We have just taken on the ownership of this camper from Kelly and Karl and hope to have it on the road within the next six months.
17717052334_1044bd2216_b.jpgDSC_6177 by Peter Thompson, on Flickr
Not only is it a really lovely vehicle, it was also a pleasure to buy it from such a genuine and really nice couple. There was a huge amount of interest in the sale and I am really appreciative that I was favoured to be the buyer ; so many thanks Karl.:)
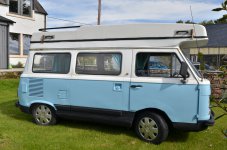
18335728502_1005bcd374_b.jpgDSC_6176 by Peter Thompson, on Flickr
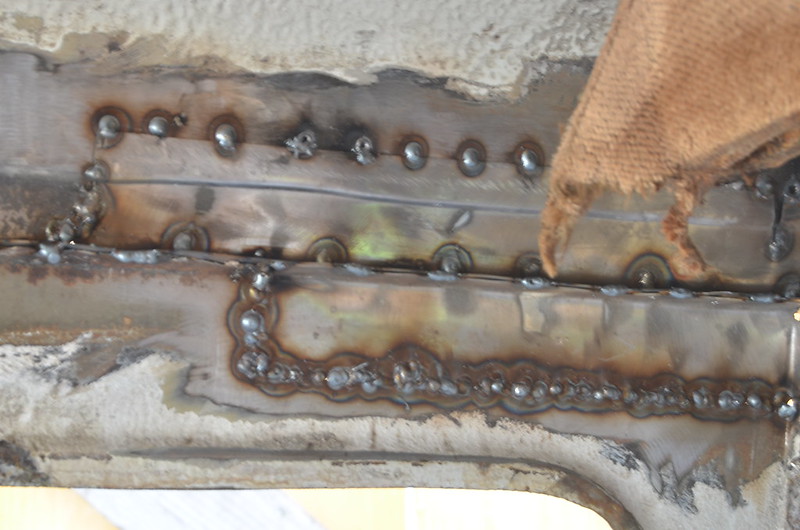
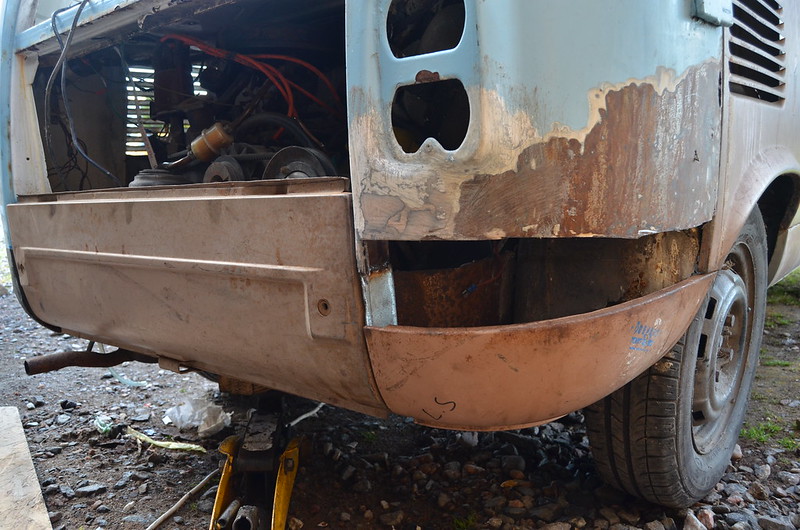
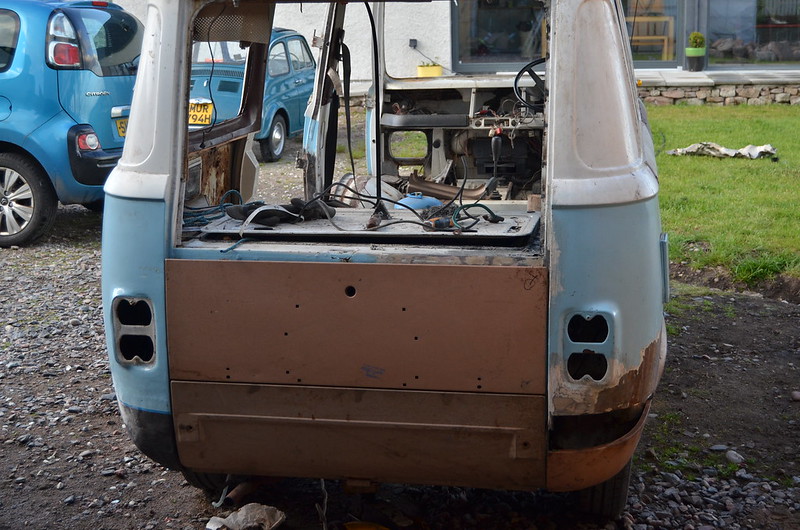
There is a certain amount of essential welding to do underneath, which will add to the welding that has been done in the past. It is currently pretty solid underneath but not as pretty as it could be. I hope to tidy as I go and then work around the bodywork. This has signs of a lot of filler and there is rust poking through in places, but it looks like we will be able to get using it soon.
There are a number of mechanical issue but nothing too onerous and it starts and runs really well.
So a rolling restoration to usable standards.
I just need to get the roof open now!
Watch this space as I document my progress.
Timmy, there is a "for sale" section that would put it in front of more people.
Unfortunately, I seem to remember it being said that it's the battery side that is most often needed and hence rare and more sought-after. Someone will need it though.(y)
 
I know photos are misleading but the van looks better than average towards the bottom Pete.
Your inside rear corner is about the same as mine but the tailgate mounting area is possibly worse. You have a lot more gutter damage than me but in general, I would swap any day!:D
If you really are stuck about where to start I am sure I will be able to lead the way.
But at the moment I am still tied up with rendering our new house and look likely to be so for several more weeks at least.
 
A Christmas update just to point out that the van hasn't turned into a lost cause.
Lots of things have kept me busy in the latter part of the year, as the final stages of our house-build croak to the end.
I have also been distracted by an engine and gearbox project on the 500 and generally in tackling the maintenance of the little car.
I also had a mjor task in replacing the gearbox on my modern car...not for the fainthearted.:bang:
So I'm hoping the major resolution for 2017 that gets put into practice will be to take up where I left off nearly a year ago with the Amigo.
When I do there will obviously be updates here.
It would be nice to hear how everyone else is faring with their projects, running or not; so please get on with the updates yourselves and have a very Merry Christmas.
 
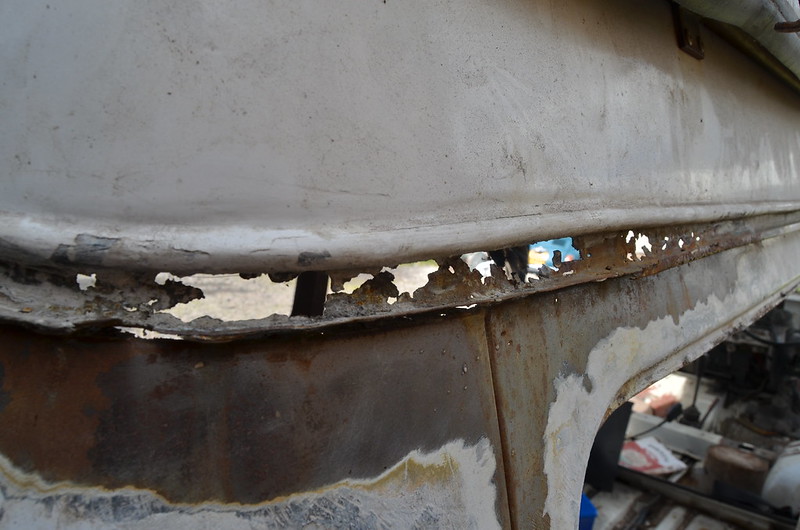
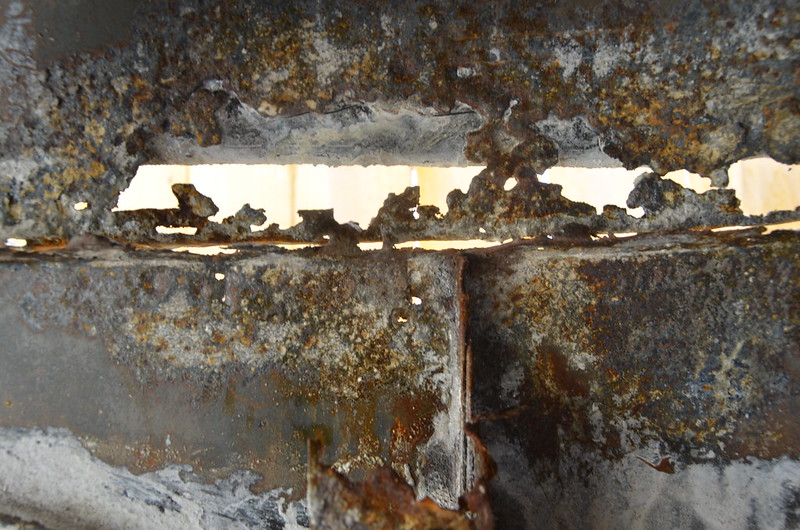
I've certainly not given up although sometimes it's hard to know where to start. So here goes with the guttering and inner roof area at the rear.:eek::eek::eek:
MAL_8051 by Peter Thompson, on Flickr
MAL_8050 by Peter Thompson, on Flickr
Although I knew the van was very rusty, this area was quite a surprise to me and it has taken some careful thinking to work out an approach. It's very complex and a problem on my van is that there is a two-part fibreglass top and the bottom piece seems to be bonded-on and actually covers the area needing welded. I've made a start and will have updates of the metalworking soon.
 
Last edited:
On a different note / off at a tangent...
I noticed that you started your restoration thread 01 June 2015 when you bought Bluebell with the aim of having her restored and back on the road within 6 months.

My thread for Connie's restoration started a few weeks later, I had the expectation (hope) that she would have been back on the road the following year (June 2016).

Two years later we are both still plugging away :(
The end is getting a step closer with each post (for both of us) but it looks as if it will be awhile before they need to put the finishing line tape out.
 
it will be awhile before they need to put the finishing line tape out.


Too right it's a long way off for me. I was hoping to do a running restoration after a few months but simply found too much rust....more is delivered each day.:D

There is zero rust prevention on these both in the design and treatment of the metal.

The gutters and inner roof are made from about five different profiled sections which I would find impossible to replicate. But by simplifying the design and using the shrinker/stretcher I gradually built up the layers.
MAL_8053 by Peter Thompson, on Flickr
MAL_8054 by Peter Thompson, on Flickr
Even with that tool and the occasional use of the swage rollers it was tricky to get the tight fit inside the roof. Because the fibreglass is so close I wasn't planning to seam-weld so I overlapped the repairs and put in plenty of stitch-welds. The van body is not part of a monocoque so I'm not worried about having ultimate strength.
After a lot of messing I ended up with it looking quite acceptable externally:
MAL_8062 by Peter Thompson, on Flickr
MAL_8057 by Peter Thompson, on Flickr
The gutter needs trimming and tidying up with filler and sealant and it is very secure.
Inside it's not so tidy and there's more to do after this, but it will all be hidden after painting and gallons of Waxoyl.
MAL_8058 by Peter Thompson, on Flickr
I've done a bit more after this as there were extra strengtheners to finish the inner roof. Tomorrow I have more big bits of rust to sort out.:cry:
 
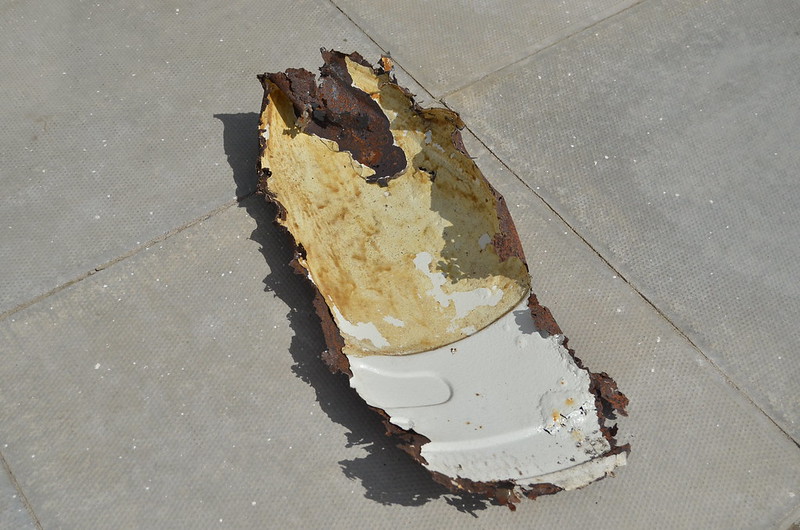
:eek::eek::eek:This rear bracing panel was a mess.....
This is the remains after being pulled out.
MAL_8098 by Peter Thompson, on Flickr
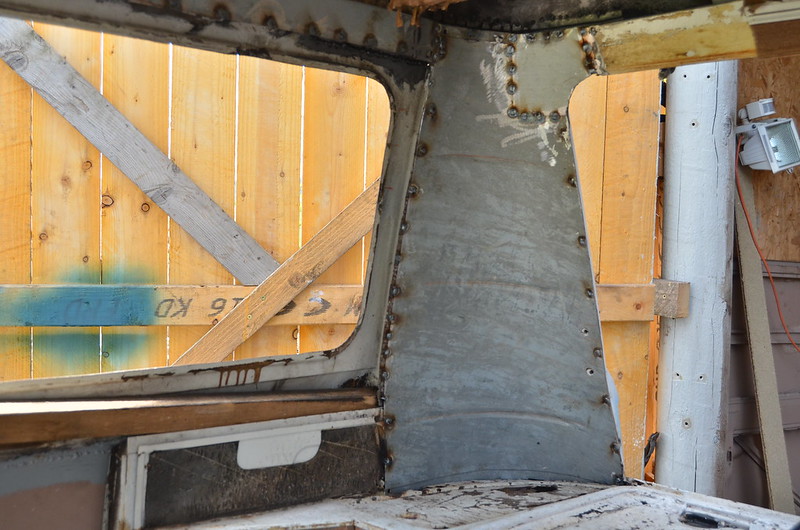
The replacement was a fairly simple job but I wasn't going to stress about getting the pressings as original, so a few stiffening ribs will have to do. The whole thing is hidden behind the interior trim.
MAL_8101 by Peter Thompson, on Flickr
Then I had the mess of the top, side panel over the engine bay. I chose to remove the whole, rusty centre and made an approximation with joddled edges; not quite finished yet.
MAL_8102 by Peter Thompson, on Flickr
MAL_8104 by Peter Thompson, on Flickr
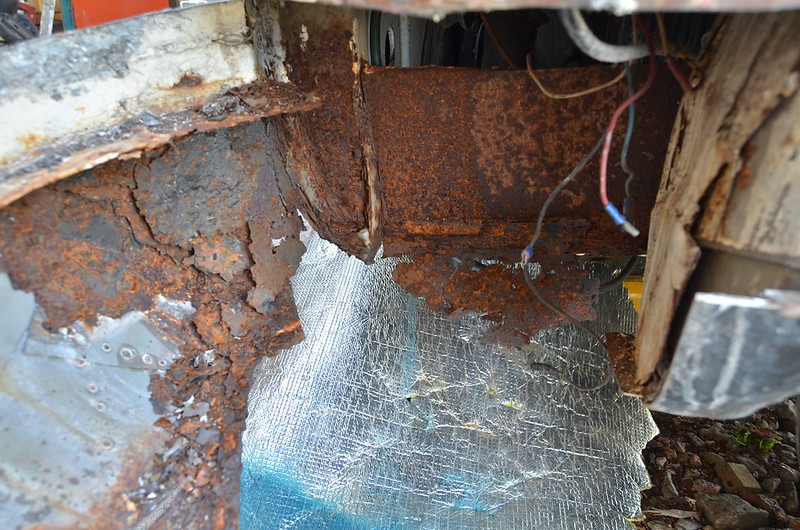
So now there's no avoiding the horrors in the area behind the rear quarter where the battery is housed. This has been appallingly badly bodged....even for this van. Without the useful information on Vin's restoration pages I wouldn't know where to start.
MAL_8106 by Peter Thompson, on Flickr
It was out with all of the poxy , thin bits of dabbed-together plate and I made a start on rebuilding the pillar which the rear engine support panel bolts to. I hope to make more headway tomorrow.:rolleyes:
MAL_8109 by Peter Thompson, on Flickr
 
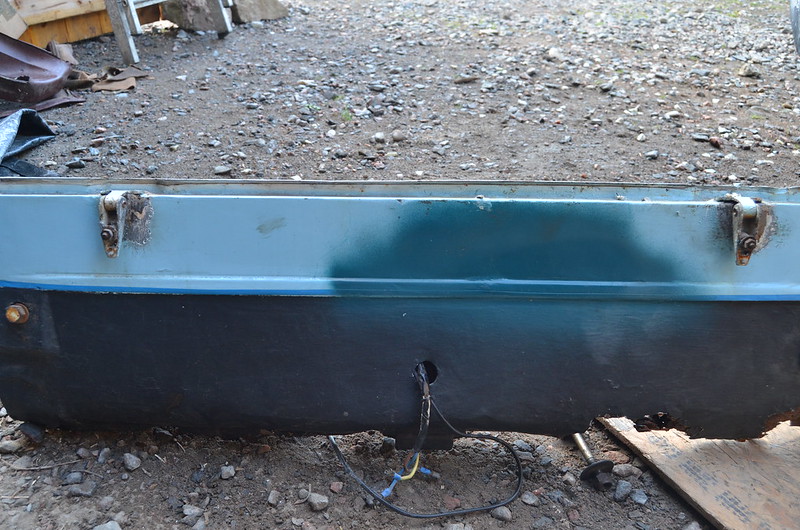
I had to remove the rear engine panel so that I can get at its mounting point to finish the repairs. This also meant I could ditch the ratty old piece of carp and use a new panel, which is better to use for alignment.
MAL_8112 by Peter Thompson, on Flickr
It is slightly different in not having the hinges fitted, so I will transfer them later.
MAL_8113 by Peter Thompson, on Flickr
This allowed me to finally check to see the fit and alignment of the rear quarter sub-panel. This has worried me because the bodged repairs from the past had created a bloated mass of metal and filler. It goes in more neatly than I expected and this gives me the baseline for re-creating the complex set of supports which should be in there to support the battery and brace all the panels.
MAL_8111 by Peter Thompson, on Flickr
It's all looking a lot better in this mockup.
MAL_8114 by Peter Thompson, on Flickr
 
nice work peter, loads of progress.
Thanks Andy, it does feel like I'm getting somewhere again.
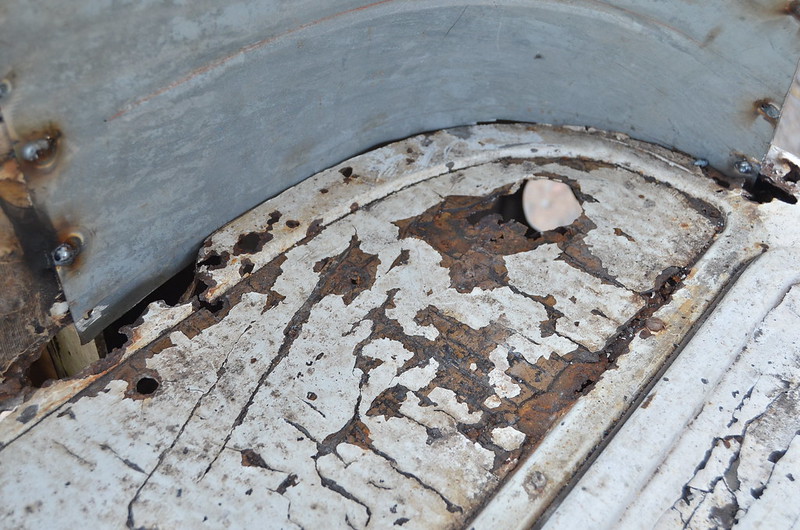
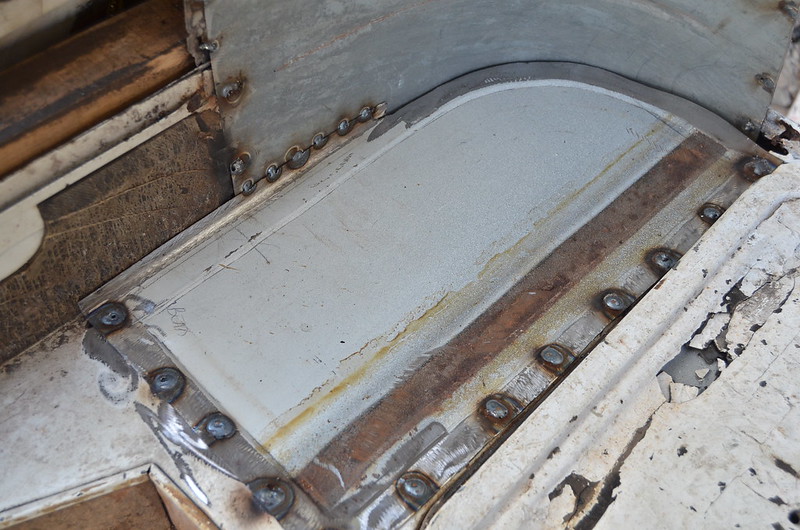
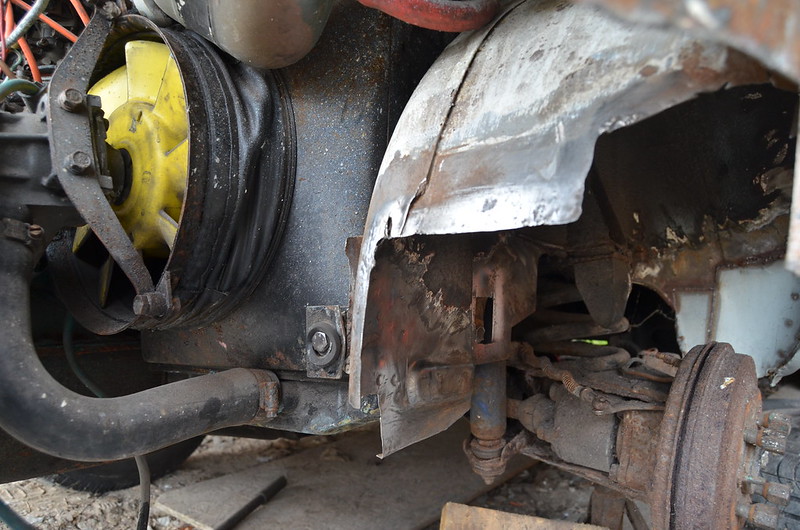
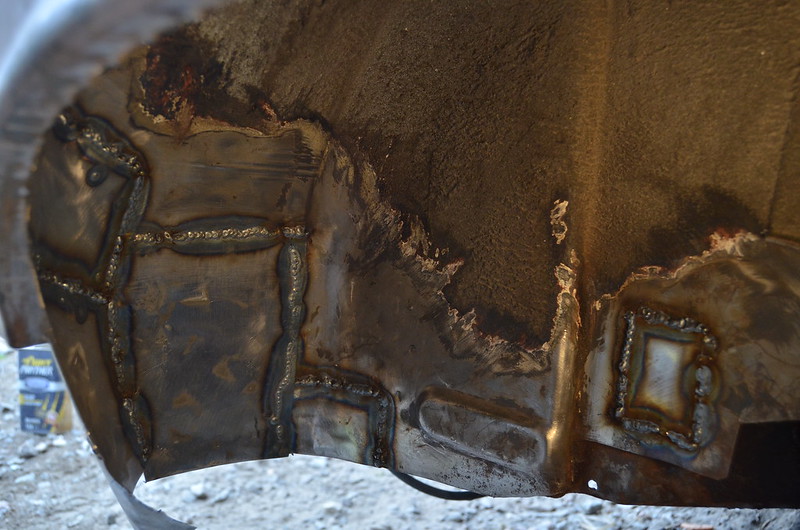
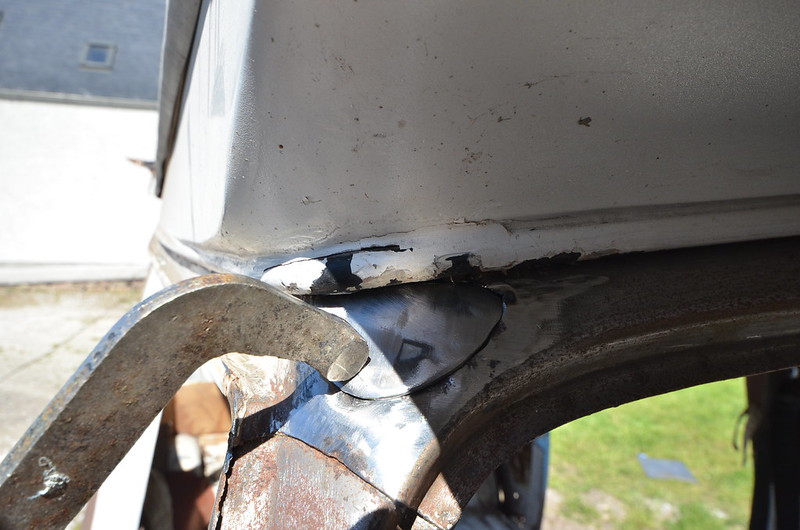
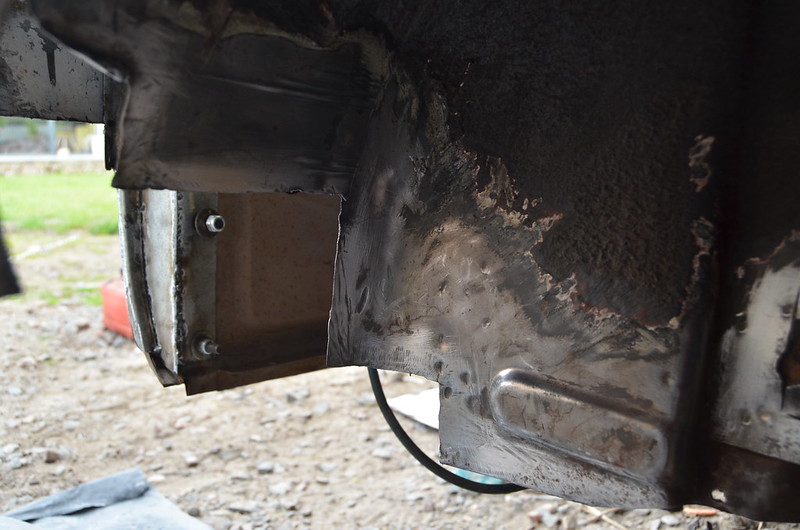
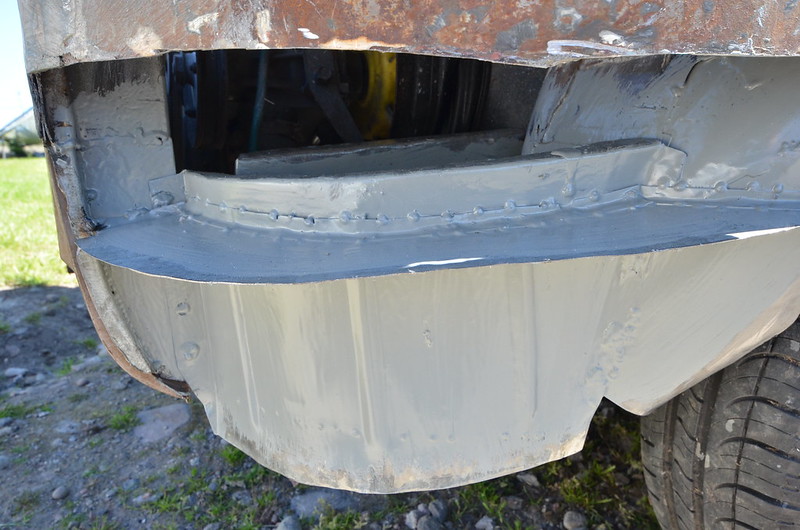
I couldn't start on the batttery support work until I had sorted out the wheelarch. This has had the typical treatment of overlapping plates crudely blobbed into place using filler, fibreglass and splot-weld. So first job was to extract the offending mess which left me with this.
MAL_8116 by Peter Thompson, on Flickr
MAL_8119 by Peter Thompson, on Flickr
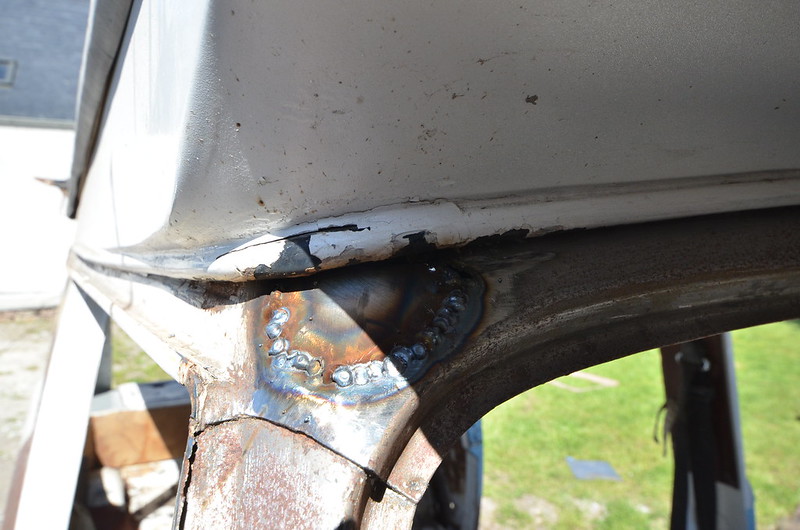
I suppose a perfectionist would find a new arch or have one made or learn how to bash metal properly. But I'm too mean and short of time for that so I carefully constructed a jigsaw of closely fitting pieces
MAL_8122 by Peter Thompson, on Flickr
It will be finished at the edge when I have completed the battery-bay, which I am about to start now........
 
My last effort for a week or so because I'm off on holiday.
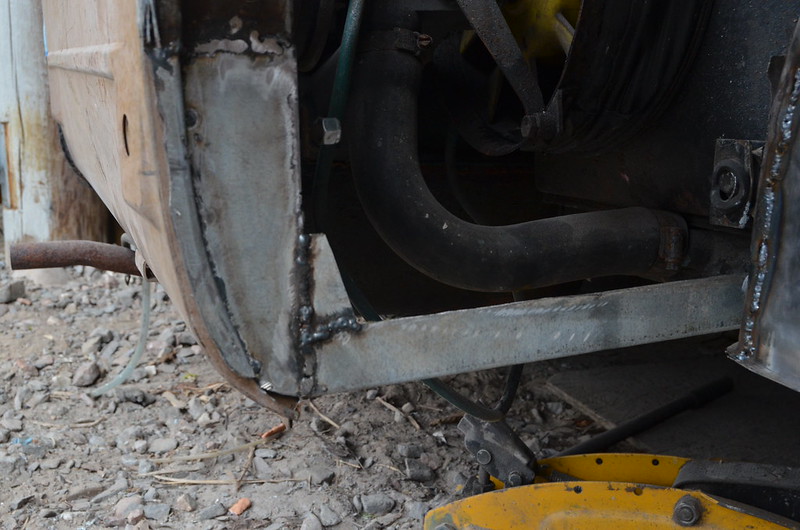
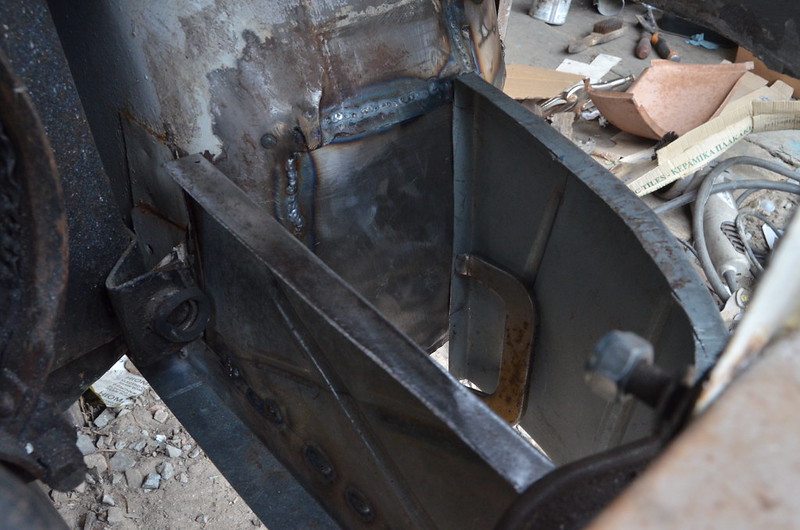
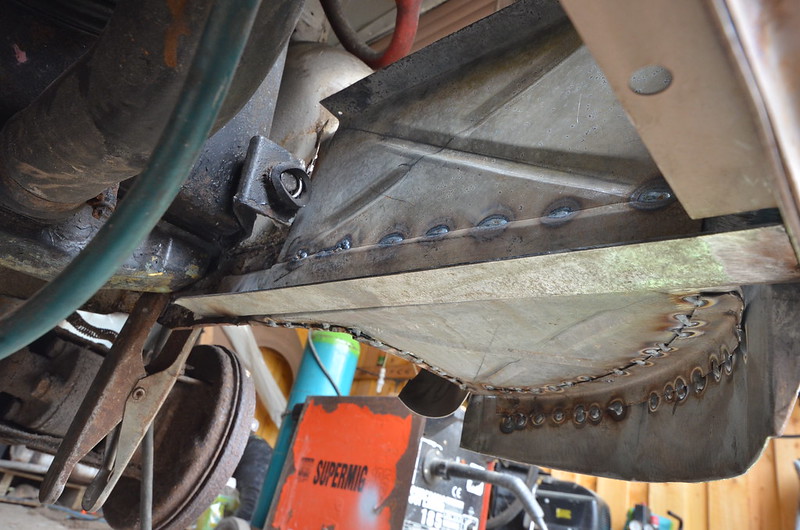
With the wheelarch welded I could make the simple angled section that stabilises the rear panel.
MAL_8128 by Peter Thompson, on Flickr
This is also the base for the one of panels which supports the battery-tray.
MAL_8129 by Peter Thompson, on FlickrMAL_8133 by Peter Thompson, on Flickr
I copied from a photograph from someone else's restoration because there are no remains of the original. I had a bit of fun using the beading tool.
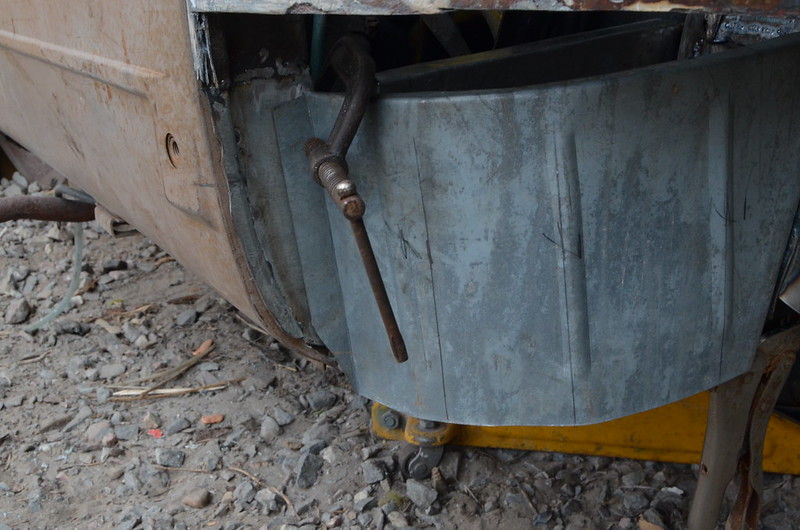
It was a tricky bit of measuring and geometry to make the other curved panel.
MAL_8140 by Peter Thompson, on FlickrMAL_8135 by Peter Thompson, on Flickr
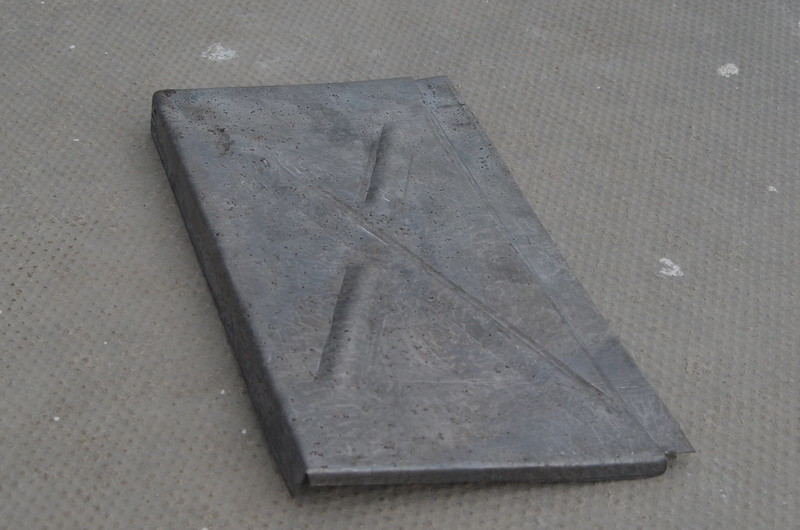
This is ready to be welded in and then there is a closing plate at the base.
It's pretty obvious that with all this metal just behind the wheelarch, the odds are rigged in favour of rust, so I'm going to make some drain holes and make sure it is really well-protected.
 
Last edited:
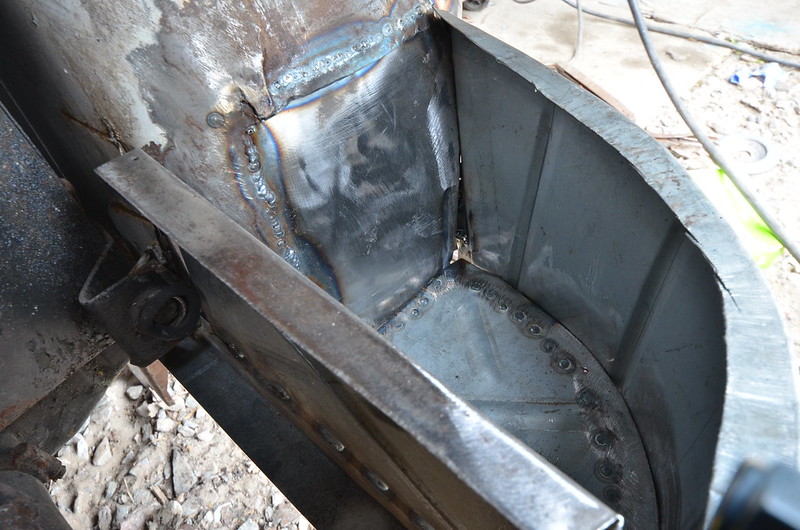
I had to do a bit more fettling to get the pieces to fit nicely.
MAL_8296 by Peter Thompson, on Flickr
There was some awkward welding due to the confined spaces I am building.

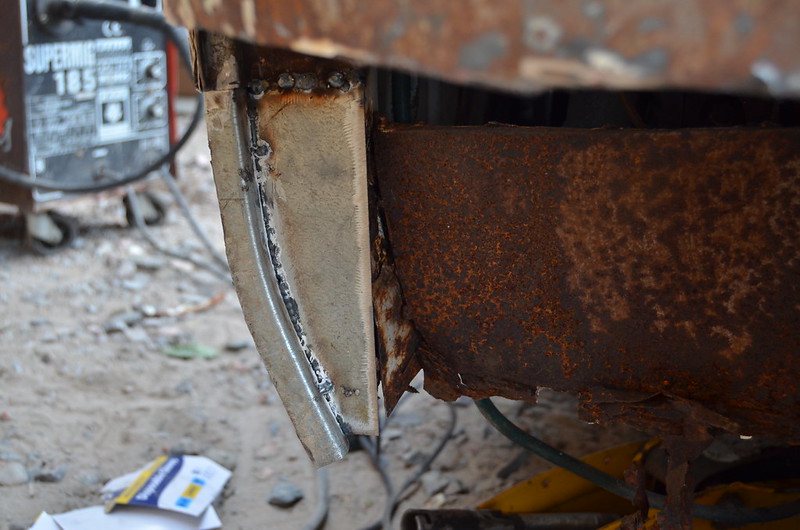
The closing plate is a complicated shape with a turned flange on the outer curve. I found it easiest to make a right-angled section and shrink it to a curve and then use that to join the panels.
MAL_8295 by Peter Thompson, on Flickr
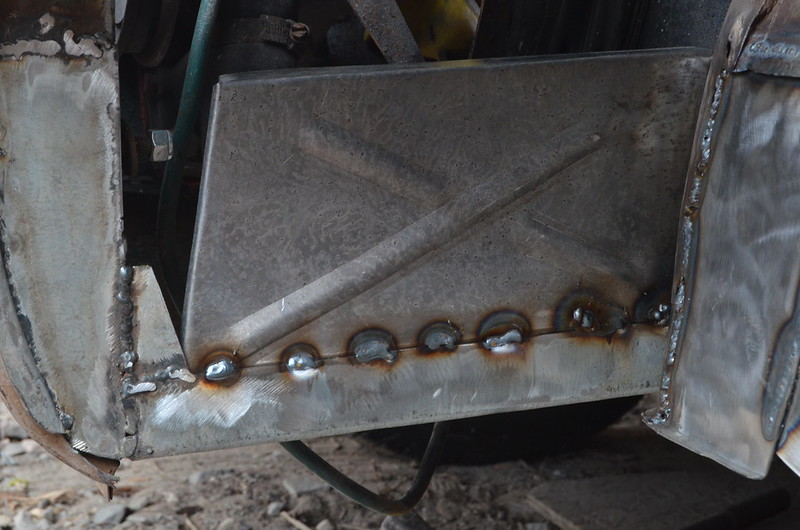
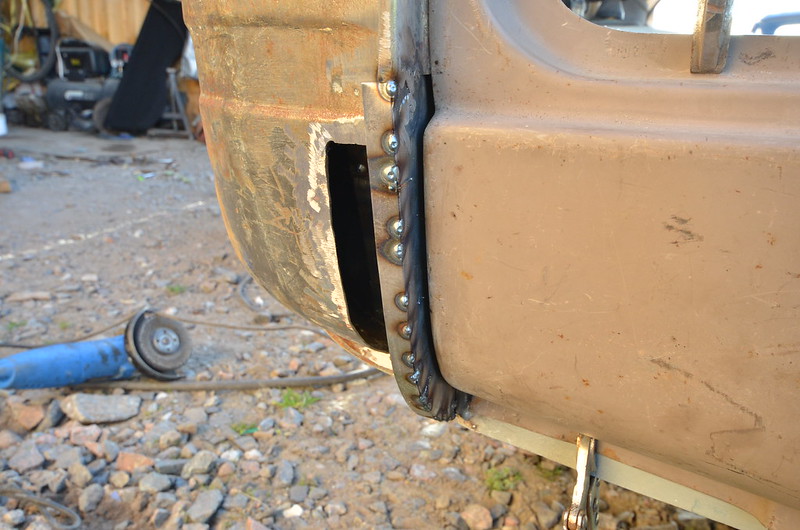
I've done quite a bit of permanent tack-welding rather than faffing about drilling loads of holes for plug welds.
I will trim the panel once the outer panel is fitted.
I'm going to consume a lot of sealant around here.:D
 
I had to make another component which is a piece which provides extra rigidity to the sill corner. Then I painted the lot using epoxy primer and after sealing some obvious moisture gaps and giving it a second coat of paint I will finally be fitting the finishing cover.
MAL_8302 by Peter Thompson, on Flickr
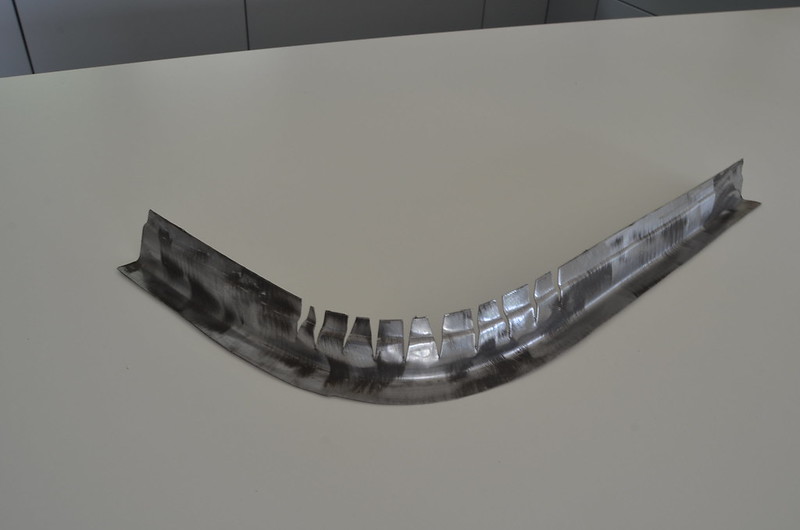
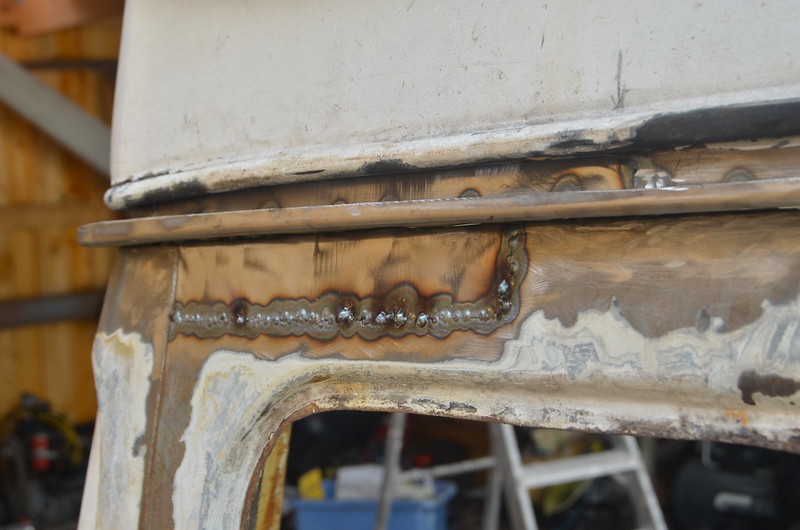
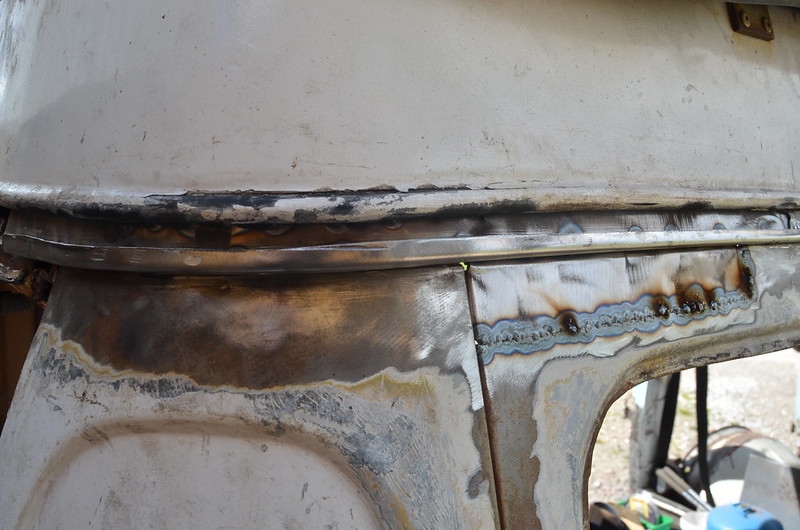
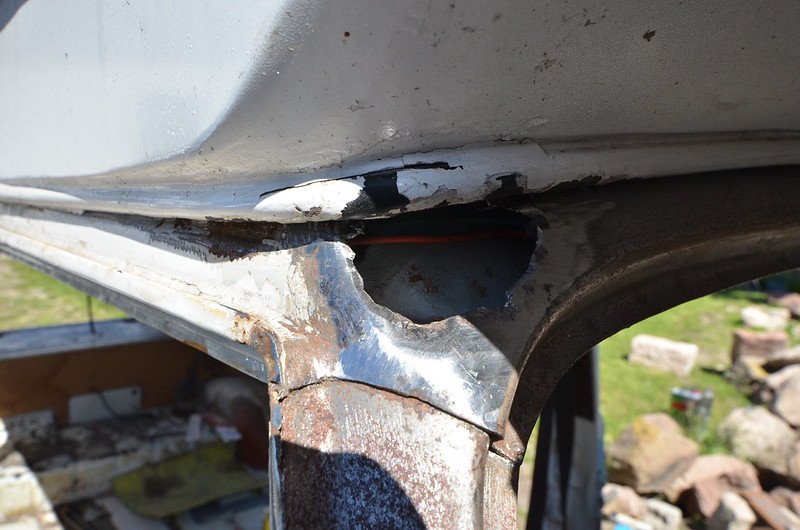
Now I'm making my way around to the other side so that I can complete all the half-finished bits from over a year ago. One of these was a nasty hole right up near the roof at the front. It was an awkward place to clean up, but I managed to bluff it and inserted a carefully shaped piece of metal without causing any serious damage to the plastic beading at the roof join.
MAL_8303 by Peter Thompson, on Flickr
MAL_8306 by Peter Thompson, on Flickr
MAL_8307 by Peter Thompson, on Flickr
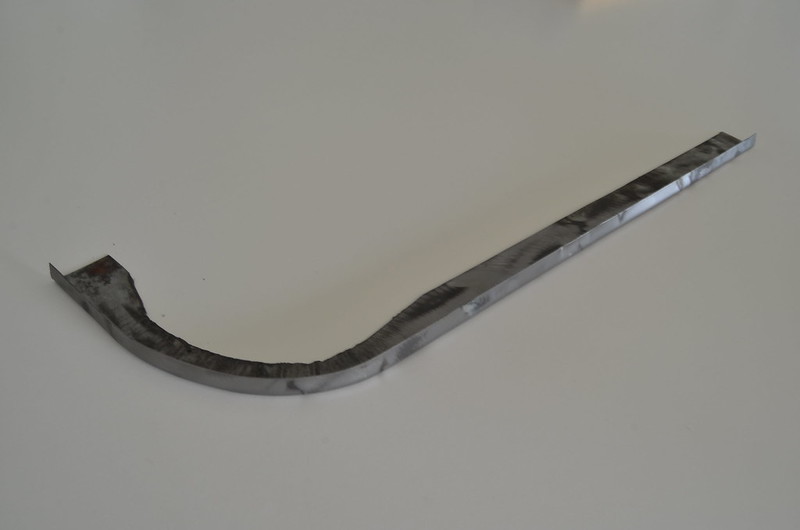
Then round to the base of the door pillar where the internal connection to the sill was in a mess and the continuation gutter which should wrap right down the sill has to be re-made.
MAL_8308 by Peter Thompson, on Flickr Once these areas are completed, whilst the weather is generally warmish and dryish, I will be able to make some headway on paint preparation on half of the van. I don't want it to go through another winter collecting surface rust.:bang:
 
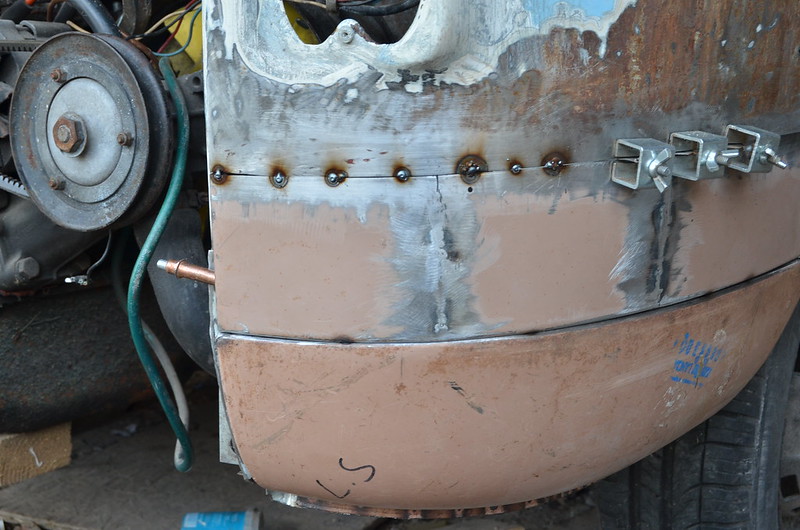
I returned to the rear corner, which is now sealed and epoxy-primed inside. Not surprisingly, given the amount of recreation I have had to do to the under supports, the replacement corner sill panel was tricky to align. Like most bits on this van I had to settle for the best compromise. I think that it would have been hand-made and rattling about in storage for years, so perhaps the shape wasn't perfect anyway.
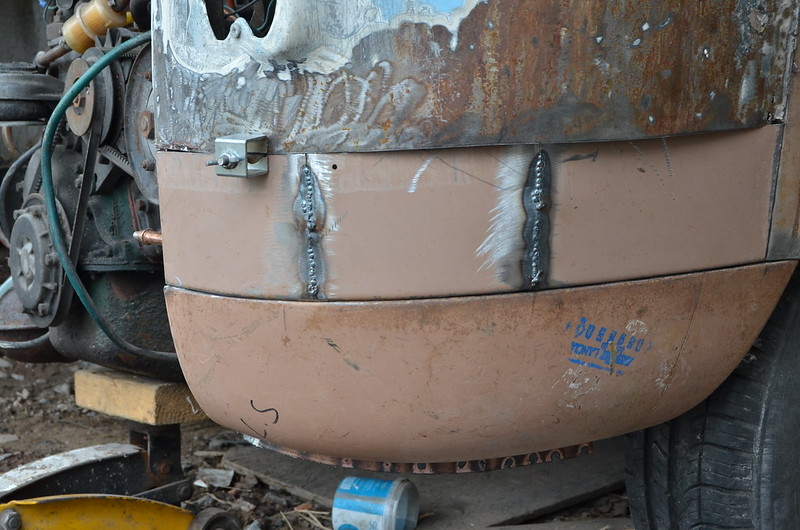
So now I am starting to patch the rear quarter panel above. It was easy to make the basic curve on the shrinker, but as it starts to go in compound curves my skill level and equipment fall short. So you can see the jigsaw of pieces that I will tweak and weld together. tomorrow. Then will cut back the original panel to good metal and butt-weld it back together.
MAL_8872 by Peter Thompson, on Flickr
 
I got my "jigsaw" welded together and after carefully clamping and aligning the panel I trimmed things to fit.
MAL_8914 by Peter Thompson, on Flickr
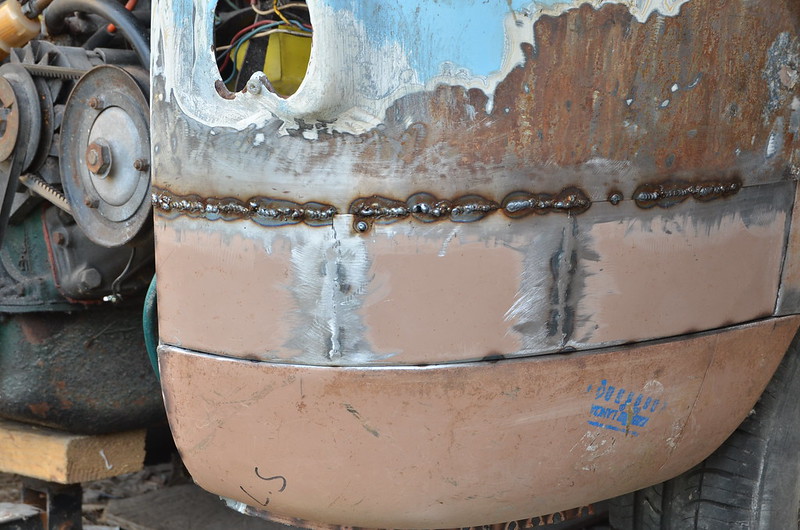
After tacking together I started to gradually butt-weld it together.
MAL_8916 by Peter Thompson, on Flickr
I regularly used the hammer to push things back as the heat distorted things. The flanges that you don't see which were originally spot-welded had to be plug-welded. This was really tricky because of the limited access for the welding-torch and my head.:eek: So some of it had to be done "blind" with my eyes closed.:cool: You can see the heat marks on the paint at the bottom.
MAL_8917 by Peter Thompson, on Flickr
Near the end my welding wire ran out but the next job will be to make good the vertical edge of the panel where it meets the wheel-arch panel. If you wonder why the metal is painted with the same primer as the factory panel, it's because I was able to salvage a spare piece of a larger panel I used...the original steels obviously weld together better.
 
Last edited:
Back
Top