17717052334_1044bd2216_b.jpg

900 Bluebell the 900e Amigo

Introduction

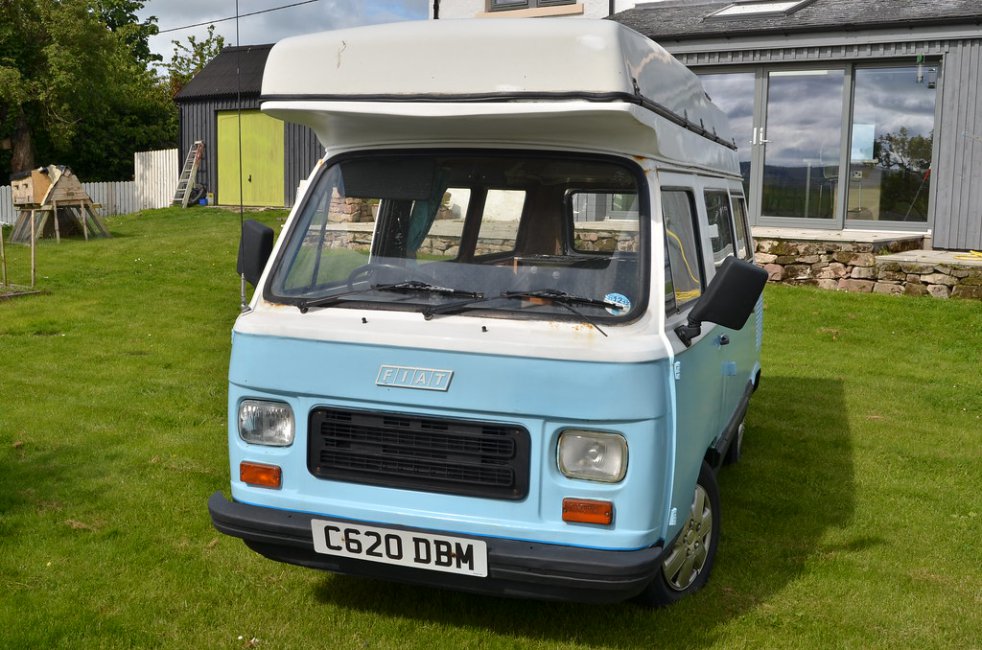
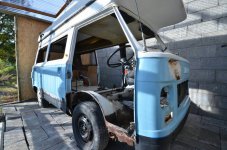
We have just taken on the ownership of this camper from Kelly and Karl and hope to have it on the road within the next six months.
17717052334_1044bd2216_b.jpgDSC_6177 by Peter Thompson, on Flickr
Not only is it a really lovely vehicle, it was also a pleasure to buy it from such a genuine and really nice couple. There was a huge amount of interest in the sale and I am really appreciative that I was favoured to be the buyer ; so many thanks Karl.:)
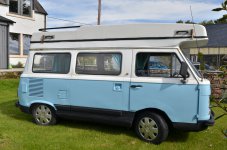
18335728502_1005bcd374_b.jpgDSC_6176 by Peter Thompson, on Flickr
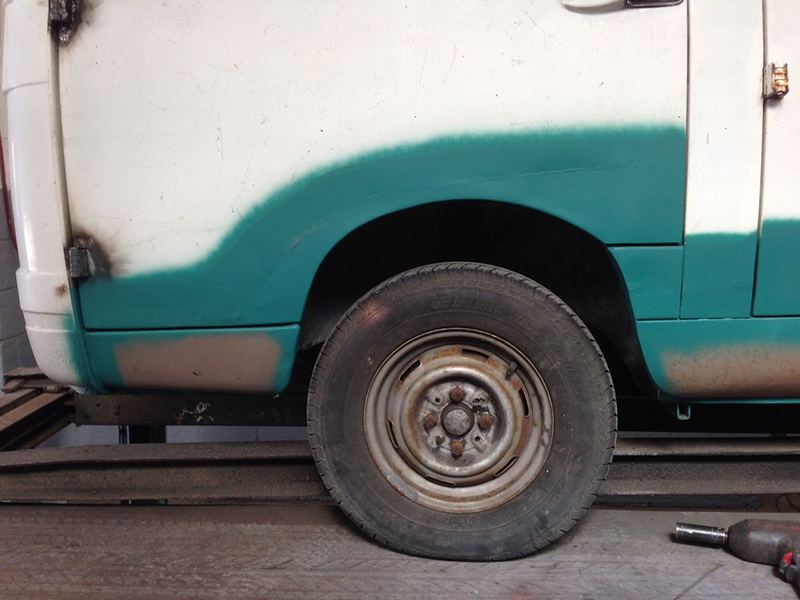
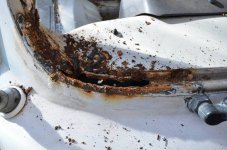
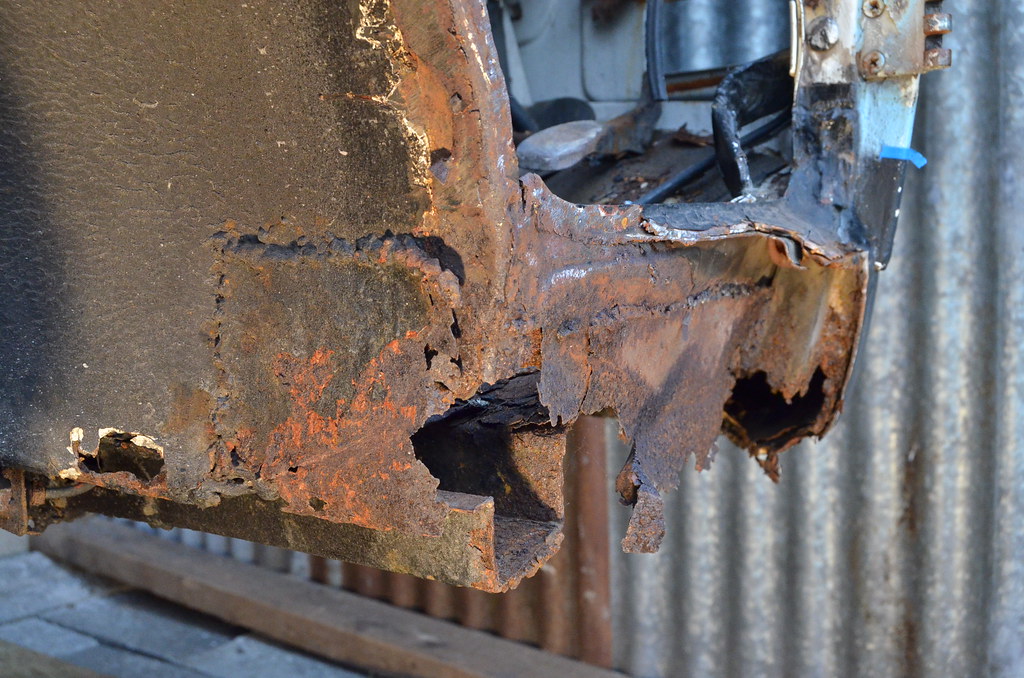
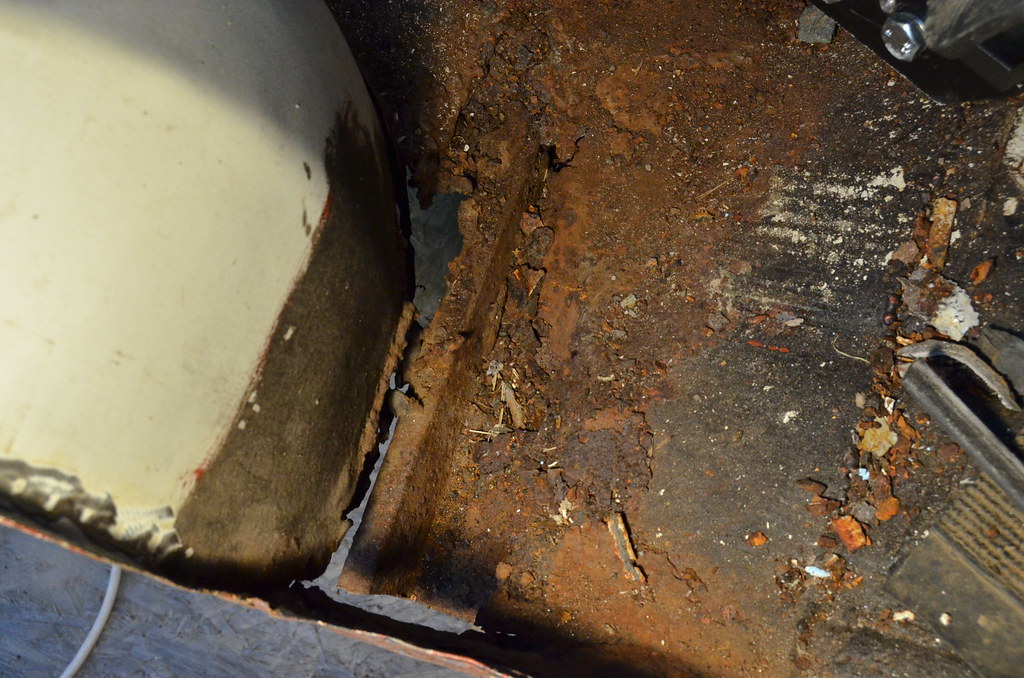
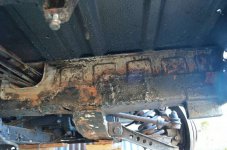
There is a certain amount of essential welding to do underneath, which will add to the welding that has been done in the past. It is currently pretty solid underneath but not as pretty as it could be. I hope to tidy as I go and then work around the bodywork. This has signs of a lot of filler and there is rust poking through in places, but it looks like we will be able to get using it soon.
There are a number of mechanical issue but nothing too onerous and it starts and runs really well.
So a rolling restoration to usable standards.
I just need to get the roof open now!
Watch this space as I document my progress.
Have sent a pm Peter thanks for your help and support :)

I made an enquiry about a brand new Fiat passenger door for the Amigo.
It was fairly expensive at 490 Euros. Add on the postage that I have just been informed of and you get the grand total of 848.
What's "forget it" in Italian?:):)
 
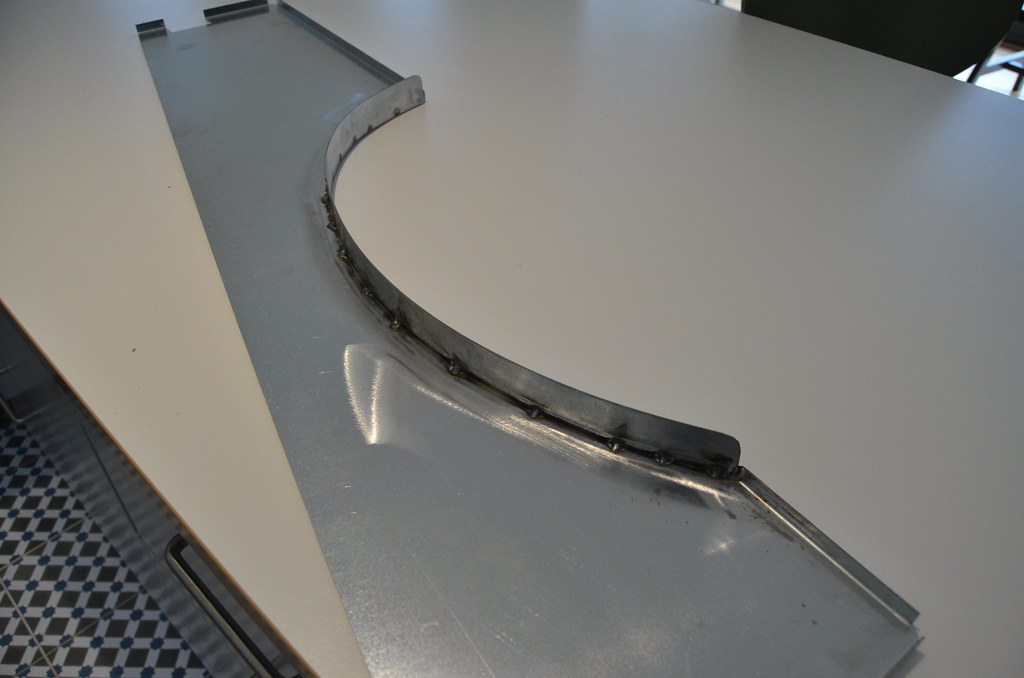
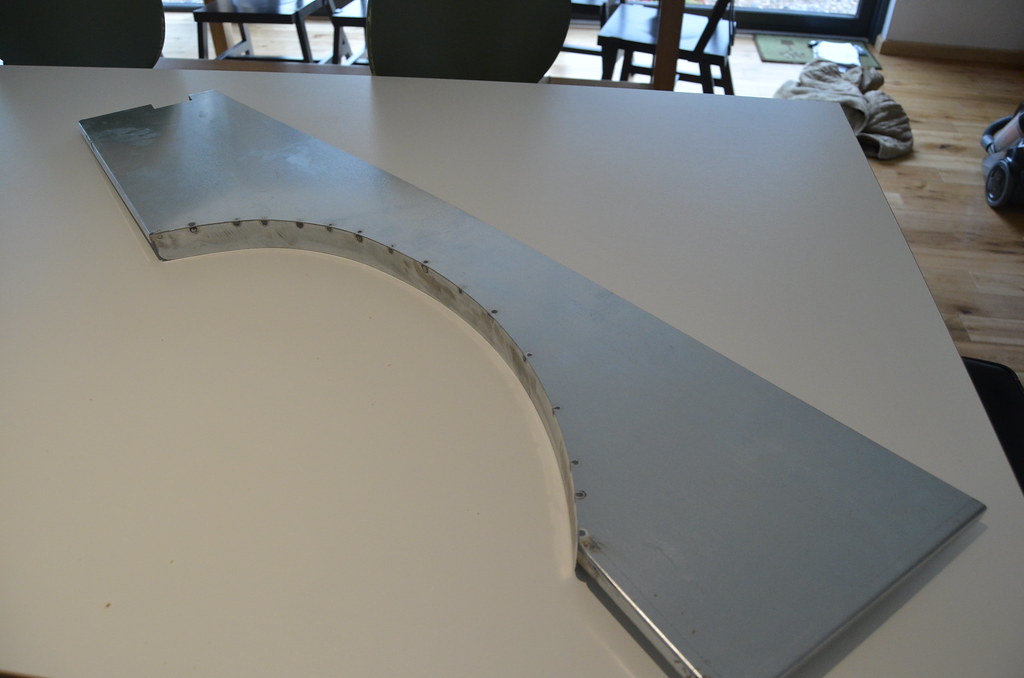
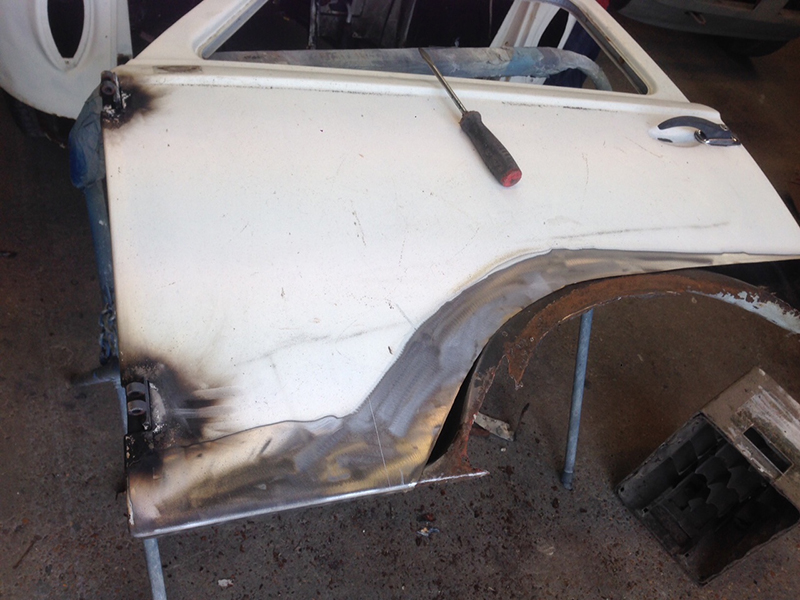
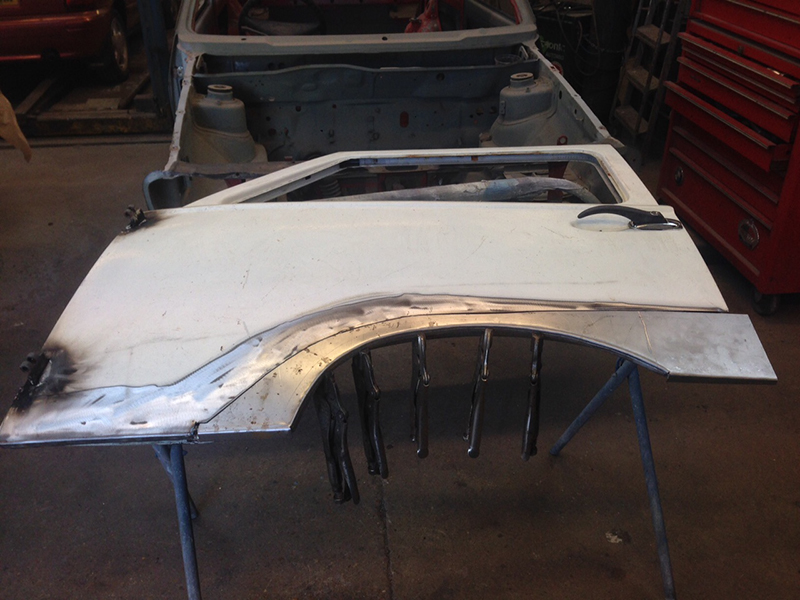
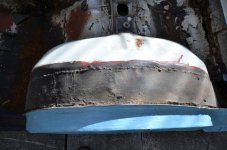
I gave up on buying the new, nearside door so I have taken delivery of a door-bottom repair panel. I will post a photo tomorrow. I am wondering has anyone else used one. It isn't what I expected as it isn't pressed or formed but made from two pieces welded together. I bought it because I couldn't be sure of the geometry of the rusted out door, but I could have made one just as good. The problem is going to be that it has none of the subtle curvature of the original skin.:mad:
I now have some new metalworking tools including a shrinker and a folder, with metal shears and a swaging tool on order. I went and sold all my tools after restoring the 500 swearing "never again".:bang: The "garage" or "shack" (as Sheila calls it) is nearly ready for action and the list of house-related tasks is dwindling.
I will be restoring soon...honestly.:)
 
:

I now have some new metalworking tools including a shrinker and a folder, with metal shears and a swaging tool on order. I went and sold all my tools after restoring the 500 swearing "never again".:bang: The "garage" or "shack" (as Sheila calls it) is nearly ready for action and the list of house-related tasks is dwindling.

I will be restoring soon...honestly.:)

Now I am jealous, look forward to seeing these in action. Might look at buying them myself for the next project!
 
Of those items Sean, no-one should restore bodywork without the shrinker/stretcher; there is so much you can do with two the basic functions.
I thought one might have been used on the door panel but it is made by more basic principles. However, it does seem to have a built in curvature when examined in the clear light of day and the dimensions appear perfect.:)
COR_0814 by Peter Thompson, on Flickr
COR_0813 by Peter Thompson, on Flickr
 
Hi
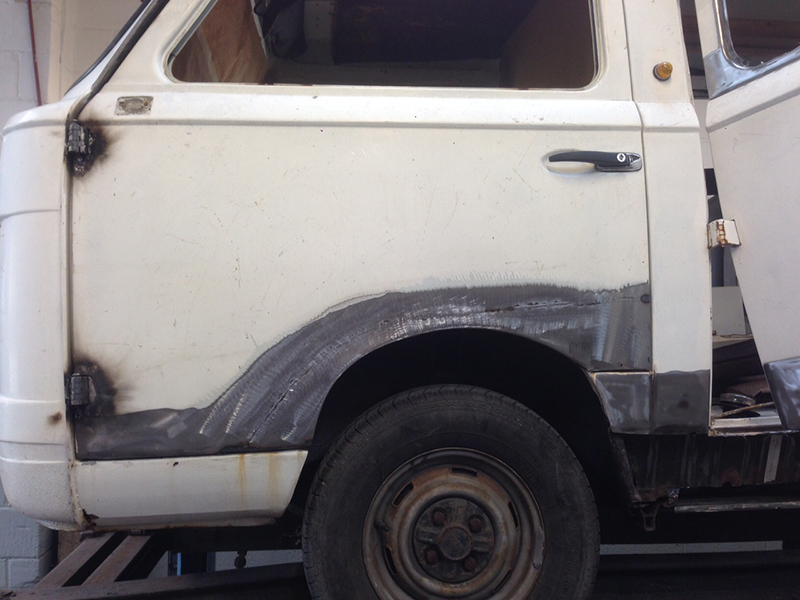
The door repair panels look identical to the ones that I purchased to restore Connie's doors. Superficially they looked like a good fit but once the rot had been cut out of the old doors all was not as good as hoped.

The welding firm I entrusted basically chopped down the repair panels and used them to form the inner section of the doors and then used fresh metal for the outer skins.

You can see what was done here:
Jul18_ns_door_repair1_L.jpg

Jul18_ns_door_repair3_L.jpg


You can see the two piece construction of the repair panels in this photo:
Jul23_ns_door_inner_L.jpg


Final door:
Jul23_ns_door_back_on_L.jpg

Aug01_nsf_door_L.jpg


The actual finish looks better in life than in the pictures.
However, there is a bit of filling and smoothing to do to adjust for the very slight buckling due to the welds.

The filling/finishing is something that I can do myself and will be doing in a couple of weeks.
 
Really I just need to get down to it and see how things go..it all sorts out in the end.:)
Connie the Camper is my inspiration to show that the body can be sorted quickly if you go for it. I will have a fair chunk of time to devote to it in the next few months but I guess that I will end up re-making the door panel.:(
 
Hi Peter
I cheated and paid someone to do the welding, expensive but without it Connie would have been stuck in the garage for another 10 years!

It looks like you have the welding skills to do it yourself, much more satisfying in the end - even if it does take longer.

Cheers
Gary
 
Hi Peter

I'm curious as to how the beds are supported in the roof?
Looking at your photos it looks like it's only the 'canvas' holding up the mattresses - in effect relying on the tension between the roof and the tube framing.

Is there anything underneath the mattresses to provide additional support?

Cheers
Gary
 
It's going to be hard to show how it works as the leanto I have made for it is too low to open it. Suffice to say it's quite a construction involving a solid, sliding support under the beds. I will move onto it eventually but for now it's bodywork.
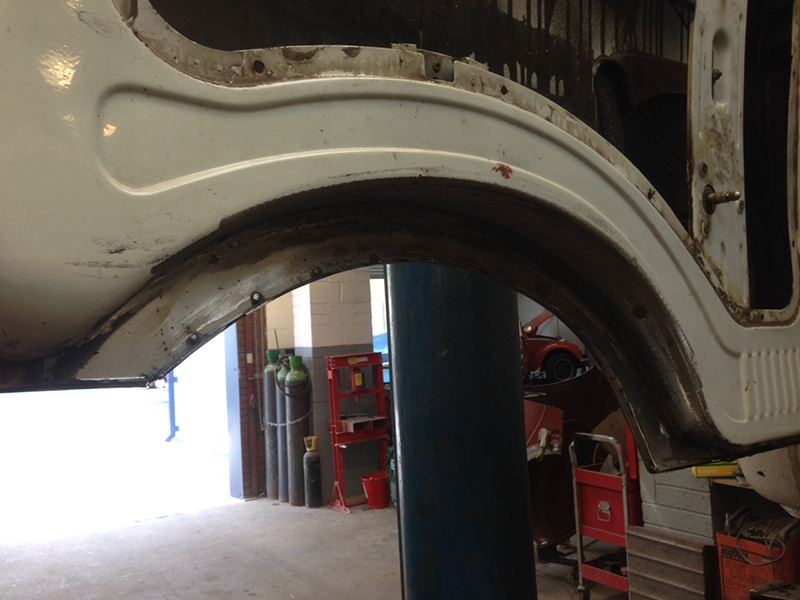
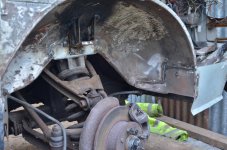
I have removed the doors and the windows...the windscreen was easiest! Since the photos I have jacked it up by about 600mm and fabrication and welding should commence next Thursday. There's certainly plenty of corrosion and poor repairs to get stuck into.
 

Attachments

  • 1445019025095.jpg
    1445019025095.jpg
    96.7 KB · Views: 97
  • 1445019104023.jpg
    1445019104023.jpg
    85.5 KB · Views: 84
  • 1445019125575.jpg
    1445019125575.jpg
    76.6 KB · Views: 90
Last edited:
Hi
From the photo's it looks like Bluebell is further gone than Connie was.
Also looks like you have cut off the inner wheel arches?
The more I look at other restorations the more I'm glad that Connie was Ziebarted from new.
Keep posting the photos.
 
I don't know what I meant by "an decoration " above???
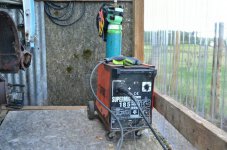
Anyway, the 20 years old welder is out of storage and needed very little preparation to be ready.
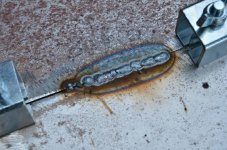
I am proud that I haven't lost it after 2 years off. (The ability I mean) The first test weld on semi rusty steel with no preparation looks good. Can't wait to put into practice now.
 

Attachments

  • 1445607218176.jpg
    1445607218176.jpg
    75.5 KB · Views: 88
  • 1445607234577.jpg
    1445607234577.jpg
    82.6 KB · Views: 76
Last edited:
That's a nice size mig Peter. I think I might need to upgrade for my next project. My snap on turbo mig is okay but getting a bit temperamental now. It's also 25 yrs old but still going strong!

Sean
 
That Mig has even done structural steel when a 10mm metal pad needed welding to the base of a support steel on our extension.
I am starting at the front of the car around the driver's door area.
The wheelarches is a mess...lots of old repairs to unpick.
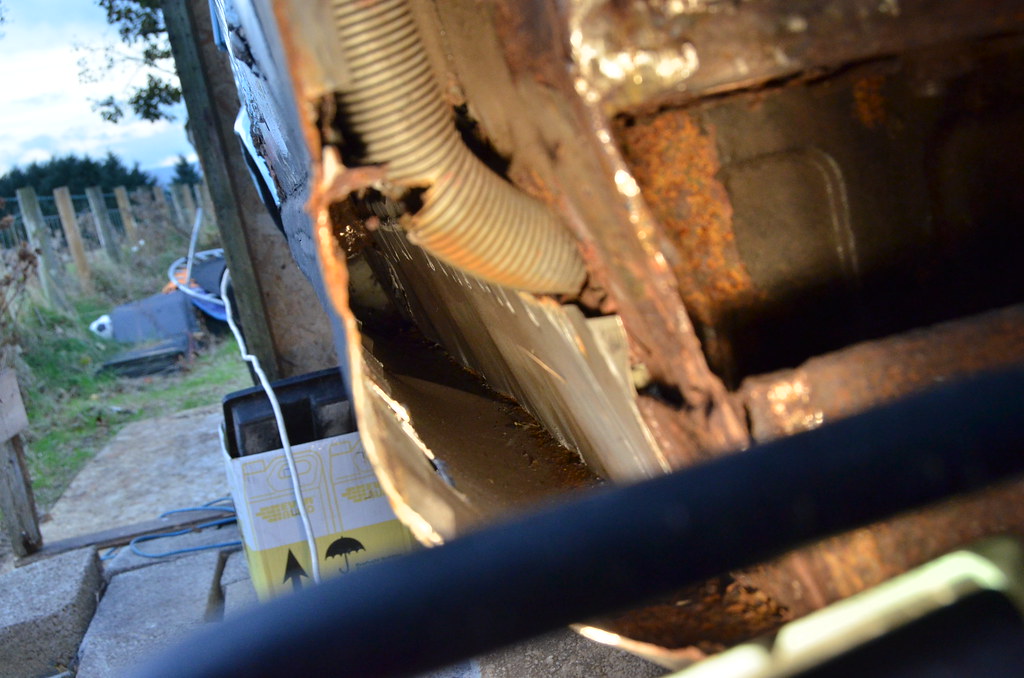
The fuel tank had to come off. It's really small but seems in good nick. It revealed some rust that a pre-Mot man had detected but that Karl couldn't see. Looking inside the sills it looks like I can retain the recent repairs to the inner. Some reasonable welding there with details needing tidied.
Pics later when I get near proper internet.
 
Last edited:
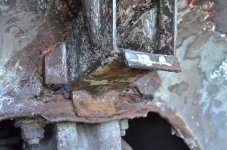
I made a start on the welding. Not quite upto speed yet but all is strong. I am ready to fit the door sill panels but will get on with more serious structural stuff on the floor.
The bumpstop bracket had to come off and have metal let in behind because the layers had reacted with the alloy spring housing.
I did despair of how bad this thing is once or twice, by at the end of the day I feel I got somewhere.
 

Attachments

  • 1446054061093.jpg
    1446054061093.jpg
    110.9 KB · Views: 86
  • 1446054075809.jpg
    1446054075809.jpg
    96.6 KB · Views: 93
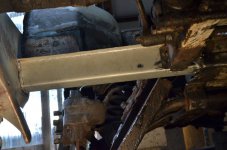
I am suddenly deep in structural welding under the floor. Previously it was a sorry mix of odd shaped plates with messy welds to draw the MOT man's eyes. I ended up making a new outrigger and emulating the original assembly as near as I could.
 

Attachments

  • 1446124832428.jpg
    1446124832428.jpg
    95.8 KB · Views: 91
  • 1446124846420.jpg
    1446124846420.jpg
    73.9 KB · Views: 97
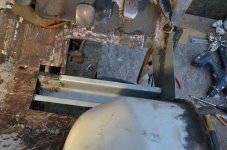
I got really stuck in this afternoon. The main crossmember was always going to be a challenge. It had numerous plates and cruddy welds ;even some sealant filling holes in places
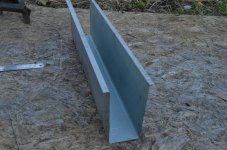
I guess that at thirty years old and having 19 previous owners, there have had to be bodges. So I have removed a half of it and plan to fit a new piece I am making. This gives me access to the ends of the lower suspension rail which also has some horrible "repairs".
My bead roller is on back order so I can't make any strengthening ribs, but I will double up the steel internally where it attaches to the front chassis rails.
You might think things would distort with so much metal missing but it all seems very secure.
 

Attachments

  • 1446314343172.jpg
    1446314343172.jpg
    69 KB · Views: 96
  • 1446314362548.jpg
    1446314362548.jpg
    69.6 KB · Views: 77
Back
Top