OP
OP
turbo500
Member
- Joined
- Mar 20, 2013
- Messages
- 251
- Points
- 118
1st. Check the engine oil level is not too high. Check that the breather pipe and wire mesh type flame trap are clear.
I don't have a flame trap (I read many people don't use it because of the chance that it can get clogged up and affect pressure, as well as it can break up and get sucked into the engine).
2nd. Is the engine burning oil - dropping oil level plus blue smoke from the exhaust? This usually indicates engine wear in the cylinders/ valve guides. To rule out worn valve guides - check if the engine only emits blue smoke from the exhaust when the throttle is opened after being on the 'over-run' for a while or when engine is first started.
No blue smoke, just some smoke from the oil cap, but again, it could even be the cap is not super tight?
3rd.Do, or else, have done a cylinder 'Compression Test'. This will indicate if there is leakage of compression past the pistons/rings or valves.
If the figures are low, a second test is done after putting a little oil into the cylinders.
If figures now improve significantly, this indicates cyl. bore/piston/ring wear, possibly sticking rings.
If no real improvement, this indicates valve leakage.
In practice, on an older engine, you may have both piston and valve leakage.
There are other tests that a garage can do e.g. 'cylinder leak down test' etc.
Unfortunately, if there is excessive wear in the engine then it has to stripped down for examination to decide how to proceed.
My advice is :- if the engine is running reasonably ok, I'd live with it and just enjoy driving the car
Agreed
AL.
")
Sorry for the delay in responding - I assumed others here more familiar with the 500 wiper motor would have responded before now...
I don't have a wiring diagram for the 500. Can you tell me or post a pic of the wiring colors at the wiper motor connector block and at the back of the wiper switch.
I would, but the cables are pretty worn and color is hard to tell. Either way it's connected and the fuses are all new and correct.
I assume you've already checked that there's no blown fuses and all fuse contacts are clean and corrosion free? Also that the wiper motor and particularly the linkage/spindles are not seized (frozen)? ( try pulling/pushing on the wiper arms to see if the linkage moves a little, try swivelling the links/rods on their pivots - careful, only do this with wipers switched off!)
Iirc, some Fiat wiper motors have a constant live feed to the motor and are switched on and off on the earth (ground) side. Also self-parking, if fitted, is through a switch in the motor, again iirc on the earth (ground)side. So essentially, you can have a live feed to the motor and it still might not work.
AL.
I'm trying to see if there is a way to test with a tester, just don't know what and how to test if it's getting current. For all I know the switch isn't working...
When I first got my 500 there was smoke coming out the back. Turns out that little dip sticky thingy has to be very sorry pushed in our oil will come out and smoke. That may not be your problem...
Dip stick is fine but thanks!
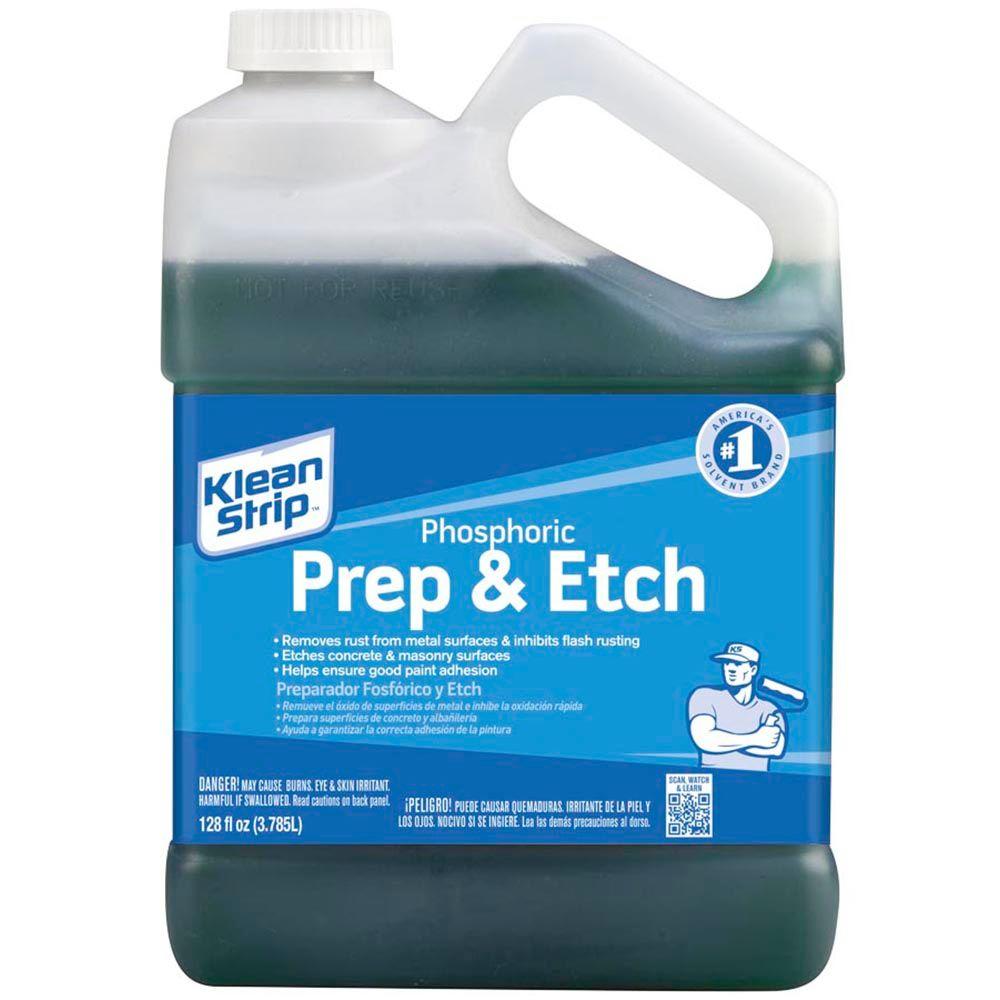
Anyone have any recommendations on stripping paint from metal and sealing it to protect from rust/flash rust? I was cleaning my oil cap and got a lot of crud off it, but once it dried it got some rust on some areas.
I know some people use Phosphoric Acid, but that's if you're going to prime it as well for paint. What if I just want to keep it as unpainted metal?
Ideally I would need zinc phosphate?