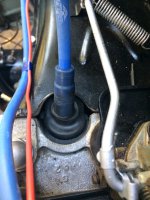
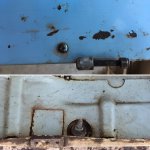
This is despite the new discovery that there is no thermostat flap!
Not sure if I should bother putting one on, it's pretty warm here. .
Show-off.
")
I would fit the thermostat and flap eventually.


This is despite the new discovery that there is no thermostat flap!
Not sure if I should bother putting one on, it's pretty warm here. .
I would fit the thermostat and flap eventually.
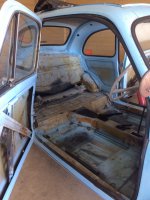
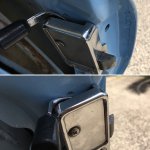
Also ordered these spark plug covers. Have I inserted them correctly? I assume they are there to keep the air cooling in, so having them on the inner part of the gap will optimise this.
Just that I've seen some other photos of engine bays where they just sort of sit over the hole.
Simple small questions but could be important
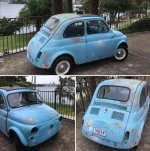
it does look nice.....
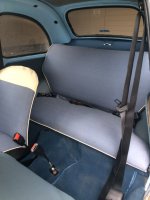
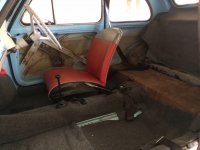
I would ask what do you see the point of seat belts being?
You don't expect to walk away if you are in an accident where they are actually effective :devil:
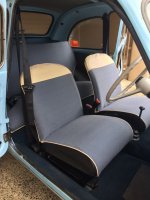
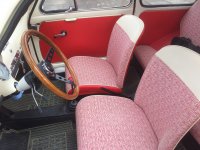
The cloth seats are much nicer in my opinion...
:devil:I suggest we start a cloth interior movement! Certainly has a classy feel although heaven help my kids if they get em dirty ?
I want to start a "Wicker" seat movement....
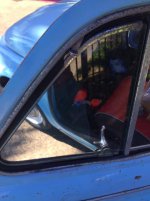
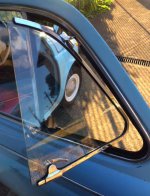
the interior handle slips into the ‘lock’ position when the door is shut.!
Ah well no luck with the lock. I may fiddle with it later, or just stop resisting and spend 23 euros on a new one