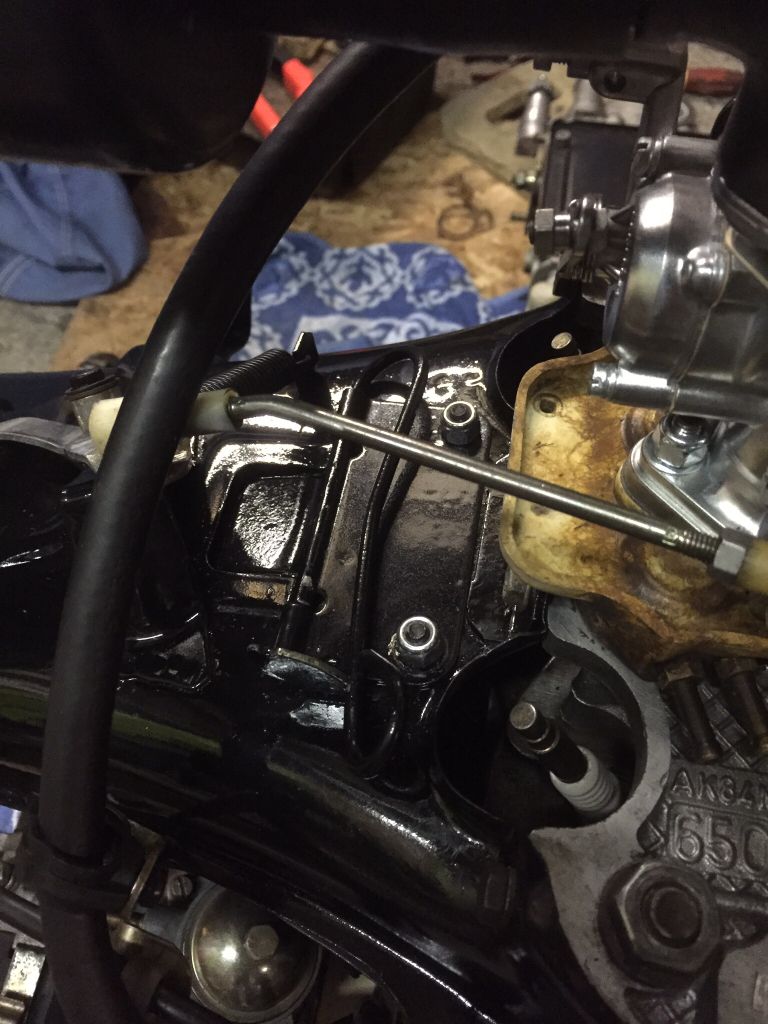
That's what Steve suggested earlier Sean. What as in what you put on the back of brake pads and on wheel studs?
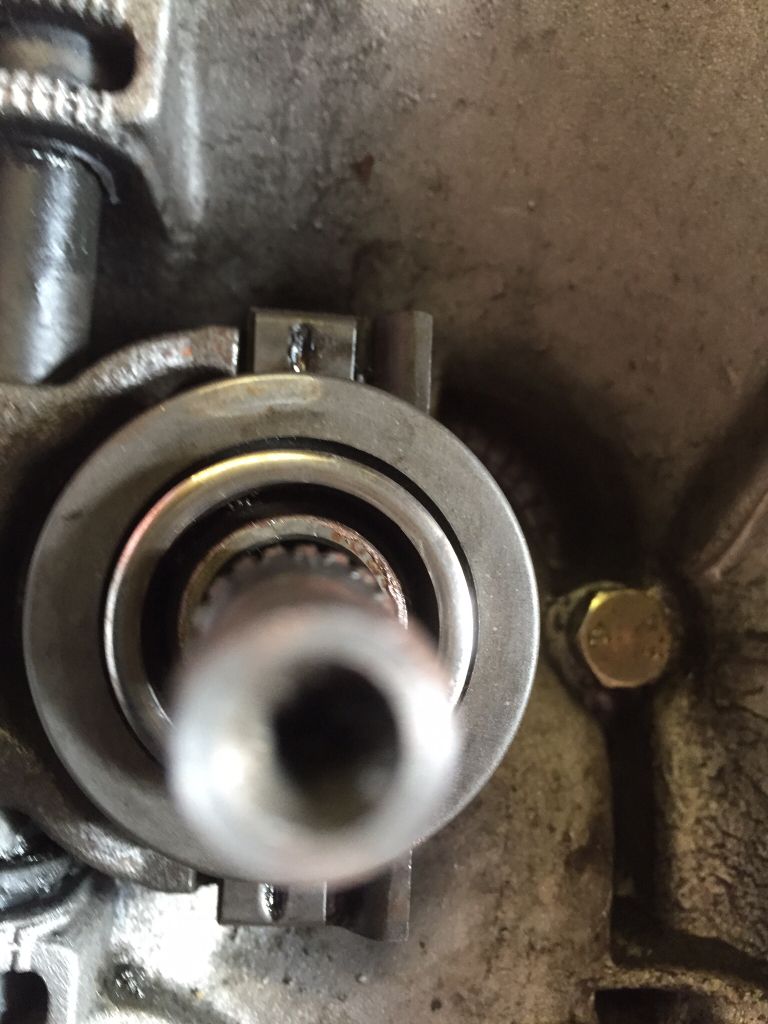
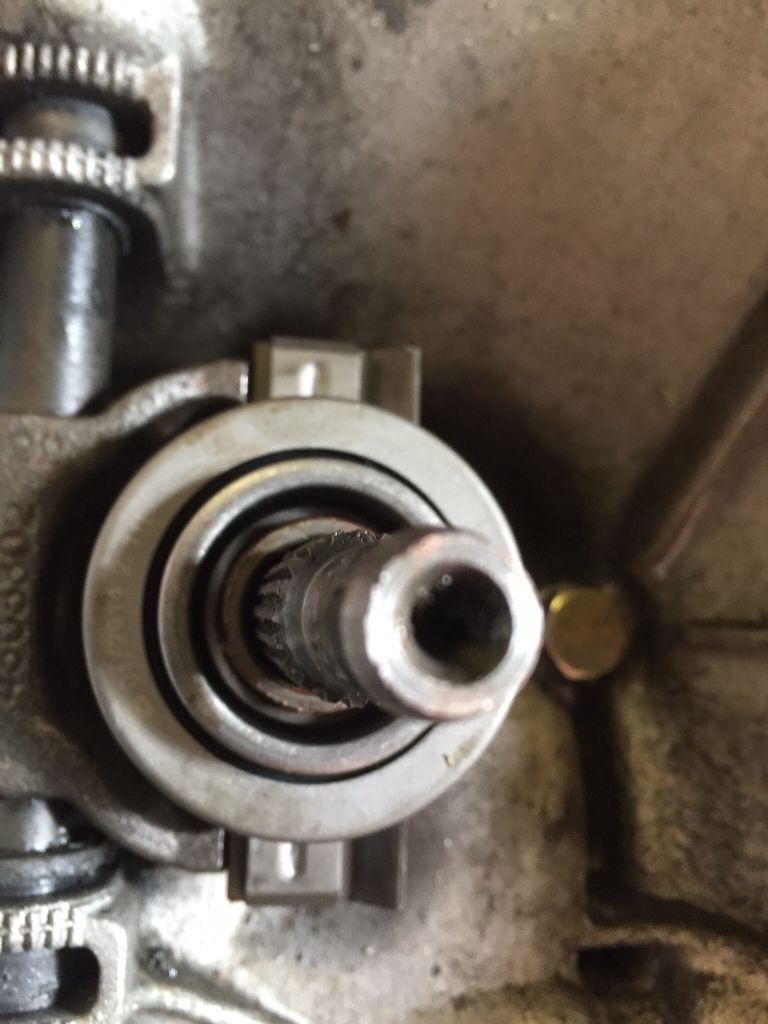
My only concern with that is maybe it will dry out but I guess if the shaft is spinning around and the bearing is moving up and down on it, it is less likely to.
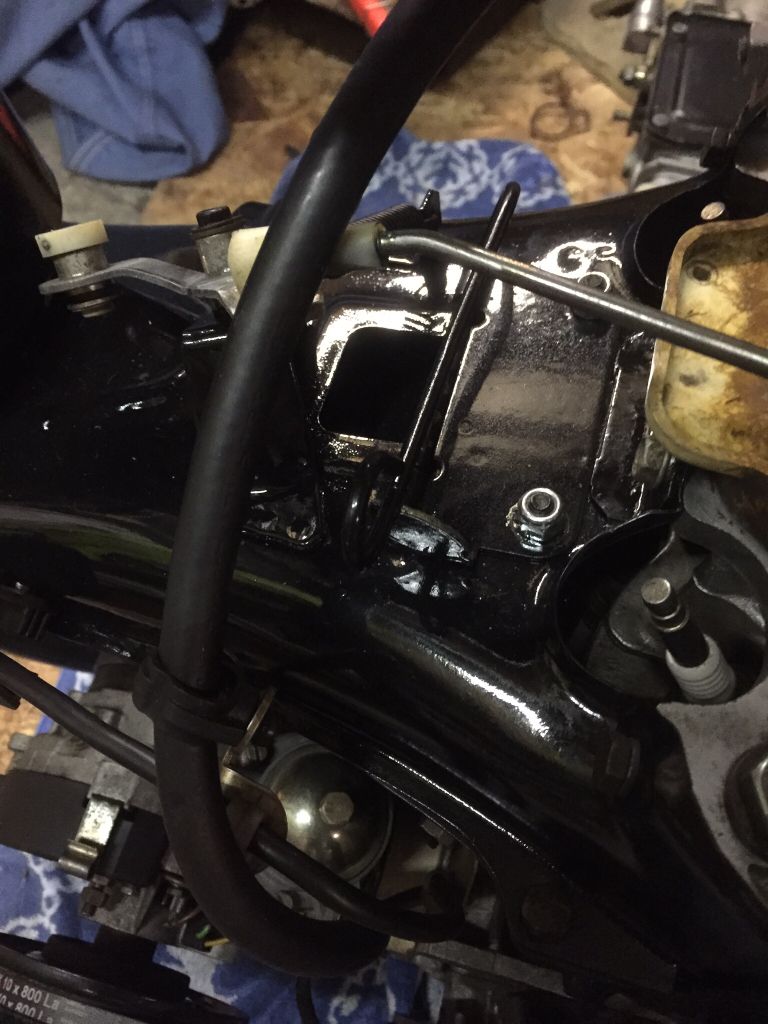
My only concern with that is maybe it will dry out but I guess if the shaft is spinning around and the bearing is moving up and down on it, it is less likely to.
")