Technical rear bearing race

Currently reading:
Technical rear bearing race

nzbobc

New member
Joined
Feb 7, 2013
Messages
141
Points
49
Location
Christchurch, New Zealand
A search of the forum doesn't yield anything so:

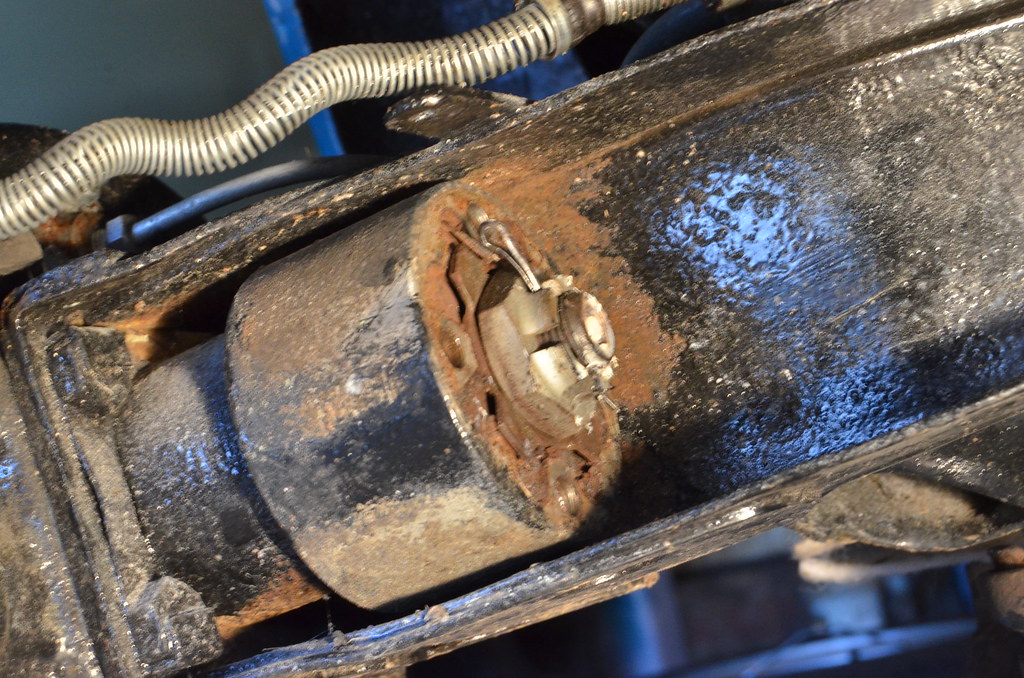
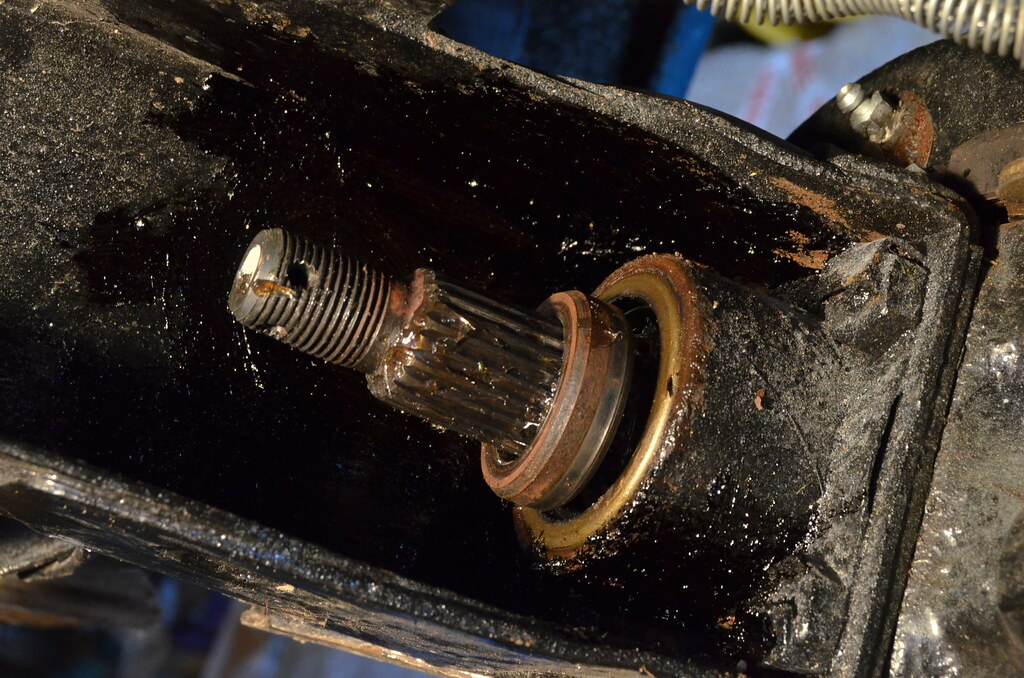
I'm replacing the rear wheel bearings (500F with 126 brakes). Any suggestions on how to remove the outer races?

Haynes says to drift them out with a large tube. It may take me forever to run around and find a tube close to the diameter of the races.

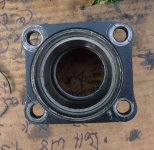
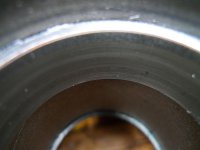
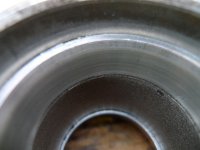
Logically, it would make sense to replace the outer races when replacing the bearings (new ones came with the bearings) in case there's uneven wear, etc. Have you replaced yours or do leave the old races in place?

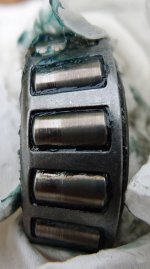
Here's a couple of photos of the races on both sides of the housing and of the bearing I just pulled.

Cheers,

-bob
 

Attachments

  • rear bearing race 1.jpg
    rear bearing race 1.jpg
    321 KB · Views: 49
  • rear bearing race close up 1.jpg
    rear bearing race close up 1.jpg
    143 KB · Views: 25
  • rear bearing race close up 2.jpg
    rear bearing race close up 2.jpg
    146.7 KB · Views: 26
  • rear bearing.jpg
    rear bearing.jpg
    159.7 KB · Views: 24
Hi Bob,
Yes you should replace the bearing cone when you replace the bearing- it can be done in situ or in a vice by using a long punch and tapping (belting is a better description) the inner bearing cone with a hammer on the inside.
If you work your way around the cone you will be able to remove it and then install the new cone- you can use the old cone to press it in.
Make sure that you replace the collapsible steel spacer in between the bearings so you can set the preloads correctly and it will hold the nut tight.
Hope this helps!:)
 
Thanks for that, Damon.

Removing and inserting new races proved to be easier than I expected. The last time I did this, many years ago, it was nearly impossible. I'm happy that these were much more straightforward as I followed your advice...

Cheers,
 
I just started on this job and I was amazed at how easy it was. I have removed all the old components without needing to remove the bearing carrier. The big nut holding the assembly together is described as "17mm" in descriptions I have read but I remembered it as it is...much bigger, 32mm I think because I can remember buying a socket to fit many moons ago, since lost. The nut was finger tight and I guess this is because it isn't particularly tight in any case and the bearings are worn.
I will post some pics when I do the other side.
 
The original question was how to remove the outer races. I will call them shells, but first you have to get to them Assuming all is safely jacked up and the wheel, brake drum and drive shaft splined flange are removed you will then see this big nut.
BRA_9339 by peterthompson, on Flickr
Remove the split pin and the nut may move by hand along with a special washer which has two tabs which align with broad grooves in the rubber coupling.
BRA_9340 by peterthompson, on Flickr
This should pull off and the shaft can be pushed out from the rear.
BRA_9338 by peterthompson, on Flickr
Note there is a spacer which is also the inner bearing surface for the inboard seal.
With the shaft removed you can pull out the inner spacer and then remove the old seals. I used the slash and burn technique of jabbing at the edges with an old screwdriver but there are tools available. The roller races will fall out leaving just the two outer shells and spacer rings, a bit like a piston ring. This is one being replaced as it's clearer.
BRA_9336 by peterthompson, on Flickr
The inboard shell is quite easy to remove by tapping firmly at the edges around the circumference with the end of a long punch or drift put through the wheel side of the hub. In situ the outer one is trickier as you have an awkward angle working from under the car, but it's relatively easy and not much force is needed.
Having taken it apart it's then easy to work out how to reassemble with the new bearings and seals but I'll illustrate that at a later date waiting to get new rubber couplings before I put it back together,
 
I was reading the last post and thinking to myself I am sure Peter is going to change the rubber couplings whilst he has the opportunity but you did keep me in suspense until the last line to prove me right.:D
 
I am also rebuilding rear bearings. where does this 1/2 inch wide spacer go? Is the inner seal installed first. It all fell out when I was removing races. Need some advise
Thanks
Don
 
OK looking at above pic I see that spacer is installed after inner seal is in place.
Thanks
 
The new rubber couplings have arrived and are with a "Ricambi Originali" bag. They look the business and you can see the fact that the original has signs of debonding of the rubber from the star-shaped inner.
They are from a good supplier and I paid more than I need have done for the quality; I just hope they are as described since I note that they lack the slots where splines are deliberately not formed so that the tab washer can fit in them.
BRA_9547 by peterthompson, on Flickr
Maybe someone can tell me if these are technically for a later car such as the 126?
I will be carrying one of the old ones with me as a spare.
 
I have fully reassembled one side and need advice on how much pre-tightening I can expect the big nut to take. It was hand tight with the worn bearings and looks like it's going to need a long bar on the socket to compress the spacer between the bearings. Anyone else completed this yet?
 
There is a method in one of my workshop manuals but it requires a spring balance. Do you have one? Every household should have one!!!!! Except this one.(n)
 
Hi Tony, I have the rotational resistance thing under control as in my other posting:

"From Haynes, by memory, you don't tighten the hub nut too far first; just take up the slack whilst keep turning the hub to centralise everything.
You secure a rigid bar to the hub using the wheel nuts such that it protrudes a few centimetres equally each side of the hub. You get something that weighs 1 pound which you hang from this bar at 4.3" from the centre of the hub It says that this should have the hub just turning and if it doesn't move you're too tight and the big compressible spacer may be damaged!
I haven't done this yet and reckon that someone using care and experience could do it by feel. But with other vehicles I know just how temperamental bearings can be if bodged."


My problem now is that the big nut seems to want a massive amount of tightening and for something that almost dropped off when the split pin was removed, that's slightly worrying.:confused:
 
Back
Top