Tuning Backfiring at idle 1970 500F

Currently reading:
Tuning Backfiring at idle 1970 500F

Okay Chris and Tony, I re-read your posts and I have this question. On my 123 distributor cap, (as received from the mechanic), the post marked 1 on the cap has the lead that goes to spark plug two and vice versa. Does that make any sense?

Not really. Cylinder no 1 is the cylinder nearest to you when looking in the engine bay. Lead 1 on the distributor cap should be connected to that spark plug. It's quite difficult from afar to be 100% certain but I guess it is possible they have put the 123 in incorrectly. I can't help with the 123 setup as I run the standard setup. I will leave Chris to advise on that if you have any questions.

As you can't do the tappets until you get a new gasket I would study the instructions that you have found on the internet for the 123 carefully and get you head around what you need to do if you are installing it for the first time. Take pictures of everything before you undo anything so that you have got a reference to put it back as it was, just in case something goes wrong. Also I would get the original distributor back from the shop as it is yours and could come in handy if anything goes wrong with the 123 in the future.

It's a shame about the bug getting destroyed as it looked like a really nice looking car and you don't see many with a fitted sunroof.

Tony
 
The problem with the 123 instructions is that it guides you as if you are removing the original and installing the 123 at the same time. In other words it says to note the position of the rotor on your original and install the 123 the same way. Kind of hard when you are looking at it without the advantage of being the one to remove the old one. I have emailed the mechanic to see if he has any of my parts but I doubt he will reply. One of the lessons I will have to learn soon is how to keep my body parts off the exhaust pipe in front of the distributer! Ouch!
The bug was a great car and nary a problem the 10 years we had it.
 
if this car uses a rotor arm? then its quite possible as it spins round if it has a crack say then the spark would jump to nearest earth,this would cause a backfire and lumpy running
 
I can post a method of checking the static timing using the rockers on top of the valves if that helps, it obviously involves taking the rocker box cover off first or do you want to wait until you have sourced a new gasket? If you can get the cover off without it doing too much damage to the gasket, it will at least give you a very good indication of whether the distributor has been installed correctly.

Tony
 
I was thinking that since HedgeHug is not going anywhere running like it is I could just go ahead and pull the valve cover while the new gasket wanders it's way to me. I tried earlier to remove said cover only to meet very stiff resistance, hence the decision that it was glued. I will try again this evening so any suggestions you may have Tony would be appreciated. I can run the vehicle with cover off can I not?
 
Ok no problems.

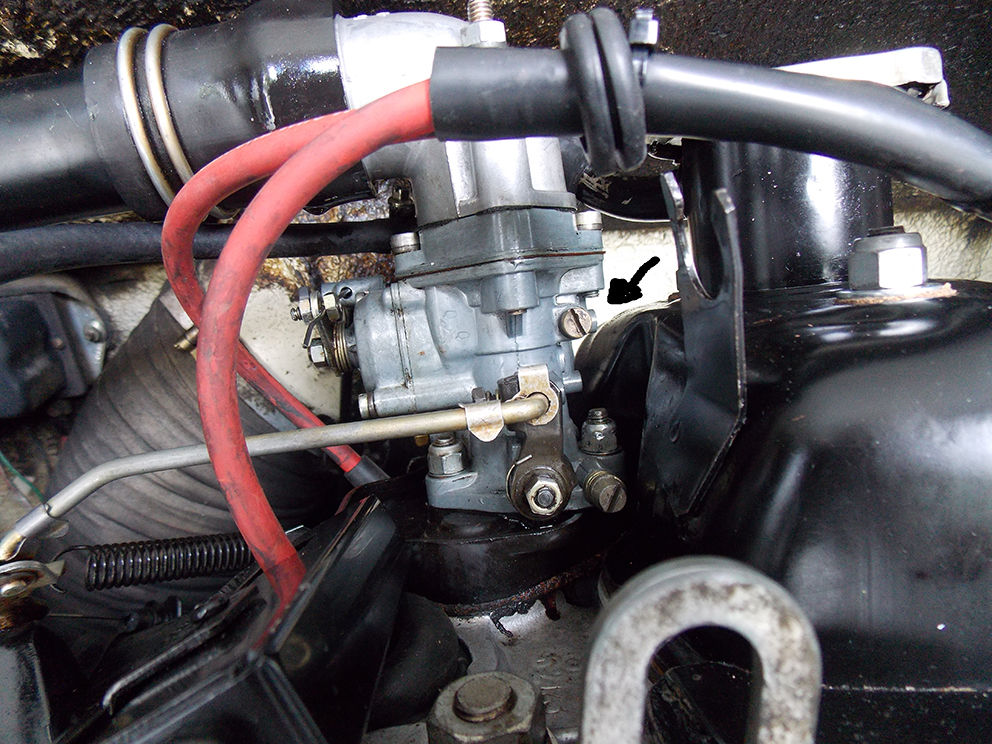
Firstly leave the 123 distributor in place don't undo the nut that holds it in place.

When removing the rocker box cover firstly it should have lock nuts which have a little plastic insert inside them, that are designed to hold the nut in place in case the engine vibration loosens them off. Often blue. What I do is count how many 360 degree revolutions of the nut it takes for the nut to come off the end of the thread on the top of the block. The reason I do this is so that when putting them back on you don't over tighten the nuts, as it is quite common for the rocker box cover to distort through being tightened too much and this causes leaks around the gasket. So by counting how many rotations to take off you know exactly how many to do it up again. It really is not done up that tight just nipped up to gently squeeze down on the gasket. It should also have little brown washers that act as a seal around the thread.

On the pulley that has the timing marks on rotate it around so that the TDC mark lines up with the little arrow on the crankcase. On the rockers you obviously have an exhaust and inlet valve for each piston. When you rotate the pulley to match the TDC mark, your rockers on one cylinder should be at a state of change over exhaust about to shut inlet about to open, both will have no movements on the rockers, you can move the engine back and forth on the dynamo nut to get to this change over phase. Once you have found this position if you then go to the other cylinder both rockers should have a tiny movement up and down on the end of the valve stems, that gap up and down is your .15mm valve clearance. This is the cylinder about to fire.

If when you do this first time around and it is cylinder two, furthest away from you, about to fire. Then rotate the engine through 360 degrees so TDC again aligns with the little arrow on the crankcase. When you have got to the stage where number one cylinder is in "about to fire state" ie rocker movement. Take a look at where the rotor arm is pointing on the distributor, it should line up approximately with the number 1 HT lead on the distributor cap, which in turn should connect to the spark plug nearest to you when looking in the engine bay.

Obviously you can check the valve clearances when cold at the same time. I would set them on a cylinder first, then rotate through 360 do the other cylinder, then rotate through 360 again and double check, then through 360 again and double check again.

You should be able to lift the rocker box cover high enough to get it up a little then just run a screw driver or knife around under the gasket to free it away from the block without damaging the gasket. You really don't need gasket sealant on the rocker box, so long as it not over tight it should provide a nice seal. I wouldn't run the engine without the rocker box in place, it could get a bit messy/oily. I have used my rocker box gasket off and on multiple times without any probs.

Have ago and let me know how you get on.

Tony
 
Well, I just found out my Sister is coming to town for the weekend so I guess it'll all get put on the back burner until Monday (though I may sneak out early in the morning if she snoozes late). I will print out your instructions and check out what you said though I know there are no little brown washers and two different washers under the hold down bolts of the valve cover. Obviously some shortcuts have been taken and I will have to see if I can remedy that.
 
Well after a bit of a visit with Sister and then a week holiday I am back at it. Does anyone know what the screw is that is pointed out with a black arrow on my carb. It seems that a slight turn (approx 1/8 rev counterclockwise) stopped the backfiring and allowed me to turn my idle down to 850. I took it out for a test drive and it ran pretty well except that it seems slow to get up to speed.
 
Last edited:
Well after a bit of a visit with Sister and then a week holiday I am back at it. Does anyone know what the screw is that is pointed out with a black arrow on my carb. It seems that a slight turn (approx 1/8 rev counterclockwise) stopped the backfiring and allowed me to turn my idle down to 850. I took it out for a test drive and it ran pretty well except that it seems slow to get up to speed.

Hi that is the idle speed jet holder. It should be screwed all the way in. If it is screwed out slightly I would be a bit worried that the vibration of the engine may cause it to loosen further and work it's way free.

It suggests that if you have backed it out a bit then maybe you might have some sediment blocking up some of the orifices in the carburettor. I would consider taking it off and getting yourself a service kit for the carb and replace all the jets etc and give the internals a good clean up and blasting some air through all the parts you can get to. You can buy aerosols with just air in if you don't have access to a high pressure air line.

Tony
 
Hi Tony, that is exactly what the mechanic was suppose to have done. If you read one of my previous posts in this thread you will see that he stated he rebuilt/cleaned the carb and installed new gaskets. Do you think he did something wrong?

Michael
 
Just read your first post again Michael and as you said it does suggest that he has rebuilt the carb already. Stripping the carb down is fairly straight forward, there isn't really a lot to do inside other than clean out all the little orifices by blowing them through and replacing all the jets that you get in the rebuild kit and setting the float level.

The fact that you backing the idle speed jet holder screw out suggest that you are inadvertively adjusting the mixture. When you adjust the mixture screw, the one with the spring below it, with the engine idling does it have any affect?

It maybe worth just unscrewing it and making sure the tip is still on it? It should have the look of a three different tiers. The tips are a bit prone to breaking off and have little affect or no effect on the mixture if they are missing. I speak from recent experience in finding mine had.

Unscrew it have a look and then when putting back in, if ok, lightly screw it in not too tight as that is when the damage gets done, then just back it out one and a half turns.

Tony
 
Yep, I can move the mixture screw and it does have some effect but I cannot move the idle down no matter where I set that screw. The backfiring just gets worse. I will remove it to check the tip and see what I can see. Thanks

Michael
 
Hi Michael,

I've attached a photo of my rather grubby 26IMB with the relevant external parts marked. The mixture screw is lowermost and in my experience does little at all. The idle adjust is on the butterfly spindle and is screwed in or out to adjust the idle rpm. The main jet holder is above the other two on the main body of the carby. It should have a small circular seal that is missing in this picture.

Also attached is the carby schematic that might help.

Finally in my humble experience, carbies do not cause backfiring - they get blamed for it all the time, but are innocent bystanders.

Inlet backfiring happens when an inlet valve is partially open as the plug fires. Exhaust backfiring happens when an exhaust valve is partially open. To my mind inlet backfiring is more dangerous as it is more likely to lead to an engine fire.

As previously discussed, backfiring is either a timing problem or a valve problem or both. Ignition timing mis-set, valve clearances incorrect, burned valves, busted valve springs etc. all will cause various degrees of backfiring as well as rough running.

Exhaust popping, crackling and the odd flame on a fuel rich trailing throttle are normal(ish) and good fun if you happen to be driving a Ferrari at the time.

Best regards,
Chris
 

Attachments

  • Weber 26IMB.jpg
    Weber 26IMB.jpg
    384.4 KB · Views: 115
  • 26IMB Schematic.jpg
    26IMB Schematic.jpg
    104.4 KB · Views: 87
  • Exhaust flames.jpg
    Exhaust flames.jpg
    269 KB · Views: 40
Hi Chris, I did manage to get all the screws straight finally. As to the idle adjustment screw, so far I have no need for it as it is not even in contact with the carb. (can't get the idle low enough as it is) The main jet was the one I was curious about because I turned that one less than 1/4 turn and the idle went up but then I could slow it down with the idle mixture screw and the car ran fairly well though a little sluggish at high speeds. I noticed a small hole in the main jet and RCA 45 marked on it. I was wondering if this had to be aligned a certain way or it did not matter which way as long as it was tight.

Michael
 
Okay, so I have riged a compression tester to get down in there and test the compression out. Anyone have numbers that I should be looking for? Thanks

Michael
 
The number on the side of the jet (any jet) is the fuel orifice diameter in mm - or it is at least for European carbies. So your idle jet has a 0.45mm hole for the fuel to pass through and this is the small hole in the end. The side holes are for air entrainment.

Any of these jets should be only cleaned with a suitable solvent (petrol is good) and blown clean with dry air. They should not be cleaned (probed) with wire etc.

I've just looked at the schematic again and I think it has the main and idle jet labels are transposed. My photo should have the jet labelled as the idle jet. So what you loosened was the idle jet - either way, it should be screwed in snugly. Sorry about the error.

As to values for compression - I'm not sure. All I know is that they should be roughly equal across all cylinders. A leak-down test might give you more information.

Chris
 

Attachments

  • Idle jet 1.jpg
    Idle jet 1.jpg
    247.2 KB · Views: 28
  • Idle jet 2.jpg
    Idle jet 2.jpg
    349.9 KB · Views: 30
Well I finally got up the nerve to remove the valve cover and check clearances. They were not right so I am doing my best to get them done correctly. The number two valves had much more than the .15mm that Tony and the Hobler called for. They were not all the same either which means they were not done as quoted in the invoice. Here's hoping it will help my problem. Thanks to all.
 
Well, regrettably after all our efforts I am still no further ahead. I did the valves to .15mm, compression test works out to around 73 for both cylinders, and tried adjusting the carb again. No joy, it still backfires back into the carb at any idle below 1000rpm. I have fiddle with the timing, danced a jig facing the rising sun and nothing. Any other ideas Gentlemen?

One frustrated Michael
 
Popping and 'backfiring' at idle is not uncommon in a 500 and could be the carburettor itself. It can be very difficult to get the 26IMB10 carbs especially to idle properly, earlier versions (26IMB4) with hexagonal idle screw are a bit more forgiving.
Basic things to check are wear of the throttle shaft (sideways play), float level in the carburettor, make sure the float isn't leaking (give it a shake and listen) and condition of needle and seat. Also the fuel pump pressure is critical, this is controlled by the thickness of the gaskets below the pump- more gaskets will reduce pressure, this can reduce flooding at idle but if you go too far it will lose power at the top end.
You can sometimes find that blockage of the internal passages can make it impossible to set the idle properly- sometimes this can be dislodged by soaking it in a chemical bath (carburettor specialists have these if you can still find one!) more often than not however it ends up being a replacement carburettor.
500 Carbs generally aren't cheap although you can use a 126 carb which can be purchased relatively cheaply and tends to have less idle issues.
Hope this helps!
 
One thing I noticed after sitting behind the car fiddling with the idle screw is that there are bubbles appearing in the fuel filter. I'm guessing here, but I don't think that is a good thing. I have checked the lines but they seem to be okay so where would the air be coming from? I also guess my next step is to remove and check out the carb. I am a little apprehensive at this point because this is beyond anything I have ever tried before.

Michael
 
Back
Top