General Bambina 1966

Currently reading:
General Bambina 1966

Hi Folks

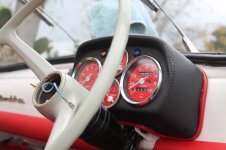
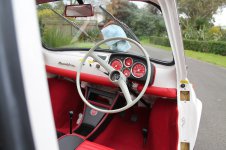
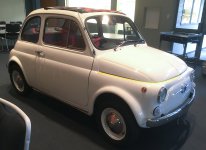
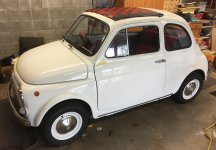
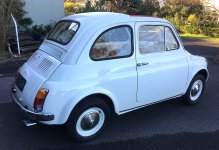
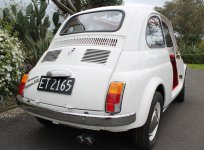
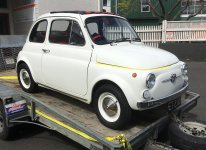
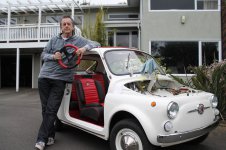
Exterior now resprayed. Pictures not the greatest quality.

Some more to come.

Tim
 

Attachments

  • File 27-01-16, 10 40 51 AM.jpg
    File 27-01-16, 10 40 51 AM.jpg
    458.9 KB · Views: 44
  • File 27-01-16, 10 42 34 AM.jpg
    File 27-01-16, 10 42 34 AM.jpg
    246.7 KB · Views: 43
  • File 27-01-16, 10 43 05 AM.jpg
    File 27-01-16, 10 43 05 AM.jpg
    286.5 KB · Views: 44
  • File 27-01-16, 10 44 00 AM.jpg
    File 27-01-16, 10 44 00 AM.jpg
    379.5 KB · Views: 44
  • File 27-01-16, 10 44 40 AM.jpg
    File 27-01-16, 10 44 40 AM.jpg
    390.1 KB · Views: 47
Hi Folks

So we are now sorting out the wiring.

New headlights to go in and stereo to be wired up.

I have an issue with the new side lights. When I've screwed them in place I can get a fingernail between the glass (plastic) and the rubber base. This can't be watertight.

Anyone else had this problem?

Tim
 

Attachments

  • wiring2.jpg
    wiring2.jpg
    401 KB · Views: 41
  • wiring1.jpg
    wiring1.jpg
    502.3 KB · Views: 38
  • bonnet2.jpg
    bonnet2.jpg
    474.1 KB · Views: 33
  • bonnet1.jpg
    bonnet1.jpg
    518.3 KB · Views: 35
Looking good Tim.
This is the nice stage of a rebuild. Unfortunately you start finding out what parts fit and which ones don't!
I didn't have any problems with my orange ones. What ones are you fitting?
Have you located the screws properly in the base holes.
 
Hi Sean

I've got the white lenses. It may be that I can screw them down into the bases a bit more. But because the lenses are plastic, I don't think they will take much force. I think the screws will start to chew up the plastic / thread etc.

Initially I thought some sealer might help. But of course, you've got to be able to change the bulb.

Basically the lens needs to be pulled in tighter against the rubber base, closing the gap between lens and base.

In my fault ridden parts ordering, one of the things that I doubled up on was side light lenses. Might be a silver lining.

Tim
 
Hi Sean

Sorry, didn't get round to doing this. It's not high on my list of priorities. May just be a case of tightening a bit more.

Fingers crossed.
 
You should have it ready to fly across to the Australian Fiat Nationals next year

Just pop it in your hand luggage.

Looks great and inspires me to get out tomorrow and do a bit more work on my car.
 
Just out of interest, anyone. I've just been told I've got D wheels on an F. (Picture attached again.)

Is that right?
 

Attachments

  • File 18-06-16, 3 15 35 PM.jpg
    File 18-06-16, 3 15 35 PM.jpg
    337.4 KB · Views: 54
Yep Tim, you do.

The F wheels just have a 'strap' with a bolt hole in the middle to hold the hub cap.
 
The original ones were that type but in a real mess. I guess that will upset the purists, but there are a few things on the car that will. Alloys will fix it in the long term.
 
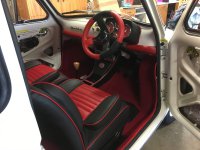
Just put the carpet in place, not glued yet. Added the seats and console to see how it all works.

I'm liking the overall affect. The only issue is getting the console to fit, avoiding the seats and giving enough space for the clutch pedal.
 

Attachments

  • seats4.jpg
    seats4.jpg
    1.5 MB · Views: 46
  • seats3.jpg
    seats3.jpg
    1.5 MB · Views: 49
  • seats2.jpg
    seats2.jpg
    1.4 MB · Views: 47
Here's some more recent photos.

There is a problem fitting the centre console between the two front seats. It fouls the clutch pedal.

Options as I see it are:

1. Move the pedals across slightly (drastic, could affect the driving "feel")
2. Adapt the console (tricky, you could cut into it, but not the stereo unit).
3. Buy a different console.
4. Buy aluminium pedal plates and mount them off-centre (may not be enough).

Has anyone fitted this console? How did you get round the problem?
 

Attachments

  • SIT1.jpg
    SIT1.jpg
    1.5 MB · Views: 58
  • SIT2.jpg
    SIT2.jpg
    1.1 MB · Views: 46
  • SIT3.jpg
    SIT3.jpg
    1.2 MB · Views: 46
  • SIT4.jpg
    SIT4.jpg
    1.1 MB · Views: 54
  • SIT5.jpg
    SIT5.jpg
    1.4 MB · Views: 50
  • Breakfast2.jpg
    Breakfast2.jpg
    1.6 MB · Views: 44
  • Breakfast1.jpg
    Breakfast1.jpg
    1.7 MB · Views: 40
  • SIT8.jpg
    SIT8.jpg
    1.5 MB · Views: 39
  • SIT7.jpg
    SIT7.jpg
    2 MB · Views: 42
  • SIT6.jpg
    SIT6.jpg
    1.7 MB · Views: 43
  • Breakfast3.jpg
    Breakfast3.jpg
    1.9 MB · Views: 46
The only picture I can find is one of when I did it incorrectly before I corrected it.

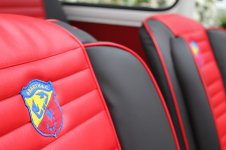
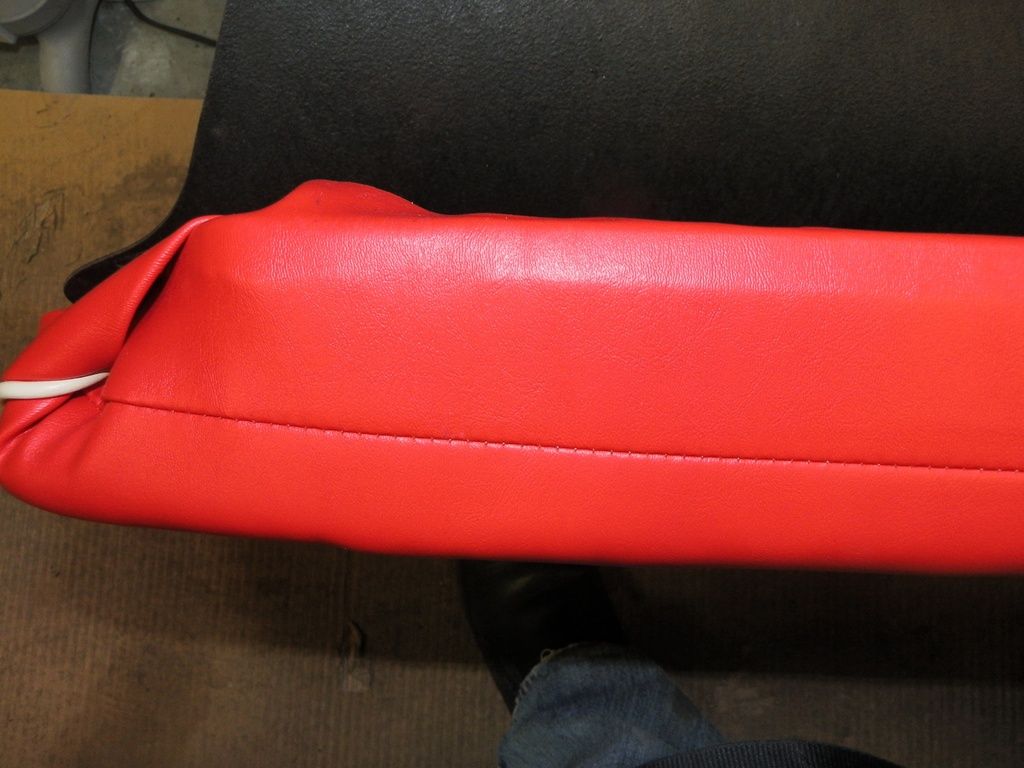
The piece of vinyl that covers the bottom of the seat back, in the picture it's the bit with the stitched seam running across it, that needs to be left to hang free so it's only secured at the sides where the white piping is. So the sides are secured as the picture below and you end up with the centre piece of the vinyl hanging free. Then bolt the seat back onto the mounts and leave it in the up position. Then stretch the vinyl flap down so that you can secure it on the little metal prongs. You should be able to pull it nice and tight so there are no crease in it.


I went and took another picture for you but I notice you have them fancy seat covers so I don't know if they have allowed for covering the gap when they made them?

 
Hi Tony

Thanks for the prompt response.

The seat covers do have the flap so I'm assuming it's the same size and works the same. I couldn't work out how the seat folds down flat, if you have the backrest down far enough to hide the gap.

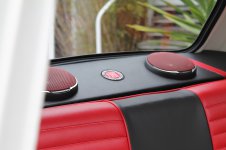
I think it's unlikely I'll ever have the seat down when traveling, since it's tricky to unhook with the new parcel shelf in place. So I may settle for the sausage idea.

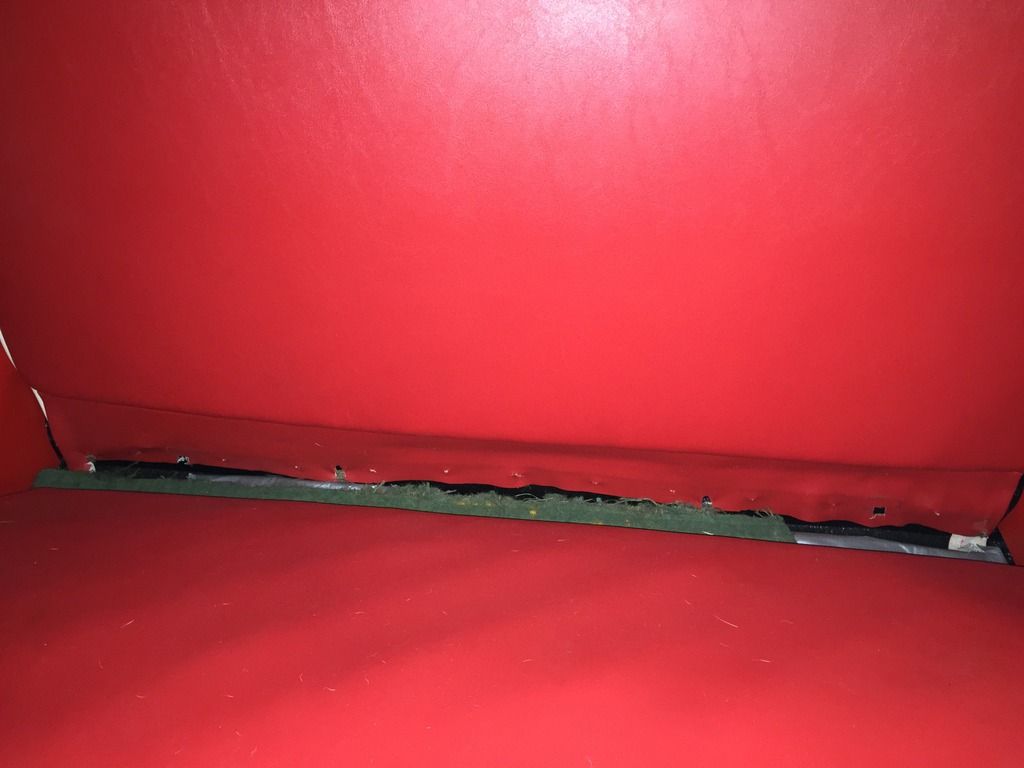
I also need to put some black vinyl under the base seat since you can see the metallic sound deadening when you look down in the corners where the tops of the shock absorbers are.

Any other comments always appreciated.

Tim
 
Here's how the back seats look, plus the gap in the corners.
 

Attachments

  • backseats2.jpg
    backseats2.jpg
    1.9 MB · Views: 20
  • backseats3.jpg
    backseats3.jpg
    2.3 MB · Views: 28
  • backseats4.jpg
    backseats4.jpg
    2 MB · Views: 26
Back
Top